
Last updated October 8, 2026
Free in-home measure and quote - PGT, CGI and CWS impact lines compared on your actual openings, style by style




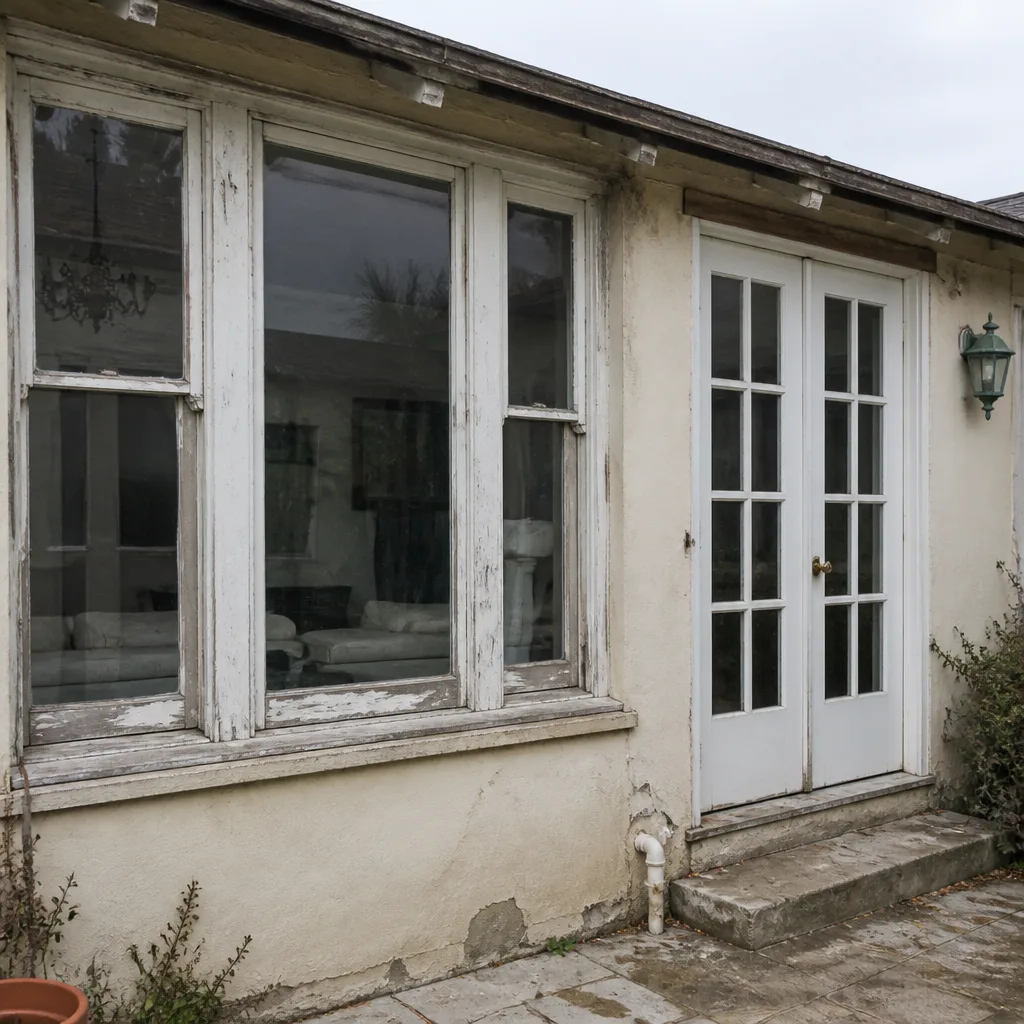 Before
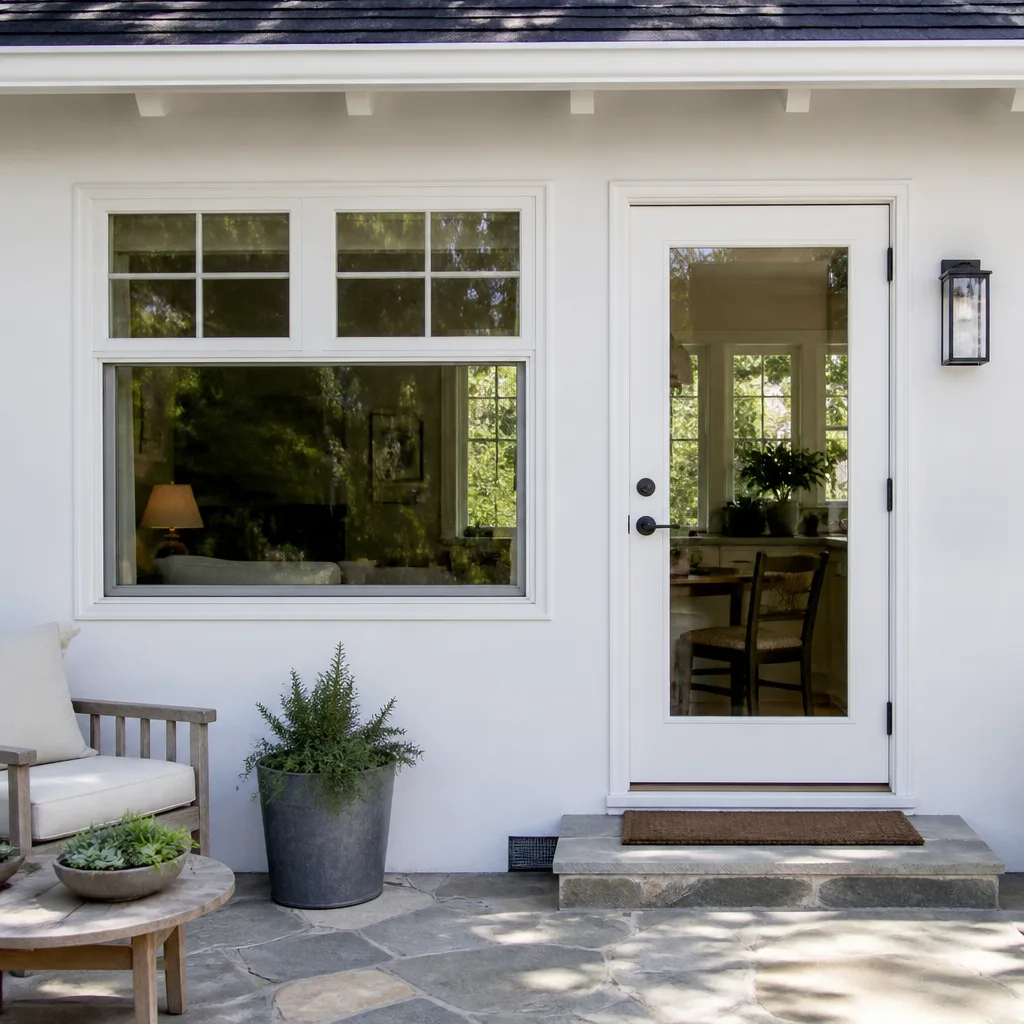 After
After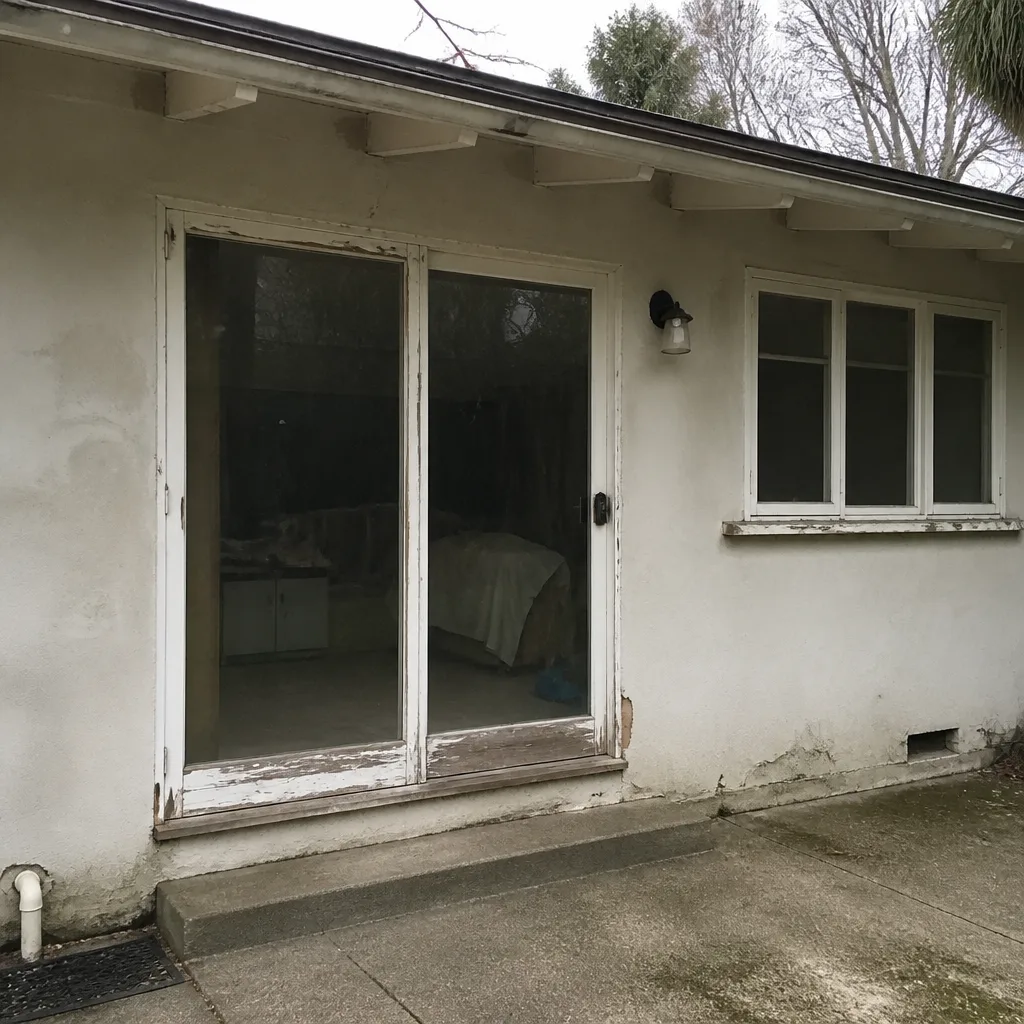 Before
 After
After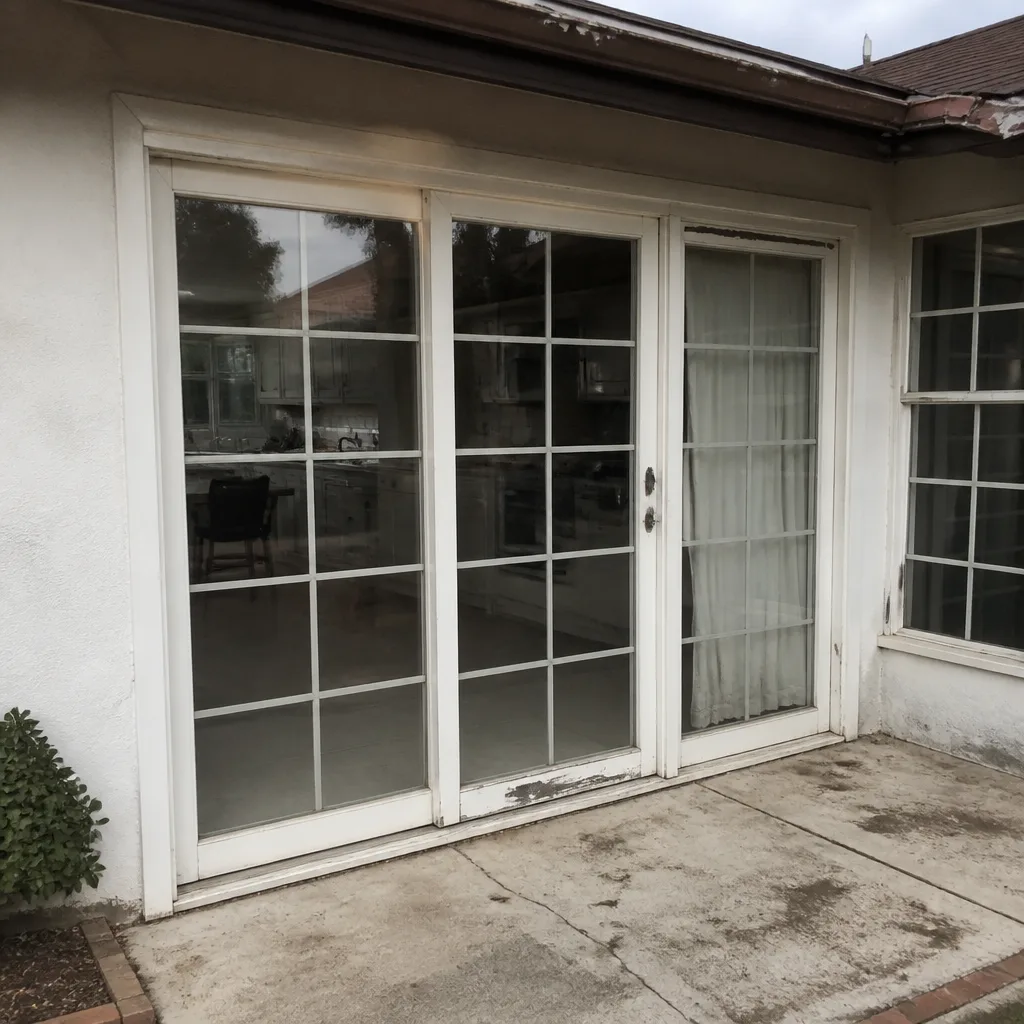 Before
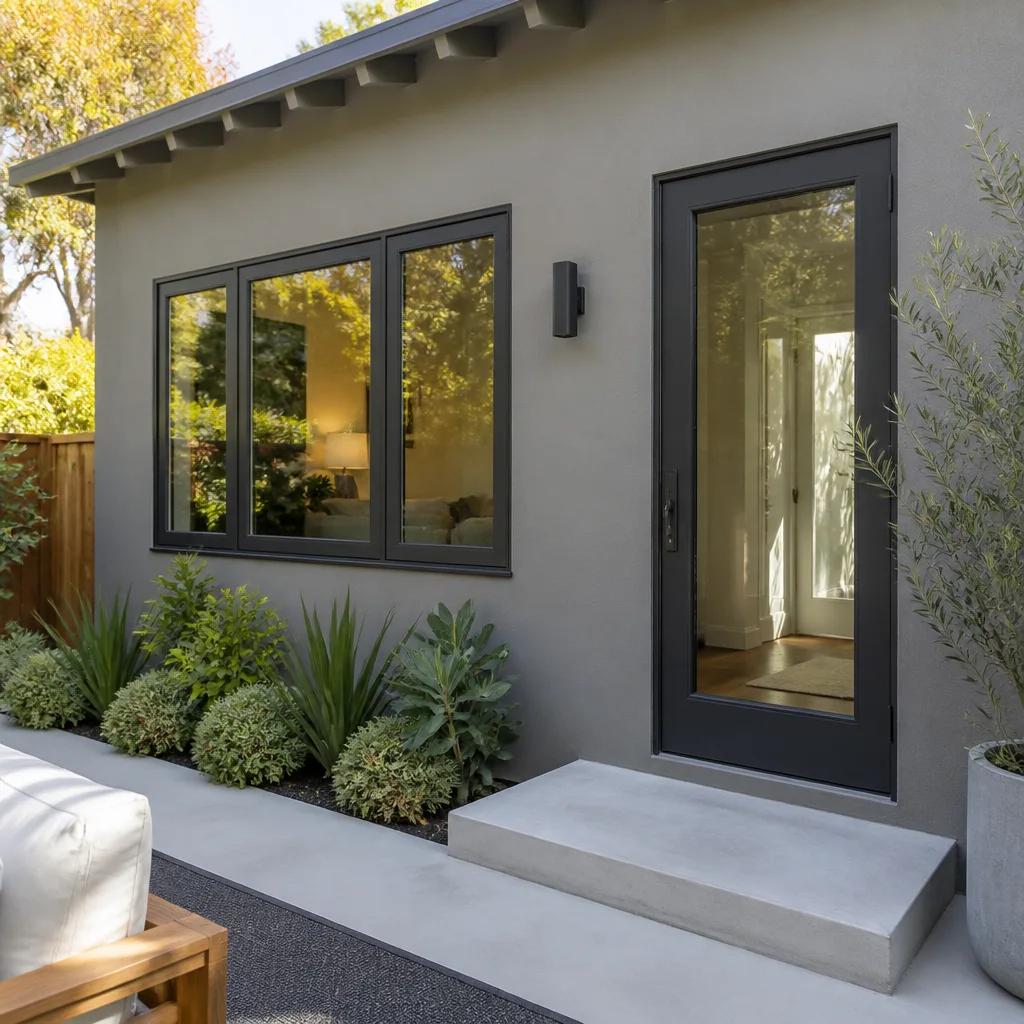 After
AfterWindow Installation Maintenance Schedule: What to Do and When
Most window installation warranties are voided not by homeowner neglect after year five, but by one missed sealant inspection in the first 18 months. That period, when shrinkage and settlement create hairline gaps around the new opening, is when a window quietly begins to fail. What you do during that stretch matters more than anything you’ll do in the following decade. This guide walks through the complete maintenance schedule for newly installed windows in Los Angeles, with specific tasks at 30 days, 6 months, and 12 months, plus what to check before your first heavy rain season. For Window Installation services, proper early maintenance is essential.
Quick Answer
A newly installed window needs inspection at 30 days, 6 months, and 12 months after installation, then annually after that. The most critical task is checking the interior and exterior sealant bead for separation, especially before the first winter rain season in Los Angeles. Plan on cleaning tracks and weep holes twice a year, applying exterior finish touch-ups during the first summer, and keeping a simple log of each inspection.
Table of Contents
- Why the First Two Years Matter More Than the Next Twenty
- The 30-Day Inspection: What to Check After the Crew Leaves
- The 6-Month Inspection: Settlement, Sealant, and the First Season Test
- The 12-Month Inspection: The Full-Year Benchmark
- How to Inspect Sealant During the First Winter Rain Season
- The Settlement Check: Testing Plumb and Square with a $12 Pocket Level
- Exterior Finish Maintenance Around the New Opening
- Warranty Documentation: What to Record and Why It Helps a Future Sale
- Common Mistakes to Avoid
- When to Call a Professional
- Frequently Asked Questions
- The Bottom Line
Why the First Two Years Matter More Than the Next Twenty
A newly installed window enters its most vulnerable period in the first two years. The sealant has not fully cured to its final elasticity. The framing around the opening is still adjusting to the loss of the old window and the weight of the new one. The homeowner has not yet seen how the install behaves through the full Los Angeles cycle: the dry Santa Ana winds of autumn, the February downpours, the August heat that pushes framing materials to expand, then the cool nights that pull them back.
What we’ve seen across Los Angeles neighborhoods, from Silver Lake hillsides to the flatter Lots of the San Fernando Valley, is that most installation problems announce themselves in this period. Watch for these Window Installation Warning Signs Every Homeowner Should Know. A sealant bead that separates from the stucco. A weep hole that clogs during the first dusty summer. A corner joint that shifts enough to pool water after the first real rain. Each one is a small repair in months one through eighteen. Each one becomes a much larger job if left until year four.
The maintenance actions you take during this early-life window determine whether the installation holds for decades or begins failing quietly behind the trim. This guide exists because the instruction manuals shipped with most windows skip this period entirely. They describe cleaning glass and lubricating tracks as if the install itself were already proven. It is not. The proving happens in the first two years, on your schedule, not the manufacturer’s.
The 30-Day Inspection: What to Check After the Crew Leaves
The first inspection happens 30 days after installation. By this point, the sealant has skinned over but has not reached full cure. The initial paint or stucco patch around the exterior has set. Any immediate installation flaws will now be visible. This is not a cleaning task. This is a verification task.
Here is the 30-day checklist in the order we recommend checking:
- Interior sealant bead: Run a fingertip along the perimeter where the window frame meets the interior wall. The bead should be continuous, with no gaps, no bare spots, and no areas where it has pulled away from either surface. Look for pinholes where air could pass.
- Exterior sealant bead: Do the same on the exterior side. In Los Angeles, the southwest-facing sides of a home take direct sun from midday until sunset. That is where sealant cures fastest and where micro-cracks are most likely to form early.
- Operate every sash: Open and close each operable window fully. It should move without binding, scraping, or requiring more force than feels reasonable. Note any spot where the sash hangs or stops.
- Locks and latches: Engage every lock and latch. They should align cleanly without forcing. A misaligned lock in month one will not fix itself.
- Interior trim: Check for gaps between the trim and the wall, especially at corners. Small gaps are normal as wood adjusts. Gaps wider than a dime deserve attention.
- Exterior finish: Look at the stucco patch or trim board around the opening. Check for cracks radiating from the corners of the window opening. These are stress cracks and should be filled before the first rain.
If the crew that installed your windows followed the C.A.R.E. values we train our technicians on at Lightwell Windows & Doors, they left the site clean, explained the price before the work, and asked before moving anything. That same care extends to the inspection. You are not looking for trouble. You are confirming the work was done the way the written quote promised it would be.
The 6-Month Inspection: Settlement, Sealant, and the First Season Test
By month six, the window unit and the surrounding framing have been through one significant seasonal swing. In Los Angeles, that means summer heat if you installed in spring, or the first heavy rains if you installed in late fall. Either way, the structure has begun to settle around the new opening. This inspection looks for movement, not just installation errors.
What to Check at Six Months
- Sealant separation at the corners: The corners of the frame carry the most stress. That is where sealant separates first. Use the edge of a plastic card, not anything metal, to gently probe along each corner bead.
- Weep holes: Every window with a track system has weep holes, usually small slots or circles on the exterior bottom edge of the frame. They drain water that collects in the track. They are also a favorite place for Los Angeles dust and spider debris to build up. Clear them with a can of compressed air or a soft brush. Never use a wire or anything rigid that could scratch the frame finish.
- Track debris: Clean the tracks with a vacuum crevice tool, then a damp cloth. Dirt in the track wears down the rollers and the frame over time. This is especially important in the Valley, where wind carries dust from open spaces into window tracks.
- Weatherstripping: Look at the weatherstripping along the sash edges. It should be uniform and compressed evenly. Areas that look flattened or torn will let air through.
- Interior moisture signs: Look around the window opening, especially at the bottom corners, for any faint brown discoloration on painted drywall or trim. That is the first visible sign of moisture intrusion.
If you have windows from a manufacturer like CGI or CWS, which build impact-rated products common in coastal Los Angeles communities, the frame materials are engineered to keep their shape under heavy loads. But even the best frame still relies on the sealant bead around it. The product can be excellent while the perimeter fails. The six-month check is where you catch that mismatch early. See our Window Installation Troubleshooting: Common Problems and How to Fix Them for additional guidance.
The 12-Month Inspection: The Full-Year Benchmark
The 12-month inspection is the most important one you will do. Your window has now experienced every season Los Angeles offers. The sealant has reached full cure. The surrounding wall has been through expansion and contraction across hot days and cool nights. This is the point where the installation is either proven or begins to show its weak spots.
At twelve months, run the full 30-day checklist again, then add these tasks:
- Complete perimeter sealant inspection, both sides: This is now a full documented inspection, not a casual look. Use a flashlight at an angle across the bead. Light raking across the surface reveals separation shadows that direct light misses.
- Plumb and square check with a pocket level: See the section below for the exact method. Document the reading.
- Exterior finish assessment: Mark any areas on the stucco patch or exterior trim that need touch-up paint or sealant. Do not wait on these. Exposed edges absorb moisture.
- Hardware function check: Every lock, every latch, every crank mechanism, every pivot shoe. Operate each one ten times. Anything that feels loose gets tightened. Anything that binds gets noted.
- Photo documentation: Take clear photos of all four corners, interior and exterior, plus any areas of concern. Store them in your maintenance log.
In our experience across Los Angeles, the 12-month inspection rarely finds large problems when the earlier inspections were done honestly. What it finds are the small things: a quarter-inch of sealant separation at a south-facing corner, a weep hole starting to clog again, a weatherstrip that has compressed unevenly. Small things. But small things at month twelve become expensive things at month forty-eight.
How to Inspect Sealant During the First Winter Rain Season
The first winter rain season after installation is the single best testing environment you will ever get. Rain applies water pressure against the exterior sealant in a way no visual inspection can. The question is not whether it will find every gap. The question is whether you will look for what the rain reveals.
Los Angeles rain tends to arrive in concentrated bursts. A dry stretch, then a day or two of heavy downpour, then dry again. That pattern is ideal for inspection because it gives water time to find a path inside, then gives the homeowner a dry day to go looking for the evidence.
What to Look For Inside
- Dampness at the interior bottom corners of the frame: Run a dry fingertip along the seam where the frame meets the interior sill after a rain. Any coolness or moisture is a sign water is getting past the exterior bead.
- Water staining on the interior trim or drywall: Even a faint yellow line along the bottom edge of the window is significant. It means water has wicked into the wall cavity.
- Water pooling in the track: Some water in the track during rain is normal, especially on slider windows. It should drain through the weep holes quickly. If water stands for hours after the rain stops, the weep holes are clogged or the track is not pitched correctly.
What to Look For Outside
- Separation of the sealant bead from either surface: This looks like a thin dark line between the sealant and the stucco or the frame. It can be hairline thin and still let significant water through during wind-driven rain.
- Gaps at the miter joints: The diagonal joints where the frame corners meet are the most common leak points. Check them closely.
- Moss or algae growth on the sealant itself: In shaded areas of Los Angeles, like the north side of a hillside home in Echo Park or Los Feliz, organic growth on sealant indicates persistent moisture. That is not a cosmetic issue. It is a drainage problem.
If you find separation, do not apply new sealant over old sealant. The bond will fail. The proper repair is to remove the failed section, clean both surfaces, and apply a compatible sealant in a continuous bead. For windows that carry a warranty, this is the moment to look at what the warranty covers. A written quote and clear warranty terms from the installer matter here. At Lightwell Windows & Doors, every installation includes the 365-Day Done Right Promise. If the finished work is not right, we make it right. No debate, no countdown. That promise exists precisely for the issues that appear in this first winter rain season.
The Settlement Check: Testing Plumb and Square with a $12 Pocket Level
A window frame that shifts out of square is a window that will bind, leak, and eventually fail at the corners. The first summer heat cycle in Los Angeles is when that shift happens. Framing materials expand. Stucco moves. The house itself flexes slightly. By the first fall, the window has either held its geometry or begun to drift.
The check takes ten minutes and requires one tool: a pocket level, the kind that costs around $12 at any hardware store in Los Angeles. You do not need a laser. You do not need a contractor. You need a level, a notepad, and a phone camera.
How to Check Plumb
- Hold the pocket level vertically against the interior side jamb of the window frame, the flat side the sash closes against. Find the flattest uninterrupted section, usually the center third of the jamb.
- Read the bubble. It should sit exactly between the two lines. If the bubble touches a line, the jamb is off plumb enough to note.
- Repeat on both side jambs, then on the exterior side if accessible.
How to Check Square
- Measure the diagonal distance from the top left corner of the interior frame to the bottom right corner. Record it in inches.
- Measure the other diagonal, top right to bottom left.
- Compare the two numbers. On a window up to four feet wide, a difference of more than 1/8 inch indicates the frame has shifted out of square.
If the window is out of plumb or square beyond these tolerances, it can still be corrected. The fix depends on how the window was installed, which is why the installation method matters. A window set with proper shimming and anchoring can be adjusted. A window nailed directly into an out-of-square opening cannot. This is one of the conversations we’ve had with Los Angeles homeowners after inspecting work done by other crews. The install method determines what maintenance is even possible. If you are planning a window installation in Los Angeles, the shimming and anchoring protocol should be specified in the written quote before the work begins.
Exterior Finish Maintenance Around the New Opening
The window frame itself is one component. The exterior finish around it, the stucco patch, the trim board, the painted surround, is a separate component with a different maintenance cycle. The two meet at the sealant line. If the exterior finish degrades, water finds the sealant line from the wall side, not the outside air side. That is a harder leak to catch.
For stucco homes, which make up a huge portion of the housing stock across Los Angeles, the most common early issue is hairline cracking at the corners of the window opening. The patch area around a new window is a different mix and cure than the surrounding wall stucco. It moves differently. Small cracks radiating diagonally from the corners of the opening are not a sign of installer error. They are normal. What matters is filling them before winter rain.
The repair sequence for stucco cracks around a window opening:
- Clean the crack with a stiff brush. Remove any loose material or dust.
- Fill the crack with a flexible, paintable caulk rated for exterior stucco. Do not use interior caulk outdoors. It will fail within a season.
- Tool the caulk flat with a finger or plastic tool. The goal is to fill, not to build a raised bead that will direct water.
- Paint the repaired area with an exterior paint that matches the surrounding wall. The paint is not decorative in this context. It is a moisture barrier over the repair.
For wood trim surrounds, the maintenance is similar but the failure mode is different. Wood expands and contracts with Los Angeles humidity swings, which are wider than many people expect. The paints fail at the joints first, then moisture gets into the end grain, then the wood begins to rot from the corner in. Keeping trim painted, especially the top edge and the bottom corners, is a twice-yearly check on older homes. On newer windows with composite or vinyl trim, the check is simply visual: look for separation at the miter joints and any gaps that have opened between the trim and the wall.
Windows from manufacturers like ES Windows or ECO Window Systems are often used in modern and high-performance builds around Los Angeles. The frames are engineered for tight tolerances. But even a precisely built frame cannot protect an exterior finish that has cracked away from the opening. The perimeter is a system. The finish is part of it.
Warranty Documentation: What to Record and Why It Helps a Future Sale
Most window warranties require the homeowner to perform reasonable maintenance. That language is intentionally vague. It places the burden on you to prove, if a claim is ever questioned, that the windows were not neglected. What counts as proof is a maintenance log with dates, findings, and actions taken. Not perfect prose. Dates and facts.
The Minimum Useful Log Entry
- Date of inspection
- What was checked: sealant interior, sealant exterior, weep holes, tracks, weatherstripping, hardware, plumb and square
- What was found: normal, or specific notes
- What was done: cleaning, sealant touch-up, hardware adjustment, or nothing needed
- Photos: at minimum, a photo of each identified issue and a photo after the repair
This log serves two purposes. First, it satisfies warranty terms if a manufacturing defect or installation failure is ever disputed. Second, it becomes a selling document when you sell the home. Buyers in Los Angeles are increasingly asking for maintenance records, especially on major systems. A homeowner who can hand over five years of window inspection logs is communicating something about how the whole house was treated.
Keep the log in a digital format that survives a move. A simple shared document or a note-taking app with photo attachments works. The format matters less than the consistency. If a window fails because of a manufacturing defect that was not visible at installation, your log is what separates a covered claim from a denied one. If you are working with a company that offers written pricing and a documented work record, like the approach we take with every window replacement in Los Angeles, that documentation should be part of the same file you keep.
Common Mistakes to Avoid
- Skipping the 30-day inspection because the windows “look fine.” The most important defects are invisible at a glance. Sealant separation and misaligned hardware require intentional inspection, not a passing look.
- Waiting until the first visible leak to check sealant. By the time water shows up on the interior sill, the wall cavity has likely been wet for weeks. The inspection schedule exists to catch problems before they reach the interior.
- Cleaning weep holes with metal tools. A wire or paperclip scratches the frame finish and creates a place for corrosion to start. Use compressed air, a soft brush, or a vacuum.
- Lubricating window tracks with household oil. Most household oils attract dust and turn into gummy residue in Los Angeles’s dry climate. Use a dry silicone spray or the manufacturer’s recommended track lubricant. Oil-based products are the wrong tool.
- Assuming the installer will come back on their own to check the work. Most installation contracts do not include scheduled follow-up inspections. The maintenance schedule is yours to run. If a company does include a follow-up, that is a meaningful differentiator.
- Ignoring exterior paint cracks because they are small. A crack that looks cosmetic in August is a water path in February. Repair exterior finish cracks in the season you find them.
- Not photographing repairs. A repair without documentation did not happen, as far as a warranty claim is concerned. Photo before, photo during, photo after.
When to Call a Professional
Some maintenance tasks belong to you. A plastic card along a sealant bead, a pocket level check, a vacuum through the tracks. Other situations need a trained eye and the right equipment. If you find water entering the interior around the window during rain, call a professional before the wall cavity takes on more moisture. If a frame has shifted out of square beyond the tolerances described above, the correction is not a DIY job. If sealant separation covers more than a small section of a bead, or if you see daylight through any gap between the frame and the wall, stop and get help. If a window is difficult to lock or the sash binds, forcing it will damage the hardware. At Lightwell Windows & Doors, our technicians inspect, diagnose, and put every price in writing before any work starts. The estimate is free, and a live person answers the phone at (562) 478-8017 any time you have a question.
Frequently Asked Questions
Inspect newly installed windows at 30 days, 6 months, and 12 months after installation, then at least once a year after that. The first-year schedule catches sealant separation and settlement movement during the period when they are most likely to appear and cheapest to fix.
Sealant separation looks like a thin dark line or a visible gap between the sealant bead and the window frame or the surrounding wall. It often starts at the corners of the frame, especially on the south and southwest sides of a Los Angeles home where sun exposure is most intense. A flashlight aimed at an angle across the bead reveals separation that direct light misses.
For a homeowner doing their own inspections, annual maintenance costs are minimal: roughly $15 to $40 per year for compressed air, a sealant touch-up cartridge, exterior caulk for stucco cracks, and a dry silicone track lubricant. If a professional handles sealant repair or a frame adjustment, most small repairs run between $150 and $400, depending on the extent of the work and the number of windows involved. Call Lightwell Windows & Doors at (562) 478-8017 for an exact quote on any repair. Estimates are free and every price is written before work starts.
Some window warranties cover sealant failure depending on the manufacturer and the cause. Manufacturing defects in the frame or glass seal are typically covered, while sealant failure at the installation perimeter usually falls under the installer’s workmanship warranty, not the manufacturer’s. This is why the installer you choose matters as much as the window brand you buy. At Lightwell Windows & Doors, the 365-Day Done Right Promise covers installation issues that appear in the first year, and our written quotes spell out exactly what is covered before the job starts. If you are considering new windows, a Lightwell Windows & Doors home consultation starts with that written understanding.
No. Los Angeles’s dry climate creates its own maintenance needs. Dust accumulates faster in window tracks and weep holes precisely because the air is dry and winds carry particulate through the basin. Sun exposure on south-facing windows accelerates sealant aging faster than in milder climates. The maintenance schedule is different in Los Angeles, not lighter.
If you have concerns about an installation done by another crew, an independent inspection from a window professional is a reasonable step. The inspection looks at sealant integrity, plumb and square alignment, weep hole function, and proper flashing details at the rough opening. Lightwell Windows & Doors provides free estimates for this type of inspection in the Los Angeles area. Call (562) 478-8017 to schedule a visit, and you will receive a written report of what we find.
The Bottom Line
A new window installation in Los Angeles is not finished when the crew packs up. It is finished when the first 12 months of inspections have confirmed the sealant is holding, the frame is staying plumb and square, the exterior finish is not cracking away from the opening, and the weep holes are draining. The maintenance schedule matters because early problems are cheap to fix and late problems are not. Do the 30-day, 6-month, and 12-month checks. Record what you find. Repair what is small. And when something shows up that is beyond a pocket level and a caulk tube, call a professional who puts the price in writing before touching anything. For more guides & resources, explore our blog.
Written by Keith Yamada, Owner at Lightwell Windows & Doors, serving Los Angeles since 2010.