
Last updated October 8, 2026
Free in-home measure and quote - PGT, CGI and CWS impact lines compared on your actual openings, style by style
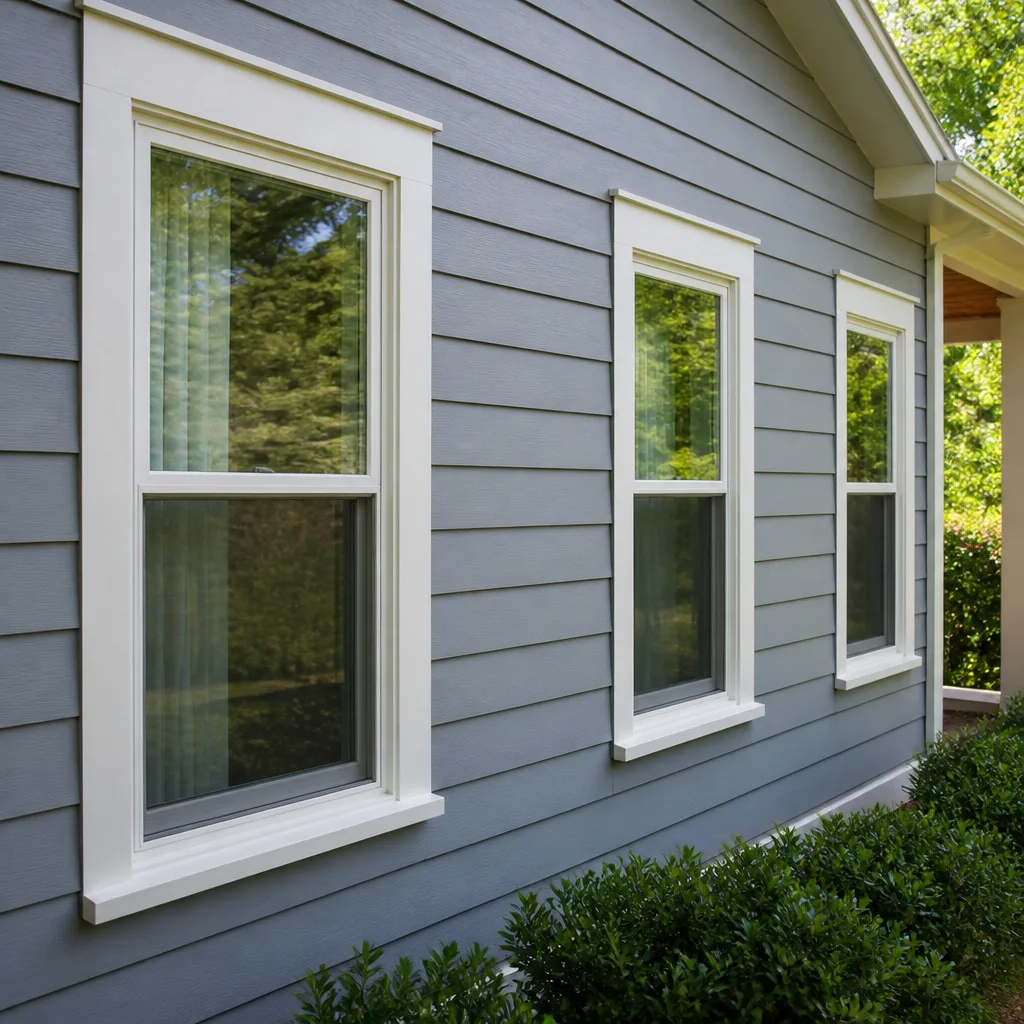
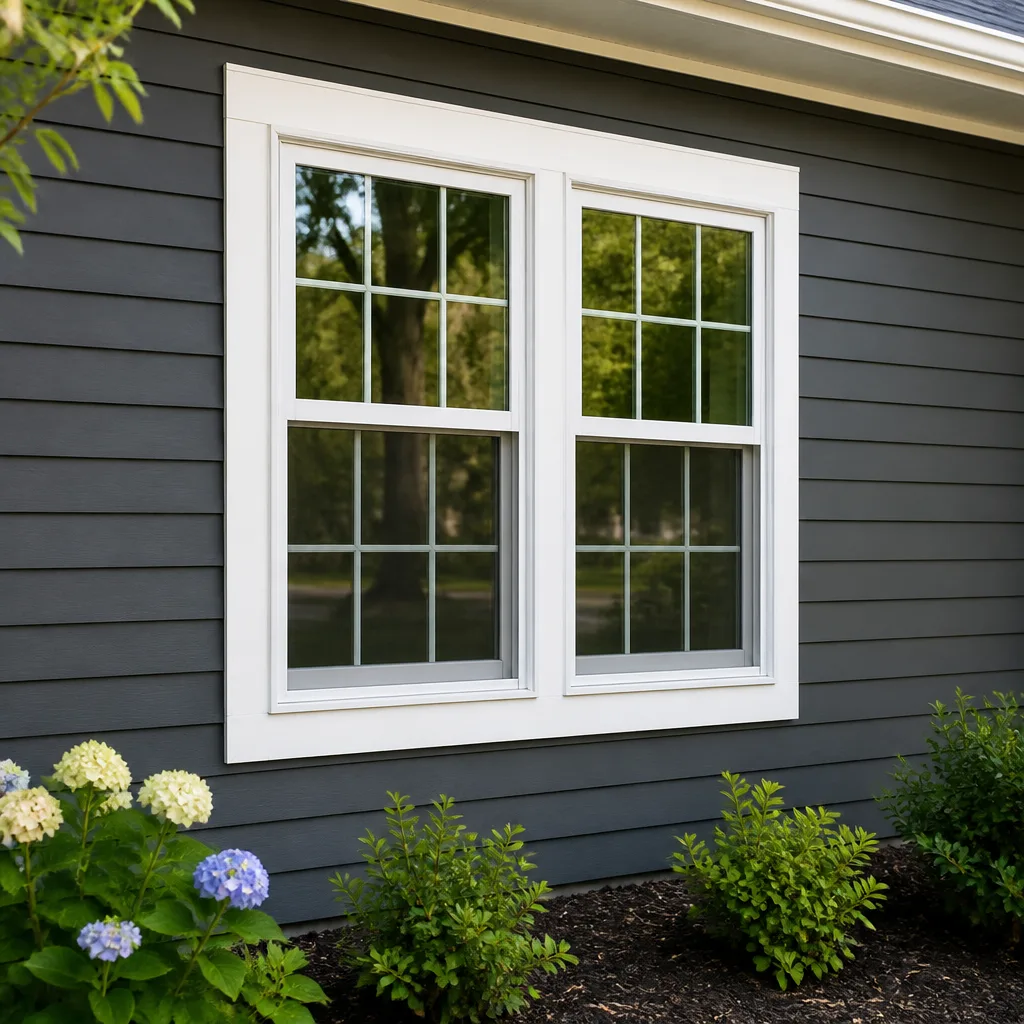
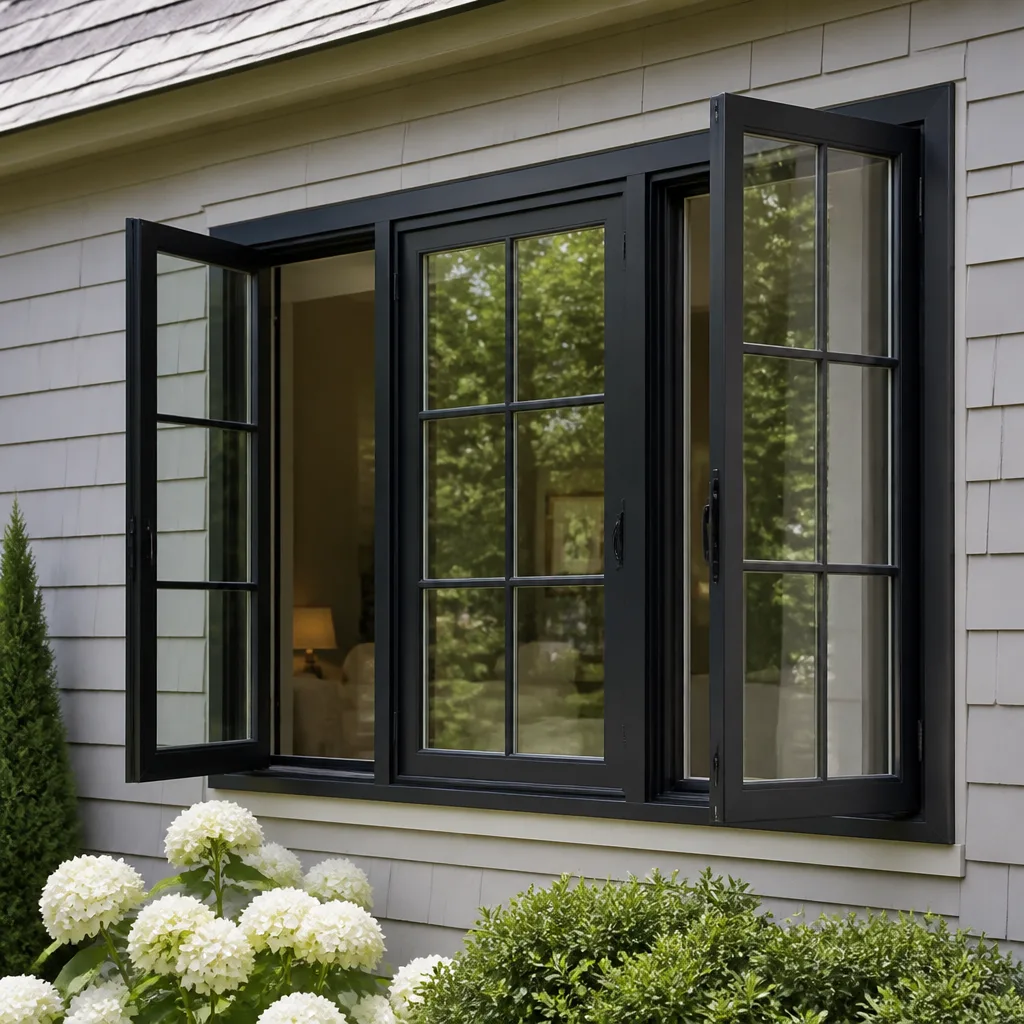



 Before
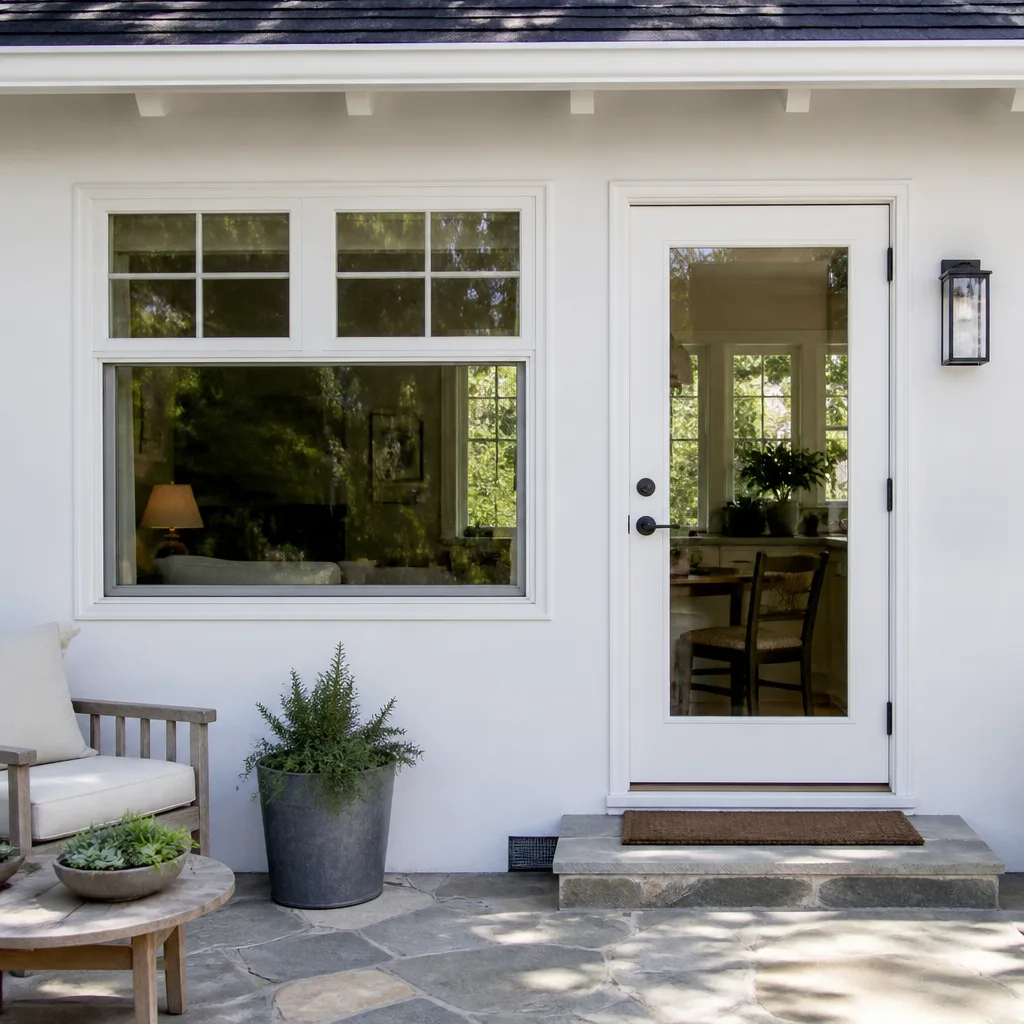 After
After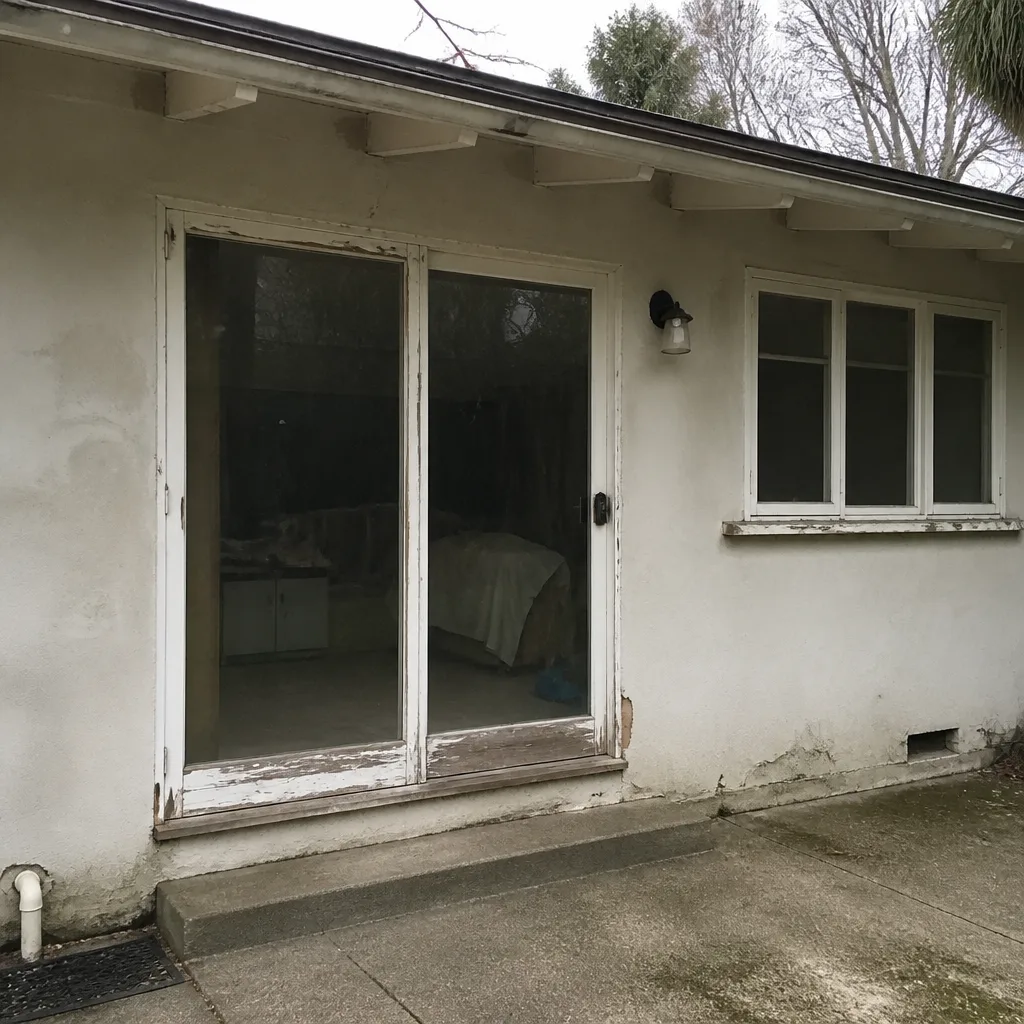 Before
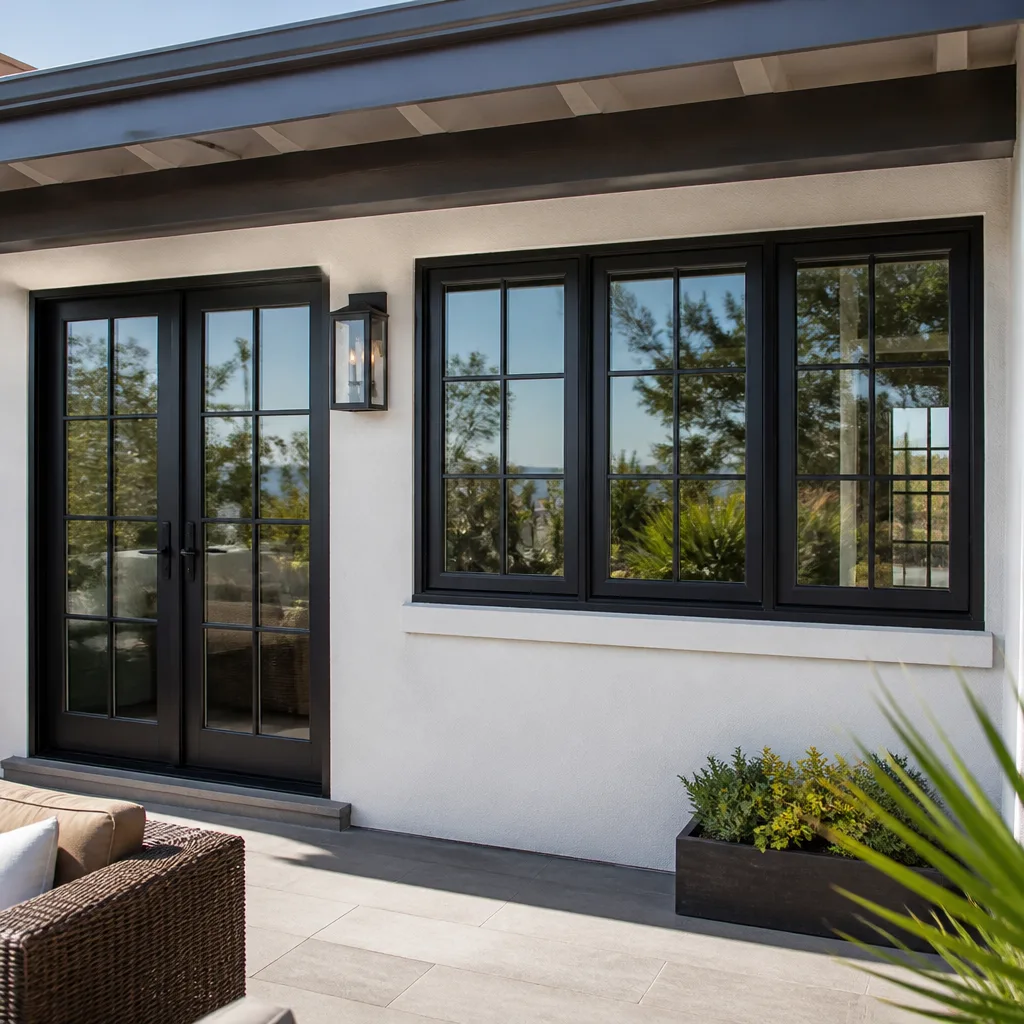 After
After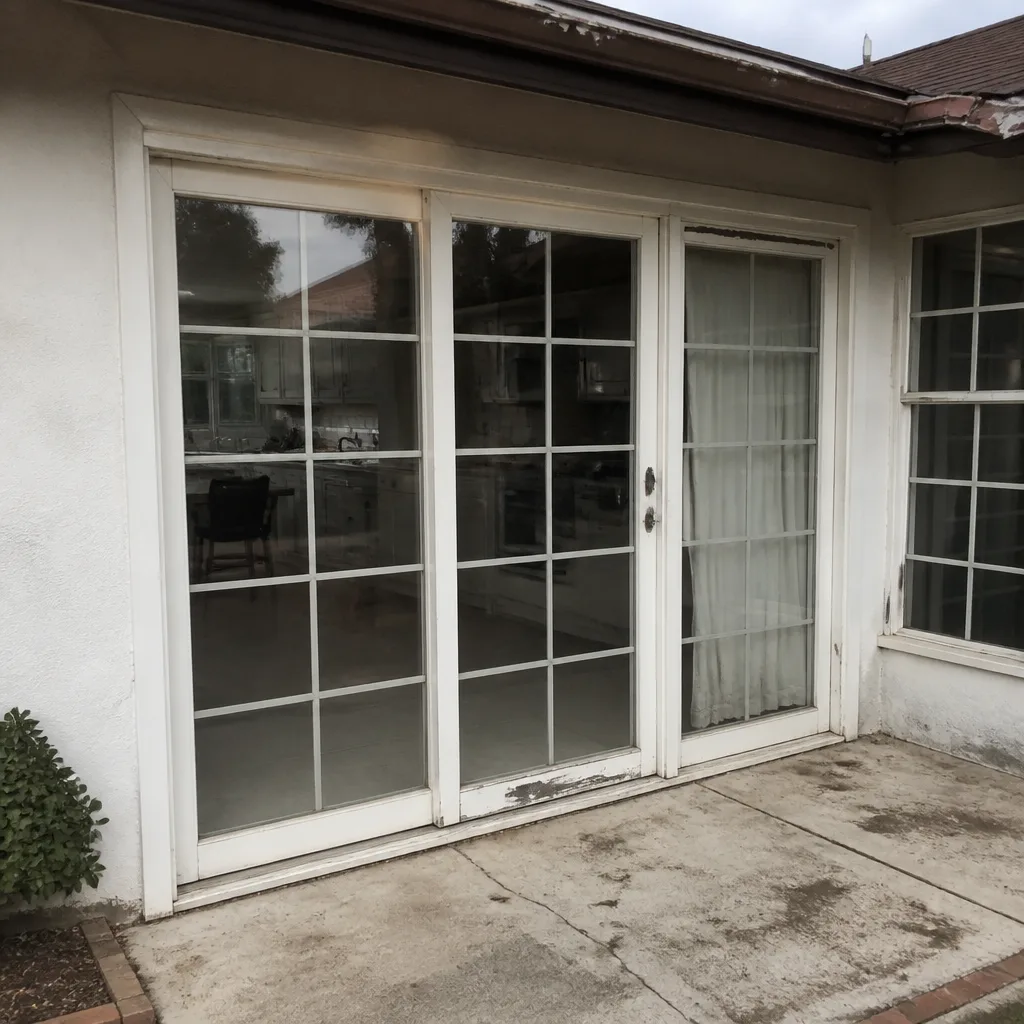 Before
 After
AfterWindow Installation Troubleshooting: Common Problems and How to Fix Them
When a newly installed window leaks during the first Los Angeles rain, the instinct is to blame the installer, but the actual culprit is almost always whichever of three flashing steps was skipped or sequenced incorrectly. Knowing which one failed determines who is responsible and what the repair actually costs: a five-minute caulk bead, or a full frame pull. This guide walks through the diagnostic language you need to have a precise conversation with your contractor, the visual checks you can do yourself with a flashlight, and how to document defects so a window installation warranty claim or callback goes the way it should.
Quick Answer
Window installation problems after the fact usually trace back to one of five root causes in the rough opening or flashing sequence, not the window itself. The fix ranges from a simple bead of sealant at a missed corner to a full frame removal and re-flash. Identifying where and when water appears, whether the frame sits square, and whether the sash binds tells you which of those five causes you are dealing with.
Table of Contents
- The Five Root Causes Behind Most Installation Problems
- Head Flashing, Pan Flashing, and Sill Dam: Diagnosing the Three Flashing Failures
- The Flashlight Inspection: What to Look for During Rain
- Racked and Out-of-Square Frames: A Rough Opening Problem
- How to Document Installation Defects for a Warranty Claim
- Callbacks vs. Disputes: What a Good Contractor Fixes Without Discussion
- Common Mistakes to Avoid
- When to Call a Professional
The Five Root Causes Behind Most Installation Problems
We have walked into hundreds of Los Angeles homes where a homeowner has been told their brand-new window is defective, when what we actually find is one of five installation errors repeated across the industry. Here they are, in order of how often we see them.
- Missing or improperly lapped flashing tape at the sill and jambs. Flashing tape has to lap in a specific order: sill first, then jambs over the sill, then head flashing last. When the sequence is wrong, water that hits the top of the window runs behind the tape instead of over it. This is the most common cause of leaks at the bottom corners of a new window.
- No backer rod or sealant depth control at the interior perimeter. Sealant needs something behind it to form against. A bead squirted into an open gap, with nothing behind it, fails within a season. The joint opens, air moves through, and you feel drafts exactly where the window meets the wall.
- Shimming only at the corners instead of at manufacturer-specified locations. Windows carry load at specific points. When a crew shims wherever is convenient, the frame flexes at the center, the sash binds, and the homeowner starts noticing it within the first month of operation.
- Sill dam omitted or cut too low. The sill dam is a small raised lip at the exterior bottom of the frame that keeps water from blowing back under the sash. In Los Angeles, where winds can drive rain horizontally through the canyons, omitting or flattening this detail means water gets under the window even when the flashing is perfect.
- The rough opening was never checked for square, level, or plumb before install. This one is invisible until it is not. A window forced into an out-of-square opening will rack, bow, or bind within weeks. The product is fine. The hole it went into was wrong.
Understanding which of these you are looking at changes everything about the repair conversation. If the flashing sequence is wrong, the fix often means pulling the window and redoing the seal. If the rough opening is out of square, the fix may involve carpentry on the framing, not a new window. If you live in Los Angeles, where older homes in areas like Highland Park, West Adams, and Silver Lake commonly have rough openings that have shifted over 60 or 70 years, the rough opening problem is more common than many installers will admit.
Head Flashing, Pan Flashing, and Sill Dam: Diagnosing the Three Flashing Failures
Here is the diagnostic framework that separates a real installation defect from a product problem. Water entry location and timing tell you which flashing component failed. We use this exact language when we inspect a window after a leak report, and it is the same language you can use when you call your contractor back.
Head Flashing Failure
Head flashing sits at the top of the window and directs water coming down the wall away from the top of the frame. When it fails, you see water staining or drips at the top corners of the window, usually appearing during rain but sometimes showing up a day or two later as water travels behind the wall before emerging. You may also see damp drywall above the window on the interior.
The root cause is usually one of three things: no head flashing was installed, the head flashing was cut too short and does not extend past the side jambs, or the flashing tape above the head was lapped incorrectly so water runs behind it. The fix is almost always removing the interior and exterior trim, installing proper head flashing that extends at least 1 inch past the jambs on each side, and re-lapping the tape in the correct order. This is not a caulk fix. Caulk on the exterior top of the window will not correct a head flashing failure.
Pan Flashing Failure
Pan flashing is the waterproof “pan” created at the bottom of the rough opening before the window goes in. It catches water that gets past the window’s sill and directs it out to the exterior, not into the wall cavity. When pan flashing fails or is missing, water appears at the bottom corners of the window on the interior, often showing up during or right after rain. You will see water staining on the drywall under the window or damage to the window stool and apron trim.
The cause is almost always that the pan flashing was never installed, or the corners of the pan were not wrapped and sealed so water leaks through the folded corners. The fix requires removing the window from the opening, installing a proper pan with sealed corners, and reinstalling the window. This is a full frame pull, not a touch-up, and it should be covered under any legitimate installation warranty. In Los Angeles, where building codes have required pan flashing for years, a missing pan is a straightforward code failure and should be resolved without argument.
Sill Dam Failure
The sill dam is the small raised lip built into the exterior bottom edge of many window frames. It stops wind-driven rain from blowing up under the sash and into the track. When it fails or is missing, water appears in the window track or on the sill itself, not on the wall. It shows up during windy rainstorms, not gentle rain, because wind pressure is what pushes the water past the dam.
The cause here is either that the window was not designed with an adequate sill dam for the exposure, or the sill dam was accidentally cut or ground down during installation. In exposed Los Angeles locations, like homes on the ridge lines of the Hollywood Hills or facing the ocean in Playa del Rey, wind-driven rain is a real factor and the sill dam matters. The fix may be as simple as replacing the sill cap or as involved as replacing the window with a model rated for the exposure. Either way, this is a product-application issue, not a flashing workmanship issue, which changes the warranty conversation.
The Flashlight Inspection: What to Look for During Rain
You can identify which of the three flashing failures you have from inside your house during the next Los Angeles rain, using a flashlight and five minutes. Here is exactly what to look for.
- Wait for steady rain, not a drizzle. Intermittent sprinkles do not put enough water against the wall to reveal a flashing failure. You want the kind of rain where water is visibly running down the stucco or siding.
- Start at the top interior corners of the window. Shine the flashlight at the drywall seams where the wall meets the top of the window. Look for any change in paint sheen, a watermark that looks like a light brown or grey shadow, or a spot where the drywall feels cooler to the touch than the surrounding wall. That is where you will see a head flashing failure.
- Check the vertical seams at the left and right sides. Run the light slowly down the drywall next to the window jamb. Water from a jamb flashing mistake often appears as a thin vertical stain, not a puddle.
- Look at the bottom corners of the rough opening. This is where pan flashing failures show up. You may see water collecting on the window stool, a dark line at the corner where the trim meets the wall, or paint starting to bubble. If the paint bubbles, press gently with your finger. If it feels soft, water has been getting in for a while.
- Check the window track itself. If water is in the track but the wall around the window is dry, the problem is a sill dam or a drainage channel issue, not a flashing failure. The water got past the sash but not into the wall, which is a much less serious problem.
- Note the time and what you saw. Write down the date, the rain intensity, and exactly where the water appeared. This documentation will matter in the next section.
One distinction worth memorizing: water at the corners of the rough opening means a flashing failure. Water across the center of the sill means a sill dam or drainage issue. Water across the top center means a head flashing problem. The pattern tells you where to look.
Racked and Out-of-Square Frames: A Rough Opening Problem
In the first weeks after installation, a window that was forced into an out-of-square rough opening will start to tell you something is wrong. The signs are physical and visible, not a matter of feel or preference.
You can check for a racked frame with a simple visual test. Stand back and look at the horizontal lines of the window: the top rail, the meeting rail where the two sashes meet, and the bottom rail. On a correctly installed window, these lines are parallel to each other and to the floor. On a racked window, one side of the meeting rail will sit higher than the other. The gaps between the sash and the frame will be wider at one corner than at the opposite corner. You may also see daylight through the gap at one corner when the sash is closed, or feel a draft at a single point rather than along the whole perimeter.
Why does this happen? The rough opening itself is out of square, meaning one of the four corners is not a 90-degree angle. The installer either did not check it before install, or checked it and shimmed incorrectly. A window cannot correct a bad rough opening; it can only be twisted by it. The frame bows, the sash binds, and over time the glass seal can fail because the glass unit is under constant stress.
This is a rough opening problem, not a product defect. The window itself is fine. The fix involves removing the window, correcting the framing in the opening, and reinstalling. In Los Angeles homes built before the 1960s, where wood framing has shifted over decades of dry summers and wet winters, out-of-square rough openings are common. An installer who knows the market checks for this before ordering the window, not after. When you call to report a binding sash, the right contractor response is an immediate site visit, not a debate about whether the window is “within tolerance.”
How to Document Installation Defects for a Warranty Claim
Documentation decides whether a warranty claim goes smoothly or turns into a dispute. You do not need to be a professional inspector to document a problem correctly. You just need to record the right information in the right order. Here is the method we recommend to every Los Angeles homeowner who calls us with a problem on a window we did not install; for more guides & resources, see our blog.
- Photograph the symptom, not just the area. Take a close-up of the water stain, the drafts point, or the binding sash. Then take a wide shot showing the entire window in the wall. The close-up shows the problem; the wide shot shows the location. Both matter to a claims reviewer.
- Photograph the exterior of the same window. You are looking for visible defects: missing sealant, gaps in the flashing, trim that does not sit tight against the wall. Even if you are not sure what you are looking at, photograph everything at the window perimeter.
- Record the weather conditions. Note the date, whether it was raining, the wind direction if you know it, and the temperature. A leak that happens during a specific storm pattern tells a different story than a leak that happens every time it rains. Write it down in a note on your phone next to the photo.
- Record the sequence of events. When was the window installed? When did you first notice the problem? Has it gotten worse? Has the weather changed? A timeline in writing is dramatically more useful to a contractor than a phone call that says “my window is leaking.”
- Keep all paperwork in one place. Your contract, your invoice, any itemized scope of work, and your warranty documents. If the contractor gave you a written estimate, keep it. If you have good photos and a clear timeline, your claim will be processed faster.
One more thing: do not attempt a repair before documenting. We have seen homeowners caulk over a leak, then call the contractor, who arrives to find the evidence gone and the problem still there. Document first, then call.
Callbacks vs. Disputes: What a Good Contractor Fixes Without Discussion
There is a clear difference between a callback that a reputable installer resolves without a second thought and a dispute that needs a third-party inspector. The difference comes down to what the problem is and how it happened.
A callback is a problem that falls clearly within the scope of a standard installation warranty: a gap in the sealant that opened up after a few weeks, a piece of trim that came loose, a small draft at a corner, a flashing detail that was not lapped correctly. These are workmanship issues. A reputable contractor sends someone out, fixes the problem, and apologizes for the inconvenience. No discussion of cost. No debate about whose fault it is. Lightwell Windows & Doors operates on exactly this principle: if the finished work is not right, we make it right, no countdown, no argument. The 365-Day Done Right Promise means these callbacks are handled as a matter of course.
A dispute is different. Disputes happen when the problem is not clearly a workmanship issue, or when the homeowner and contractor disagree about what caused the damage. This usually involves water damage that has spread into the framing or interior finishes, where the repair involves more than the window itself. Or it involves a product the homeowner believes is defective and the contractor believes was installed correctly. In these cases, a third-party inspector or a manufacturer’s field service representative can provide an independent assessment. The written documentation from the previous section becomes the core evidence. If you have photos, a timeline, and weather records, you go into that dispute with a file instead of a memory.
What triggers a callback vs. a dispute often comes down to the contractor’s operating values, not just the specific problem. A contractor who operates on a written-price-before-work-starts model, with a clear warranty in writing, has the structure to handle callbacks cleanly. A contractor who does business on a handshake has neither.
Common Mistakes to Avoid
- Caulking over a leak from the outside without diagnosing the flashing. Exterior caulk is a surface fix. A flashing failure is a water-path problem. The caulk will fail, the leak will return, and now you have spent time and money masking the symptom instead of addressing the cause. Diagnose the flashing pattern first.
- Assuming the window is defective when the problem is the rough opening. A racked frame, a bowed jamb, a sash that binds, these are almost always installation or framing problems, not factory defects. In Los Angeles, where older framing has settled over decades, this is especially common. Check the opening before you blame the product.
- Waiting too long to report a problem. Water damage compounds. A small stain becomes a rotted sill, then a mold concern, then a full wall repair. Report leaks and drafts immediately, in writing, with photos. The longer you wait, the more expensive and the more complicated the repair.
- Fixing the interior damage before documenting the exterior cause. We see homeowners patch the drywall and repaint before the contractor arrives, which removes the evidence of where the water was coming in. Document first, repair second.
- Hiring a contractor without a written scope of work. If the scope of work is not in writing, the callback conversation is already harder. A written scope before work starts means the contractor has defined what a correct installation looks like, and the warranty conversation has a document to reference. Every Lightwell job includes a written price and scope before any work begins, so the expectation is set before the crew arrives.
- Choosing the cheapest bid without asking how the flashing will be done. The flashing sequence is the most important detail of a window installation, and it is the easiest to skip when the price is cut. Ask the contractor to describe the flashing sequence, in order. If they cannot answer, the low price is not a bargain.
- Ignoring a small draft as “just how windows are.” A new window should not draft. A draft at a corner or along the bottom means a seal is broken, flashing is wrong, or the frame is racked. All three are fixable, and all three are covered under a legitimate installation warranty.
When to Call a Professional
You can do the flashlight inspection and the squareness check yourself. You can document the symptoms and keep a weather log. But the repair of a flashing failure, a racked frame, or a water-damaged rough opening is not a DIY job. These repairs require removing a window from the wall, and that involves supporting the opening, protecting the interior finish, and re-flashing the entire perimeter in the correct sequence. Get it wrong and you have a bigger leak than before.
Call a professional when you see water staining at the corners of the rough opening, when the sash binds or sticks, when daylight shows through a closed window, or when the leak has reached the drywall or framing. Lightwell Windows & Doors offers free estimates in Los Angeles, call (562) 478-8017. We inspect the problem, explain exactly what we found, and put the price in writing before any work starts, so you know what the fix will cost before the crew touches your window.
Frequently Asked Questions
Water coming in at the corners of a new window almost always means a flashing failure, not a bad window. The leak pattern tells you which flashing component failed: top corners mean head flashing, bottom corners mean pan flashing, water in the track with a dry wall means a sill dam or drainage problem. A flashlight inspection during rain will show you exactly where the water is entering. Call the installing contractor with that information, not just “my window is leaking.”
A simple sealant touch-up at a missed corner typically runs between $150 and $400. A flashing repair that requires removing the interior and exterior trim but not the window itself usually lands between $500 and $1,200. A full frame pull to correct pan flashing or a racked rough opening can run from $800 to $2,500 or more depending on access and framing damage. If the problem is a workmanship issue covered under the installation warranty, the repair should cost you nothing. Call (562) 478-8017 for a written, itemized quote on your specific window.
A racked window shows gaps that are wider at one corner than the opposite corner, a meeting rail that is not level, a sash that binds or sticks when you open and close it, and sometimes visible daylight at one corner when the window is closed. It is caused by an out-of-square rough opening, not a product defect. The fix is correcting the framing, not replacing the window. If your new window feels like it is getting harder to operate in the first month, have it checked.
In most cases, no. Caulk is the right tool for a small sealant gap that opens at the exterior perimeter, but it is not the right tool for a flashing failure, a missing pan, or a sill dam problem. Caulking over a flashing failure masks the symptom for a few months while water continues to enter the wall cavity behind the caulk. Diagnose the leak pattern first, then determine whether the repair is a sealant fix or a flashing fix. If water is reaching the framing or drywall, call a professional.
A legitimate installation warranty covers workmanship defects, including incorrectly lapped flashing, missing pan flashing, and poorly shimmed frames. The warranty period varies by contractor, so you need to read the document. Lightwell Windows & Doors covers every installation with the 365-Day Done Right Promise, which means any workmanship issue that shows up within the first year gets fixed at no charge, no debate. The key is documenting the problem in writing, with photos and a timeline, when you first notice it.
A correctly installed window in Los Angeles should last 20 to 30 years before the frame or glass needs replacement. The sealant and weatherstripping may need periodic replacement every 5 to 10 years depending on sun exposure; see our Window Replacement Maintenance Checklist for Los Angeles Homeowners for details. What fails first in most Los Angeles installations is not the window but the flashing, because our climate combines dry heat that breaks down sealant with sudden heavy rains that test the water-shedding details. A well-flashed window, correctly installed, should not leak in year one or year ten. If it does, the problem was in the opening, not the product.
The Bottom Line
Most “defective window” complaints in Los Angeles are installation problems in disguise. The window itself is usually fine; the flashing, shim, or rough opening work around it was not. Leak patterns at the top corners, bottom corners, or window track point to specific flashing failures. A racked frame points to an out-of-square opening. Document what you see, in writing and photos, and take that file to your contractor. A reputable installer fixes workmanship issues as a callback, without discussion. A dispute happens when the evidence is thin and the scope was never written down. Get the scope in writing before the work starts, and every conversation after that gets easier.
Written by Keith Yamada, Owner at Lightwell Windows & Doors, serving Los Angeles since 2010.