
Last updated October 8, 2026
Free in-home measure and quote - PGT, CGI and CWS impact lines compared on your actual openings, style by style
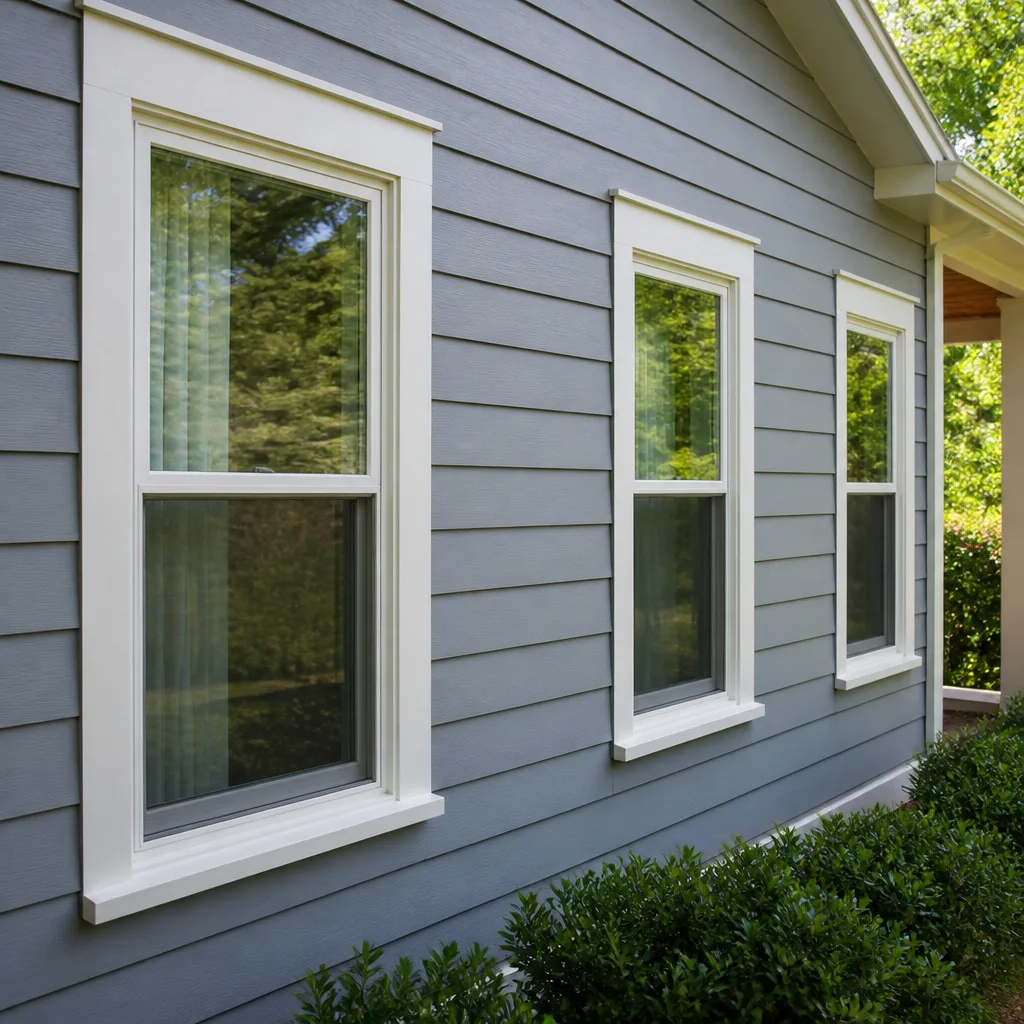
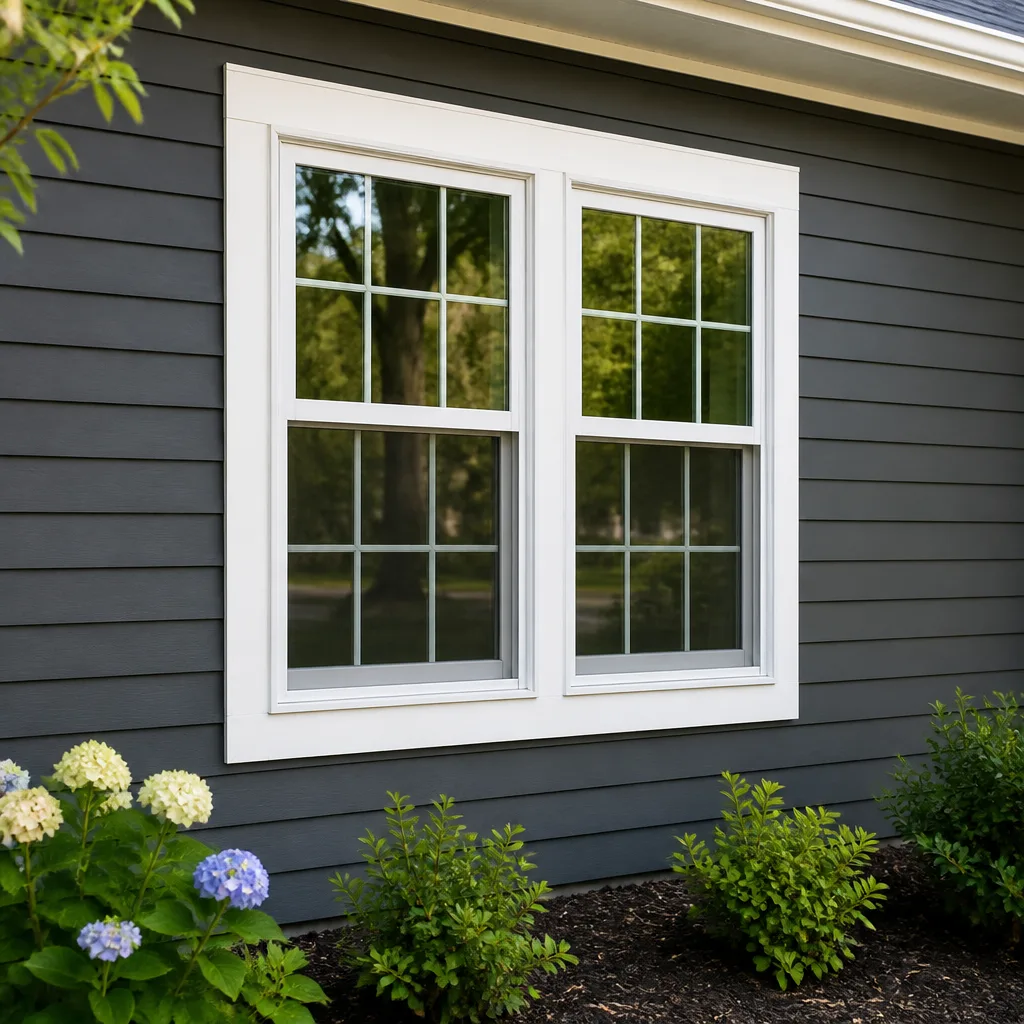
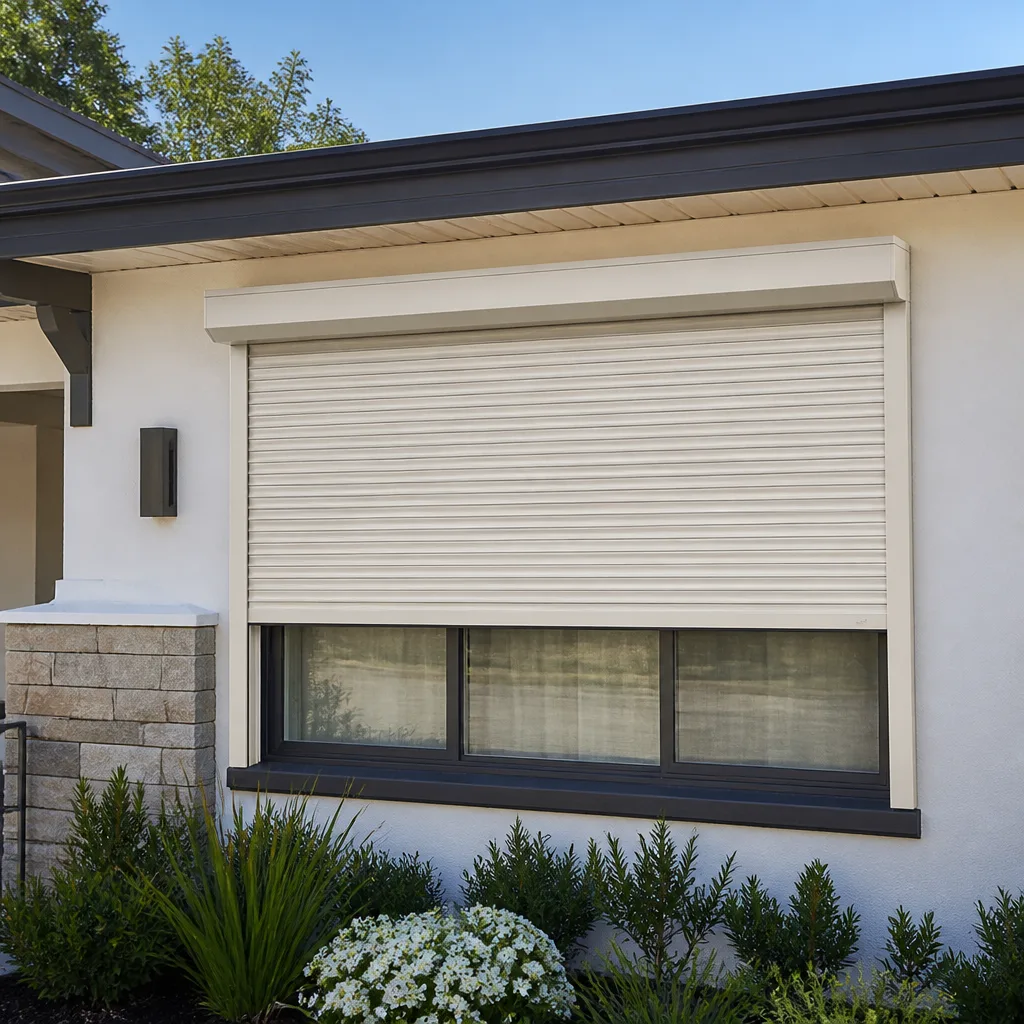
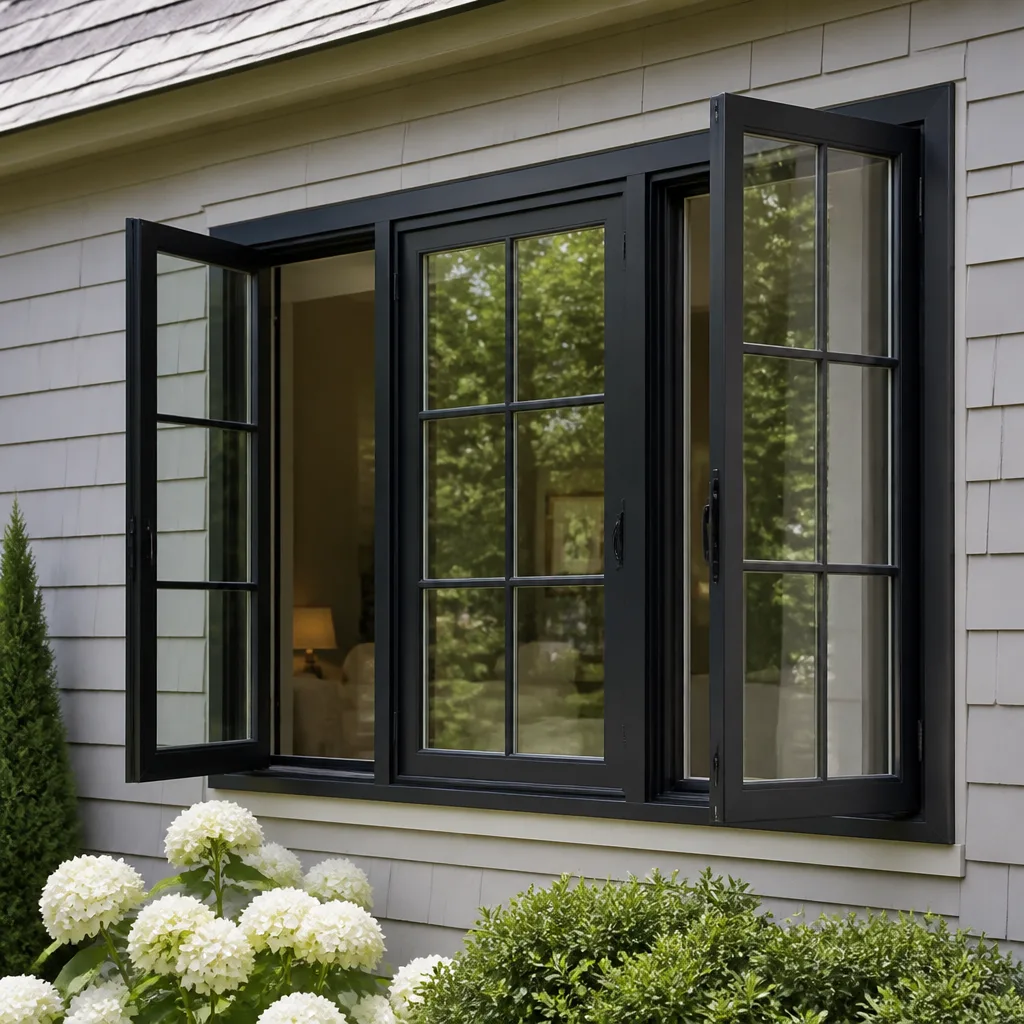
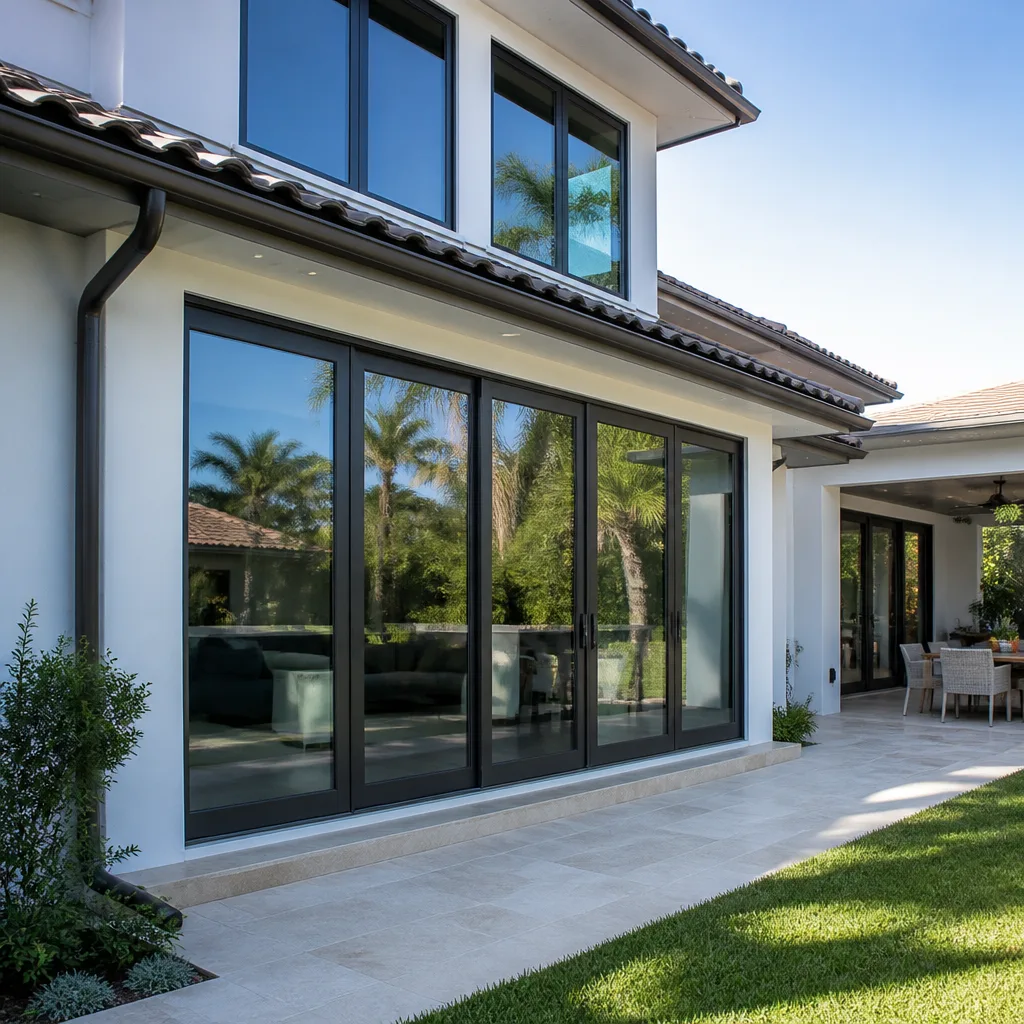

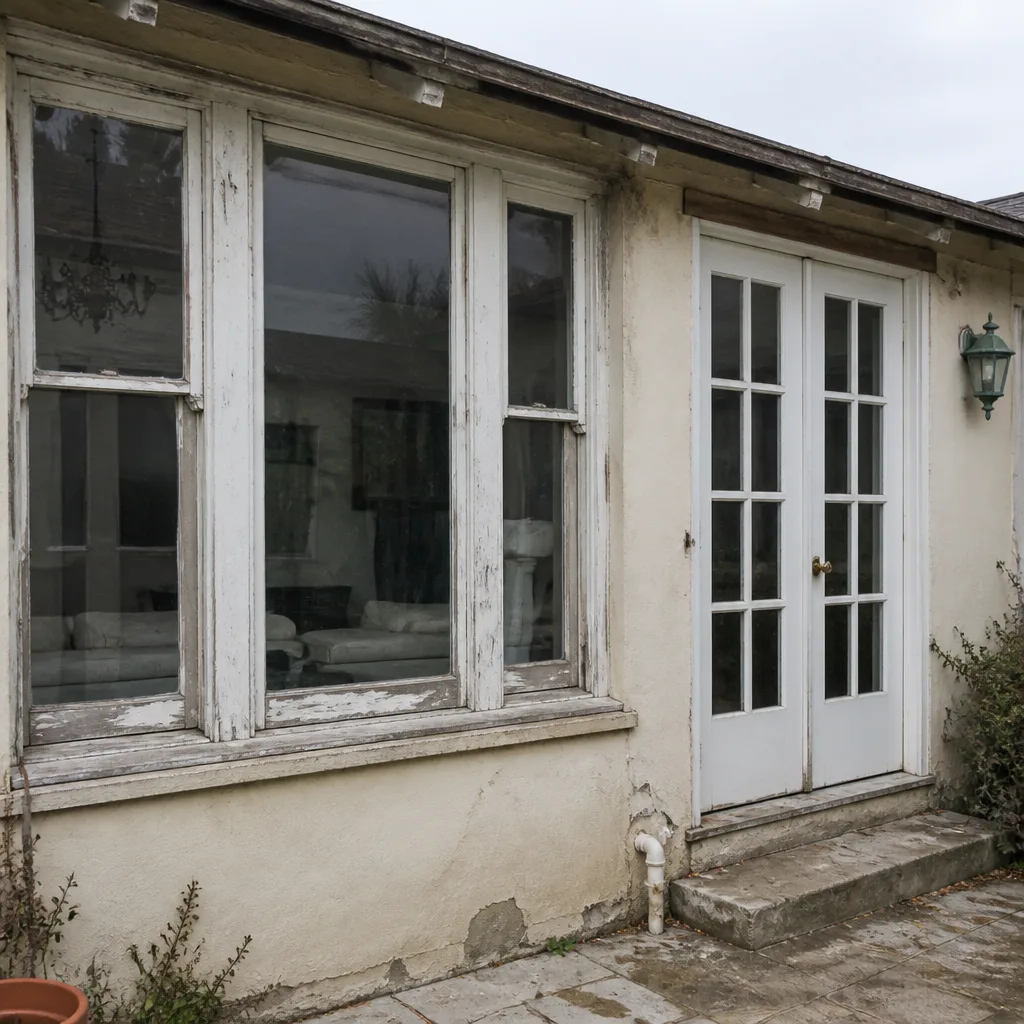 Before
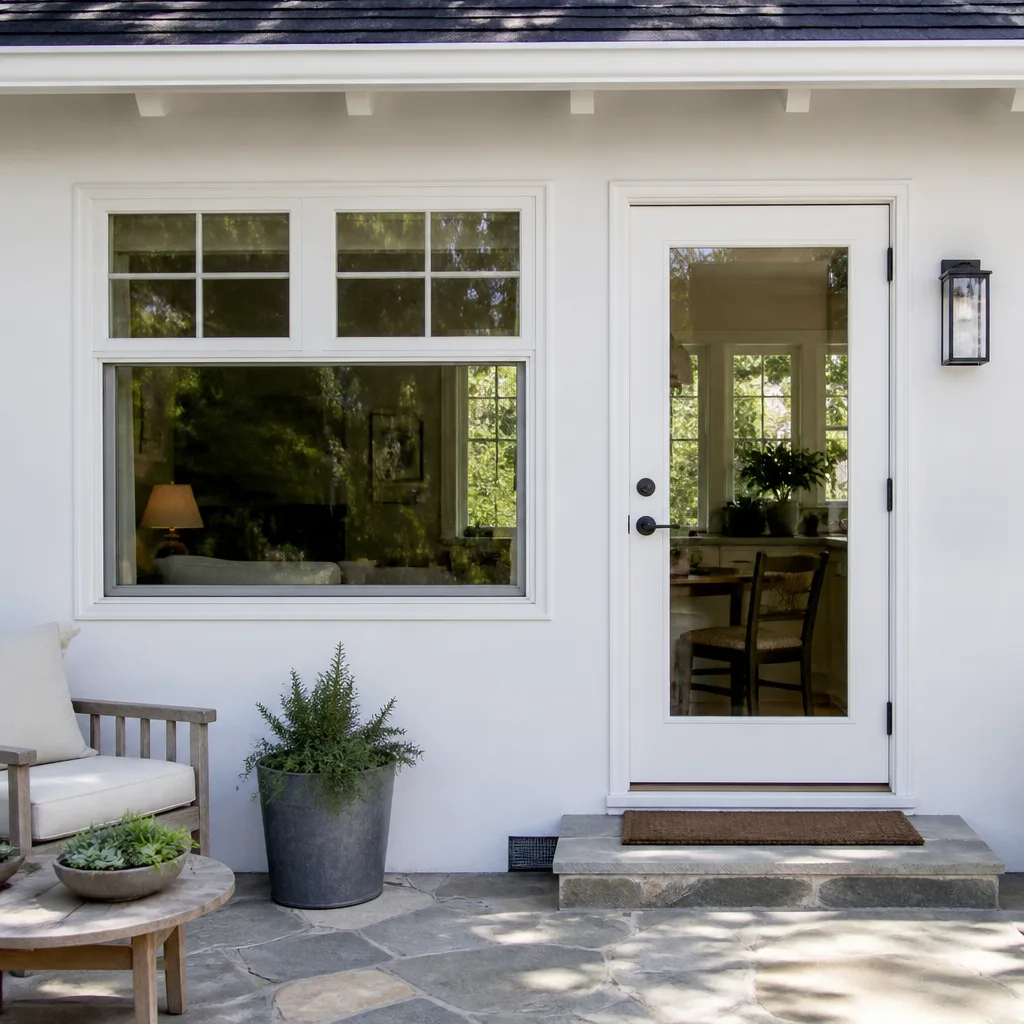 After
After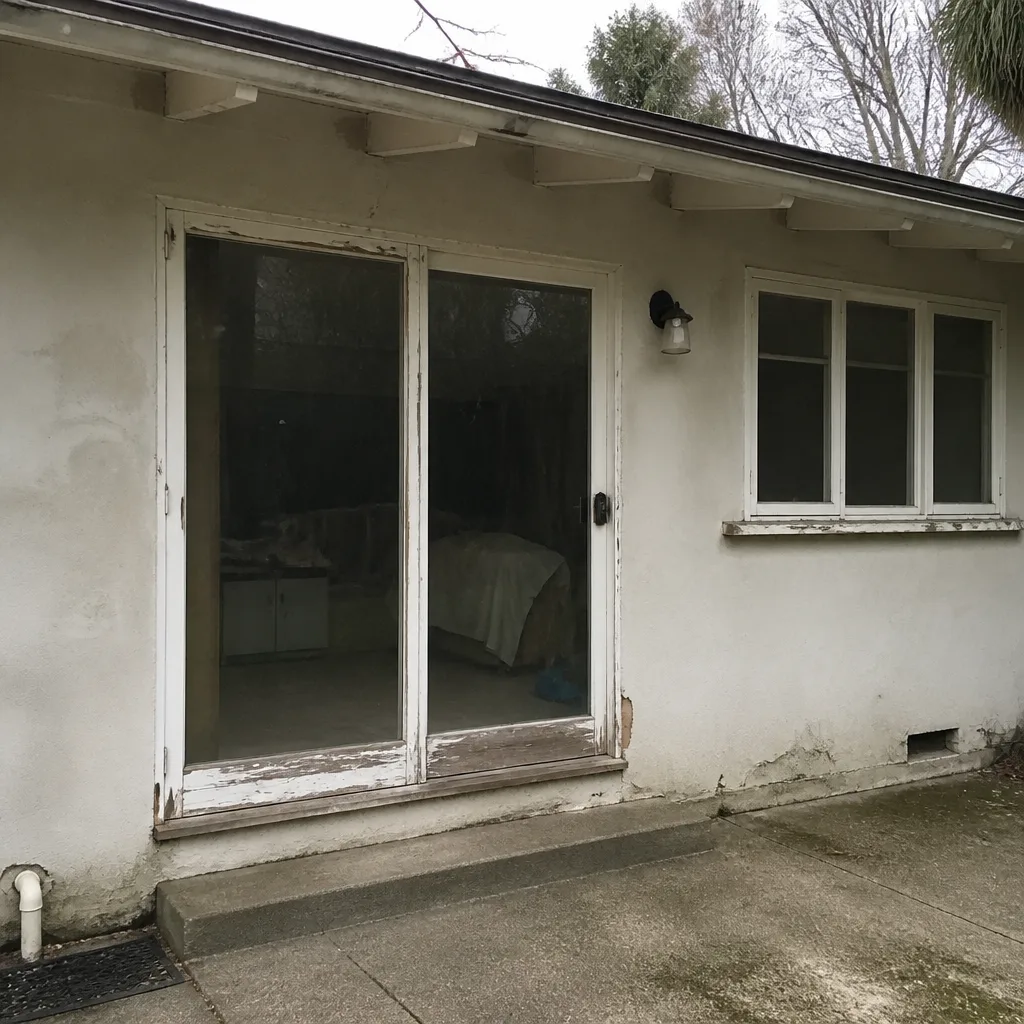 Before
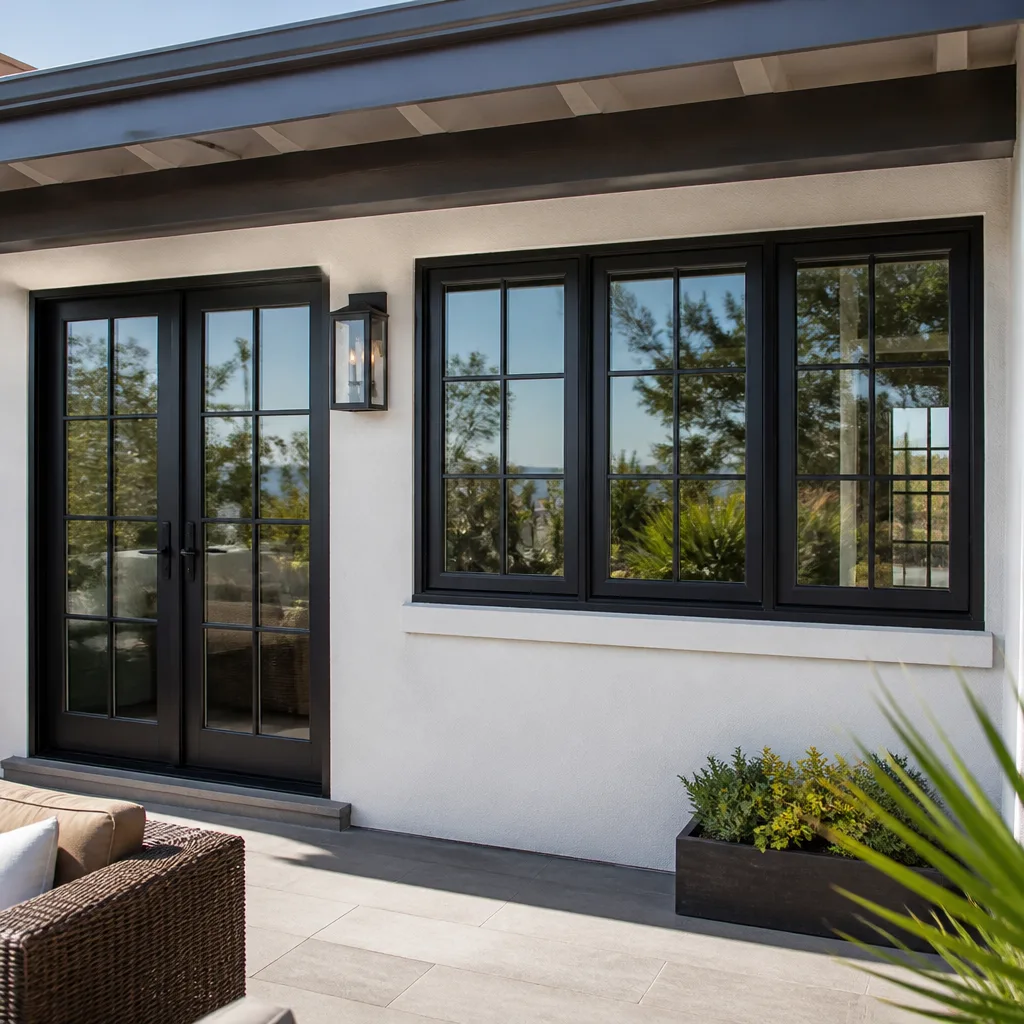 After
After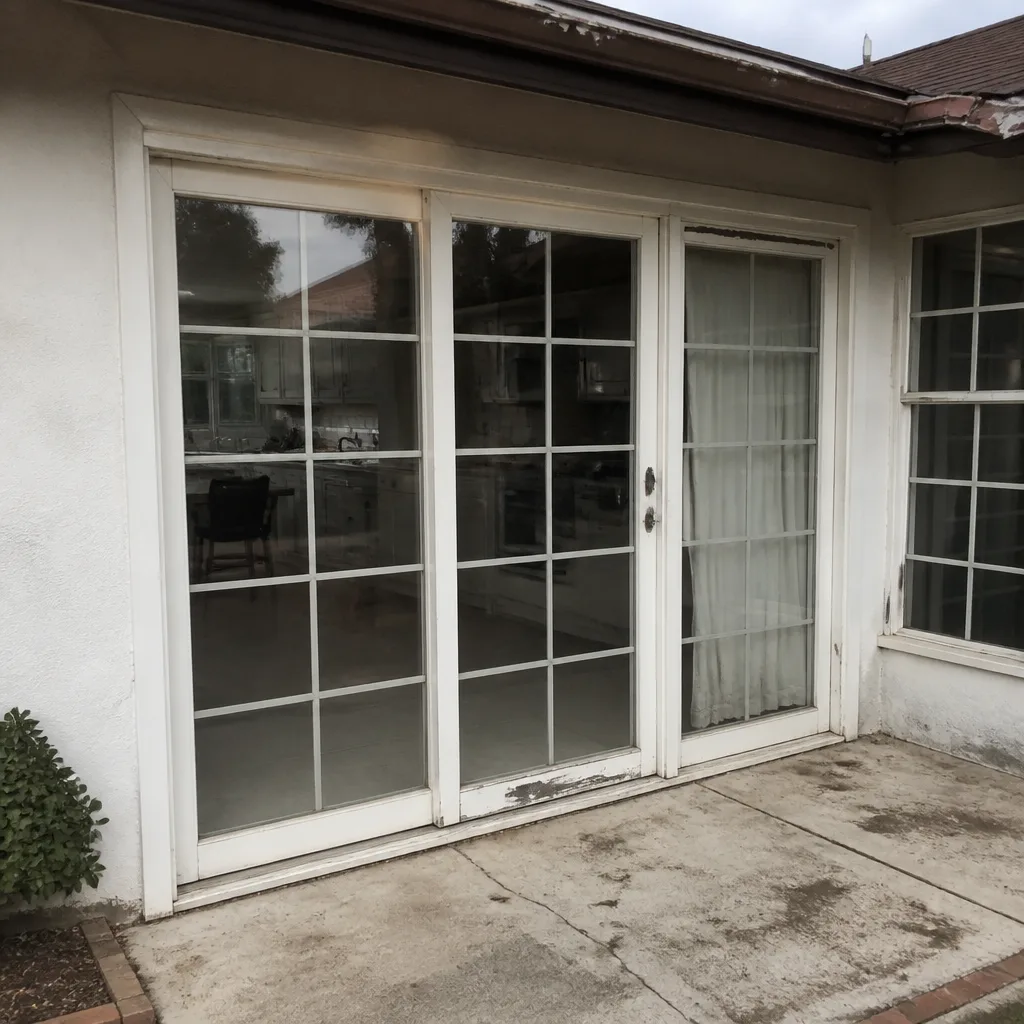 Before
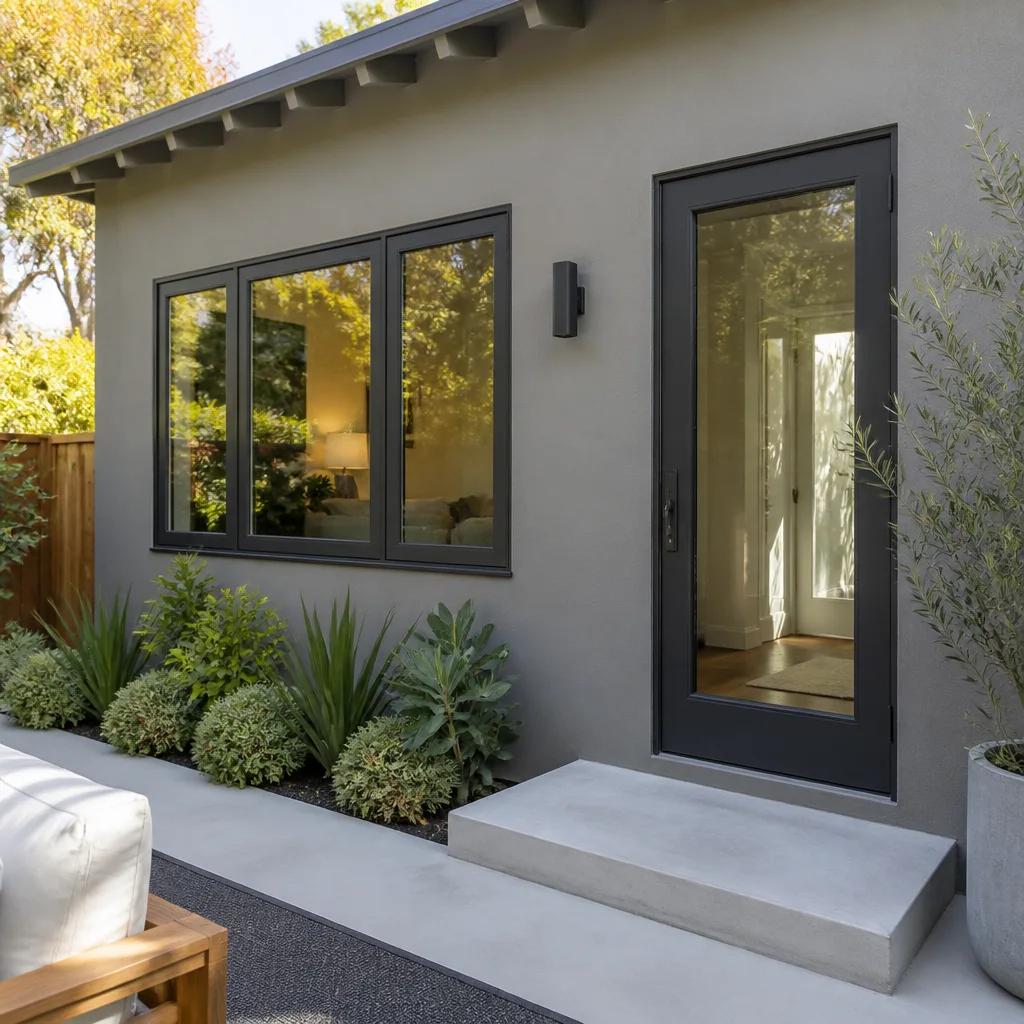 After
AfterWindow Installation Warning Signs Every Homeowner Should Know
A window that fogs between the panes on day one isn’t a defective glass unit. It’s almost always a sign the seal was breached during installation, and it’s a warranty claim that some crews will quietly hope you never make. Most installation problems announce themselves within the first week: in sounds, drafts, and small gaps. But homeowners rarely know which signals are normal settling and which ones mean the job needs to be redone. This guide teaches you to read your newly installed windows the way a contractor in Los Angeles would, before small problems become structural ones.
Quick Answer
Window installation warning signs fall into five categories: persistent rattling or whistling (not the normal expansion sounds of the first few days), condensation between glass panes (a failed seal from installation damage), visible daylight or air movement around the frame perimeter, caulk lines that are thin, broken, or missing, and windows that stick, bind, or won’t latch properly. If you notice any of these within the first week, document them with photos and call your installer before signing the completion form.
Table of Contents
- Sounds: What’s Normal, What’s a Red Flag
- Condensation: Interior vs. Between the Panes
- The Flashlight and Dollar-Bill Test for Air Gaps
- What a Proper Caulk Line Should Look Like
- Windows That Stick, Bind, or Won’t Latch
- Water Intrusion: The Slow-Motion Failure
- Questions to Ask Before Signing the Completion Form
- Common Mistakes to Avoid
Sounds: What’s Normal, What’s a Red Flag
New vinyl and aluminum windows expand and contract with temperature changes. In Los Angeles, where daytime heat and cool coastal evenings swing temperatures by 20 to 30 degrees, you’ll hear occasional pops and ticks from new frames during the first three to five days. That’s the material settling into its opening. A single pop when direct sun hits a dark frame at 2 p.m. is not a defect.
What you should not hear is a rattle when a bus goes by on Wilshire or when your kids run through the living room. A rattle means something is loose. In our experience, it’s usually one of three things: a missing shim behind the frame, an under-tightened screw in the track, or a sash that wasn’t seated correctly in its balance system. Persistent rattling doesn’t fix itself, and it’s a sign the installer didn’t square or anchor the unit properly.
Whistling is a separate category. A high-pitched whistle, especially on windy days near the coast in places like Santa Monica or Playa del Rey, tells you air is finding a path through or around the frame. That path shouldn’t exist. A properly installed window seals against the rough opening with backer rod and sealant, then gets an exterior trim and caulk line. Whistling means one of those layers failed.
What to listen for in week one:
- Soft, occasional pops in direct sun: normal, fading after a few days
- A rattle that repeats with traffic, footsteps, or slamming doors: loose frame, missing shim, or unseated sash
- A whistle on windy days: air path through the frame perimeter or a failed seal
- A grinding sound when you open and close the sash: debris in the track or an alignment problem
If you’re unsure, record the sound on your phone. A short video with audio gives your installer something concrete, and it protects you if a dispute comes up later. We tell every Los Angeles homeowner we work with: document the first week. Most problems are easiest to trace in that window.
Condensation: Interior vs. Between the Panes
Interior condensation on the glass surface is almost never an installation problem. It’s humidity in your home meeting a cool surface. In Los Angeles, where older homes often lack mechanical ventilation, you’ll see it most on winter mornings after a night of breathing, cooking, or running a shower. Open a window or run a dehumidifier and that surface fog clears.
Condensation between the panes is a different story. Double and triple pane windows are built as sealed units, filled with argon or krypton gas and closed at the factory. That seal should hold for 15 to 20 years or more. If you see fog, droplets, or a milky film between the panes in the first week after installation, the seal was breached, almost always during handling or installation. A corner bumped against a scaffold, a unit twisted into an un-square opening, a glazing bead driven in too hard: any of these can crack the seal at the spacer bar. The window still looks fine, but the insulating gas escapes and moisture gets pulled in as the unit breathes with temperature changes.
We see this most often in Los Angeles when a single installer carries a large picture window alone, tilting it against a wall or stair rail. A 6-foot window weighs 80 to 120 pounds. It needs two people and a clean, padded path.
The quick diagnostic:
- Wipe the interior glass surface with a dry cloth. If the fog is gone and the glass is clear, it was surface humidity. Not an installation problem.
- If the fog doesn’t wipe away, look at it from both inside and outside. Fog inside the unit means a breached seal.
- Check the corners of the glass for small cracks in the spacer bar or gaps in the glazing bead. That’s where installation damage usually shows first.
A breached seal is a warranty claim on the glass unit, but the labor to replace it may not be covered unless your installer stands behind their work. At Lightwell Windows & Doors, we carry a 365-Day Done Right Promise: if the finished work is not right, we make it right. That covers installation-related seal failures, and we put it in writing before any job starts.
The Flashlight and Dollar-Bill Test for Air Gaps
You don’t need special tools to find air leaks around a new window. Two tests, using things already in your house, will tell you most of what you need to know.
The flashlight test: At night, stand outside with a bright flashlight aimed at the window’s perimeter, where the frame meets the wall. Have someone inside the room turn off the lights and watch the joints. If light bleeds through anywhere around the frame, the seal isn’t continuous. Air is getting through that same path. In Los Angeles, this matters year-round: outside air carries dust, exhaust, and pollen from the hills and freeways, and every leak is a place where that gets in.
The dollar-bill test: Close and lock the window. Place a dollar bill between the sash and the frame, then close the sash onto it. Try to pull the bill out. If it slides out with no resistance, the weatherstripping isn’t compressing properly, the sash isn’t closing square, or the balance system isn’t pulling the sash tight. If you can pull the bill out with the window locked, the lock isn’t engaging the keeper tightly enough. A properly installed window should grip the bill firmly; you should feel resistance and the bill should tear before it slides free.
Run this test on every new window, top and bottom, left and right. In our experience, failed sashes usually show up on one corner first: the installer wrestled the unit into an out-of-square opening and the frame twisted just enough to leave a 1/16-inch gap that you can’t see but can definitely feel.
What those gaps cost you in Los Angeles: a 1/16-inch gap around one window won’t bankrupt you, but six or eight windows with small gaps add up to the equivalent of leaving a small window open 24 hours a day. Your air conditioner works harder through every Santa Ana heat wave, and the dust that settles on your floors inside two days instead of five comes from somewhere.
What a Proper Caulk Line Should Look Like
Caulk is the first line of defense against water intrusion, and it’s also the most common place where rushed installers cut corners. A proper caulk line after window installation has specific, observable characteristics. You shouldn’t need a contractor to tell you whether yours is right. You should be able to see it.
Color: Caulk should match the frame or the trim, and it should be consistent along the entire perimeter. A line that changes color midway means two different products were used, or one section is older than another, or someone ran out of material and switched brands. For most Los Angeles window replacements, a color-matched silicone or polyurethane sealant is used; it should look deliberate, not like white caulk smeared over a dark bronze frame.
Continuity: The bead should be unbroken all the way around the window head, jambs, and sill. Any gap, no matter how small, is a future water path. Look especially at the sill corners, where horizontal and vertical lines meet. Water sits there after rain, and a pinhole in that corner will pull water behind the frame through capillary action. In Los Angeles, where rain comes in short, heavy bursts between long dry spells, a tiny breach can sit damp for weeks before it dries, and that’s how rot starts in wood framing.
Depth and tooling: The bead should be tooled, meaning it was pressed into the joint with a finger or tool, not just laid on top. A tooled bead has a slightly concave profile and is bonded to both the window frame and the wall surface. A bead that looks like a rope sitting on the surface hasn’t been pressed in, and it will peel away within a season. You should see a smooth line approximately 1/4 to 3/8 inch wide, with no voids, bubbles, or ridges.
One more thing: exterior caulk should never bridge the weep holes at the bottom of the frame. Weep holes are the small slots or flaps that let water that gets into the track drain back out. An installer who caulks over them has sealed water inside the frame. Check every window: the weep holes must be clean, open, and below the level of the interior sill.
Windows That Stick, Bind, or Won’t Latch
A new window should open and close with one hand, smoothly, from the day it’s installed. It shouldn’t take two hands, a shoulder, or a running start. If you have to push hard, lift, or wiggle the sash to get it moving, something in the installation is off.
Sticking and binding are almost always frame alignment problems. The rough opening in an older Los Angeles home, in neighborhoods like Silver Lake, Echo Park, or Los Feliz, is rarely a perfect rectangle. Decade after decade of settling, seismic movement, and previous remodels leave openings that are out of square by half an inch or more. A careful installer shims the frame back to square before fastening it. A rushed one doesn’t, and the frame gets twisted to fit the opening. From that point on, the sash fights a distorted track every time it moves.
The latch is the most objective test. Close the window and engage the lock. If the lock doesn’t line up without forcing it, or if you can pull the sash open slightly with the lock engaged, the frame isn’t square and the locking mechanism isn’t seating properly. That’s not a small annoyance. A window that doesn’t lock is a security gap, and in a city like Los Angeles, where ground-floor windows are common in older bungalows and courtyard apartments, it’s a real one.
The three operating checks to run on every new window:
- Open and close the sash with one hand, at normal speed. It should glide without binding, popping, or scraping.
- Lock the window and try to move the sash. It shouldn’t budge more than a hair.
- Check the gap between sash and frame on all four sides. It should be even, not tight at one corner and loose at the opposite one.
If a window fails any of these checks in the first week, it’s not a matter of “breaking in.” Frames don’t straighten themselves out. The unit needs to be re-shimmed or reinstalled, and that work should be on the installer, not on you.
Water Intrusion: The Slow-Motion Failure
Water damage from a failed window installation rarely announces itself the week after the job. It starts small: a slight darkening of the drywall below a sill, a soft spot in the corner of the casing, a faint musty smell that comes and goes after rain. By the time you see peeling paint or an actual drip, water has been working its way behind the frame for months, and the repair bill has multiplied.
In Los Angeles, the pattern is often tied to the first real rain of the season. A window that went in during the dry summer months can look perfect through September and October, then reveal a failed sill flashing or missing backer rod during the first heavy storm in November or December. The mistake happened on install day. The evidence just took months to surface.
Early signs to check after the first rain:
- Dark spots or stains on drywall or casing below the window corners
- Paint bubbling or lifting a few inches below the sill
- A persistent damp smell in the wall cavity near the window
- Soft or spongy wood when you press on the trim
- Visible cracks in the exterior caulk that open up when wet
Flashing is the layer most often skipped or done wrong. A proper installation includes a sloped sill pan that directs water out, flashing tape over the top and sides of the rough opening, and a layered sequence that sheds water down and away from the frame. When we install windows in Los Angeles for homes that face the Pacific, we’re thinking about wind-driven rain coming at the wall horizontally, not just falling from the sky. Coastal homes demand a different flashing detail, and it’s one of the reasons we ask where the water hits before we recommend a product from brands like ES Windows, Therma-Tru, or Mr-Glass.
Questions to Ask Before Signing the Completion Form
The final walkthrough is your moment of leverage. Once you sign the completion form and release the final payment, your installer’s incentive to come back and fix anything drops sharply. A good company wants you to sign because the work is right. A company that’s rushing wants you to sign quickly, before you notice.
Before you put pen to paper, walk through these questions with the installer on site:
- How did you test for air infiltration? The answer should describe a specific method: a smoke pencil, an infrared camera, a blower-door test, or at minimum a careful visual and tactile check of every perimeter seal. If the answer is “we don’t really do that,” push back.
- How did you test for water infiltration? A proper answer describes a hose test following ASTM standards or a calibrated spray rack. For most residential jobs, a careful hose test around the frame after sealant cures is the minimum. If the window was never spray-tested, ask why.
- Where are the shims, and how many did you use? A careful installer can describe exactly where the frame was shimmed: corners, mullions, hinge points, lock points. “We shimmed it where it needed it” is not an answer.
- What sealant did you use, and where exactly? The answer should name a product type and a location: silicone on the exterior perimeter, polyurethane at the sill, foam backer rod behind the jamb extensions. If they can’t tell you, they probably didn’t do it intentionally.
- What does the warranty cover, and what’s excluded? Get the specific coverage: glass seal failures, frame defects, installation workmanship, labor on warranty claims. If the labor isn’t covered, a “lifetime warranty” on the glass doesn’t mean much.
In Los Angeles, the California Contractors State License Board requires written contracts and change orders, and you have three days to cancel most home improvement contracts without penalty. Know your rights before the crew arrives, and use the completion form as the final checkpoint, not a formality.
Common Mistakes to Avoid
- Signing the completion form before running the dollar-bill and flashlight tests. Once you sign, you’ve accepted the work. Spend ten minutes on the tests first. A simple air gap is easier to fix while the crew is still on site with their tools.
- Accepting “that’s normal, it’ll settle” as an explanation for rattles or binding. Frames settle in the first few days, but a window that rattles or sticks after week one has an alignment problem. It won’t fix itself.
- Wiping off interior condensation and assuming all fog is humidity. Surface fog wipes away. Between-pane fog does not. Learn the difference in the first week so you catch a breached seal before the installer’s warranty clock runs out.
- Ignoring a whistle on windy days because it’s “just a little air.” That little air is dust, pollen, moisture, and the sound of your HVAC dollar leaving the house. In a coastal Los Angeles neighborhood, it’s also salt air finding its way into the wall cavity.
- Caulking over weep holes or exterior gaps as a DIY fix. Sealant placed wrong traps water inside the frame, which does more damage than the original leak. If a caulk line failed in week one, that’s on the installer, not on your hardware store caulk gun.
- Paying the final balance before all the windows are in and functioning. You lose leverage when the money is gone. Hold the final payment until every window passes the checks in this guide, and you have the warranty details in writing.
- Assuming the cheapest quote included the same flashing and sealing work as the higher one. In Los Angeles, window replacement prices vary widely, and the differences usually live in the details you can’t see after the trim goes on: flashing tape, backer rod, shim counts, and sealant quality. Ask before you sign, not after.
When to Call a Professional
Some problems are visible and obvious: a cracked pane, a gap you can see daylight through, water pooling on the sill after rain. Others are quieter: a faint draft you can’t pinpoint, a window that’s become harder to open over a few months, a musty smell that comes and goes. If you’ve run the tests in this guide and something doesn’t feel right, a professional inspection is the next step. Look for a company that does its own installation with trained technicians, not subcontracted crews, and that puts its workmanship warranty in writing before the job starts. Lightwell Windows & Doors offers free estimates in Los Angeles: call (562) 478-8017 to schedule one.
Frequently Asked Questions
Run the flashlight test at night to check for light bleeding around the frame, then run the dollar-bill test to check weatherstripping compression, then check that the window opens, closes, and locks smoothly with one hand. If all three pass, the installation is likely sound. If any fail, call your installer and document the issue with photos.
Yes, in the first few days. Vinyl and aluminum frames expand and contract as they adjust to sun exposure and temperature swings, which are significant in Los Angeles between midday heat and coastal evening air. Occasional pops in direct sun are normal. Persistent rattling, whistling, or grinding sounds are not, and point to a loose frame, missing shim, or air leak.
Fog between the panes means the glass unit’s seal was breached, usually during installation. The insulating gas escapes, moisture gets drawn in, and the unit loses its thermal performance. This is a warranty issue, and in Los Angeles, where morning marine layer humidity is common, a breached seal will fog more often and more visibly than you might expect. Call your installer immediately; don’t wait.
The caulk line should be a continuous, tooled bead roughly 1/4 to 3/8 inch wide, matching the frame or trim color, with no gaps, bubbles, or voids. Weep holes at the bottom of the frame must remain open and clean. A thin, broken, or smeared bead is a future water intrusion problem that should be redone.
For a standard replacement window in a Los Angeles home, expect one to two hours per opening, including removal of the old unit, preparation of the rough opening, installation, insulation, trimming, and sealant work. A full house of eight to twelve windows often finishes in two to three working days. Faster isn’t always better; rushed jobs are where shims get skipped and caulk beads get thin.
For most like-for-like window replacements where the opening size doesn’t change, a permit is not required in the city of Los Angeles. However, if the opening is enlarged, a structural header is being modified, or the project is part of a larger remodel, you’ll need permits from the Los Angeles Department of Building and Safety. Requirements vary by project scope, so ask your installer or call LADBS before work begins. A reputable contractor will pull permits when they’re required and will tell you plainly when they’re not.
The Bottom Line
Your newly installed windows will tell you, within the first week, whether the job was done right. A single pop in the afternoon sun is normal. A rattle when a truck passes is not. Surface condensation you can wipe away is humidity. Fog between the panes is a failed seal. Light bleeding around the frame, a dollar bill that slides free, or a caulk line that’s thin and broken: these are all signs the installer cut a corner. Run the tests, ask the questions, and don’t sign anything until every window passes. For a free estimate on window replacement or window installation in Los Angeles, call Lightwell Windows & Doors at (562) 478-8017.
Written by Keith Yamada, Owner at Lightwell Windows & Doors, serving Los Angeles since 2010.