
Last updated October 8, 2026
Free in-home measure and quote - PGT, CGI and CWS impact lines compared on your actual openings, style by style
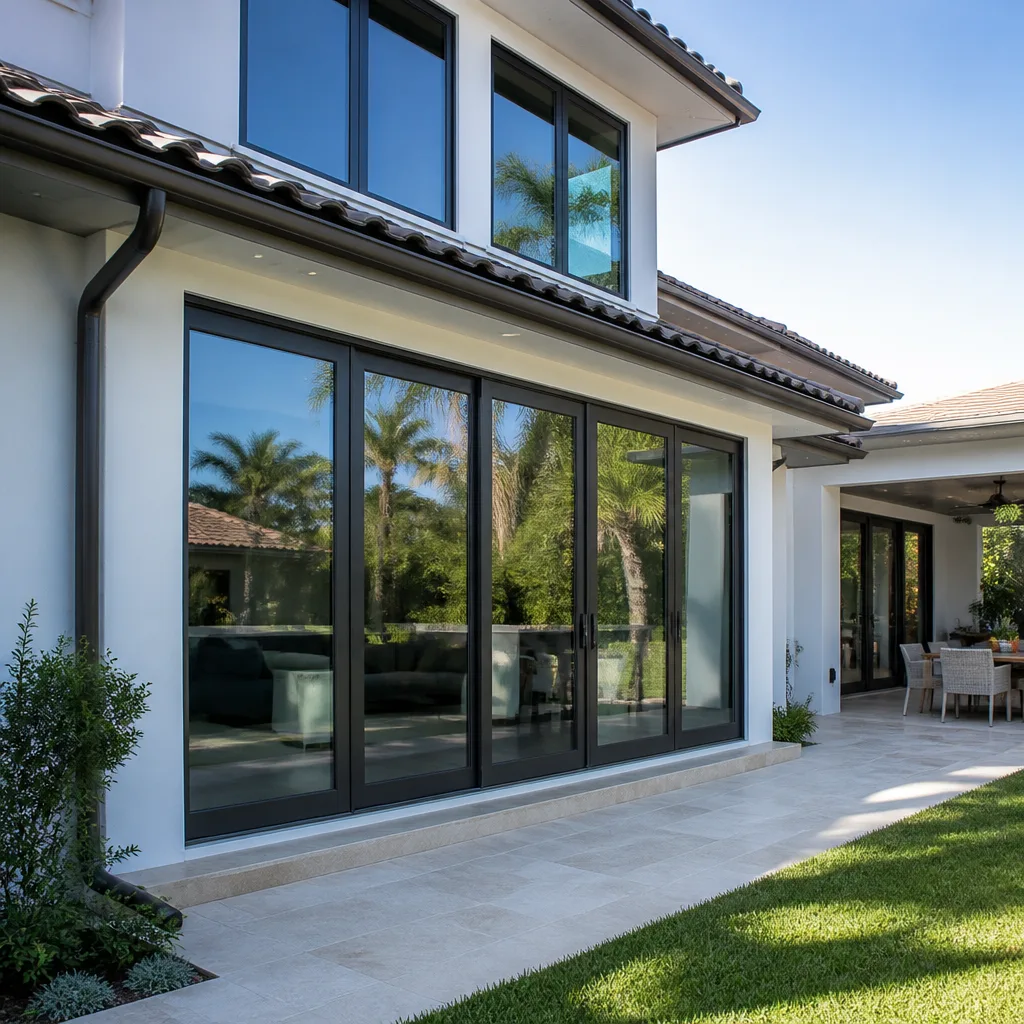
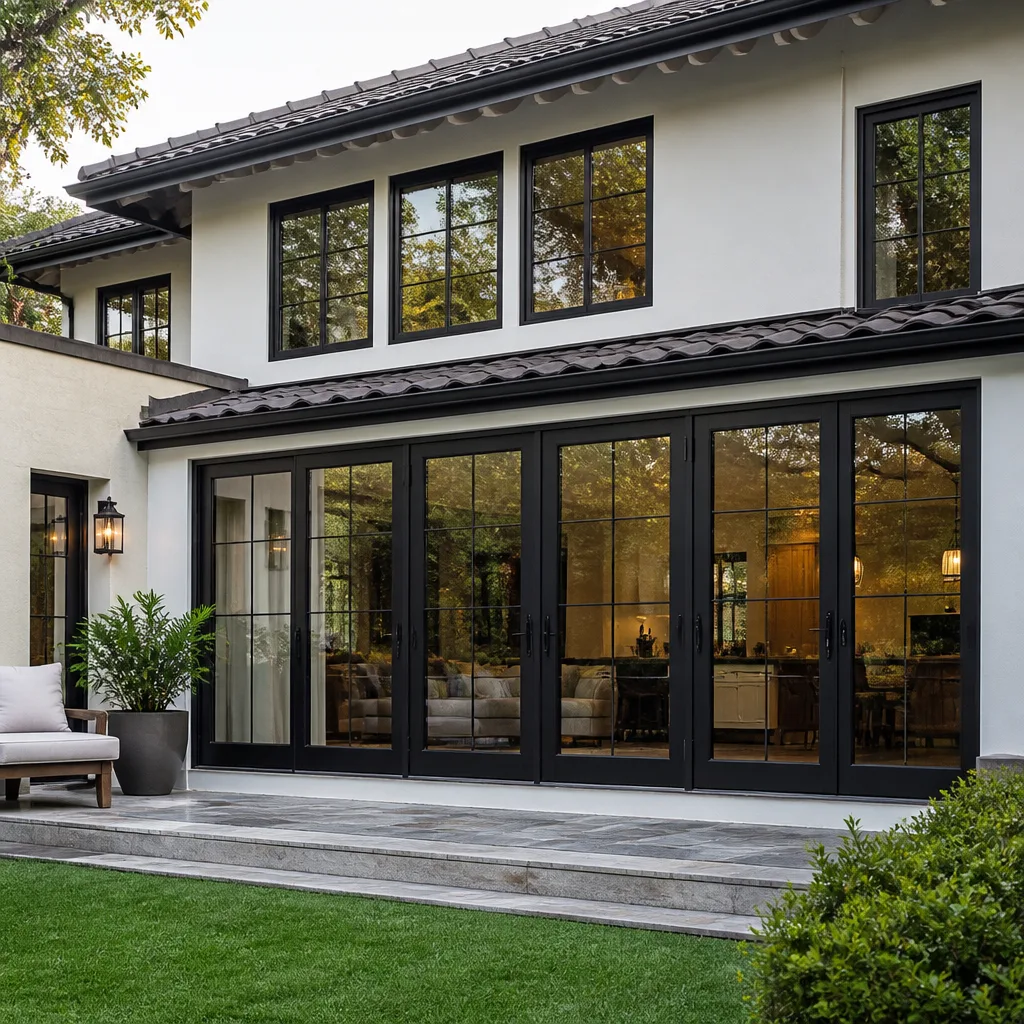
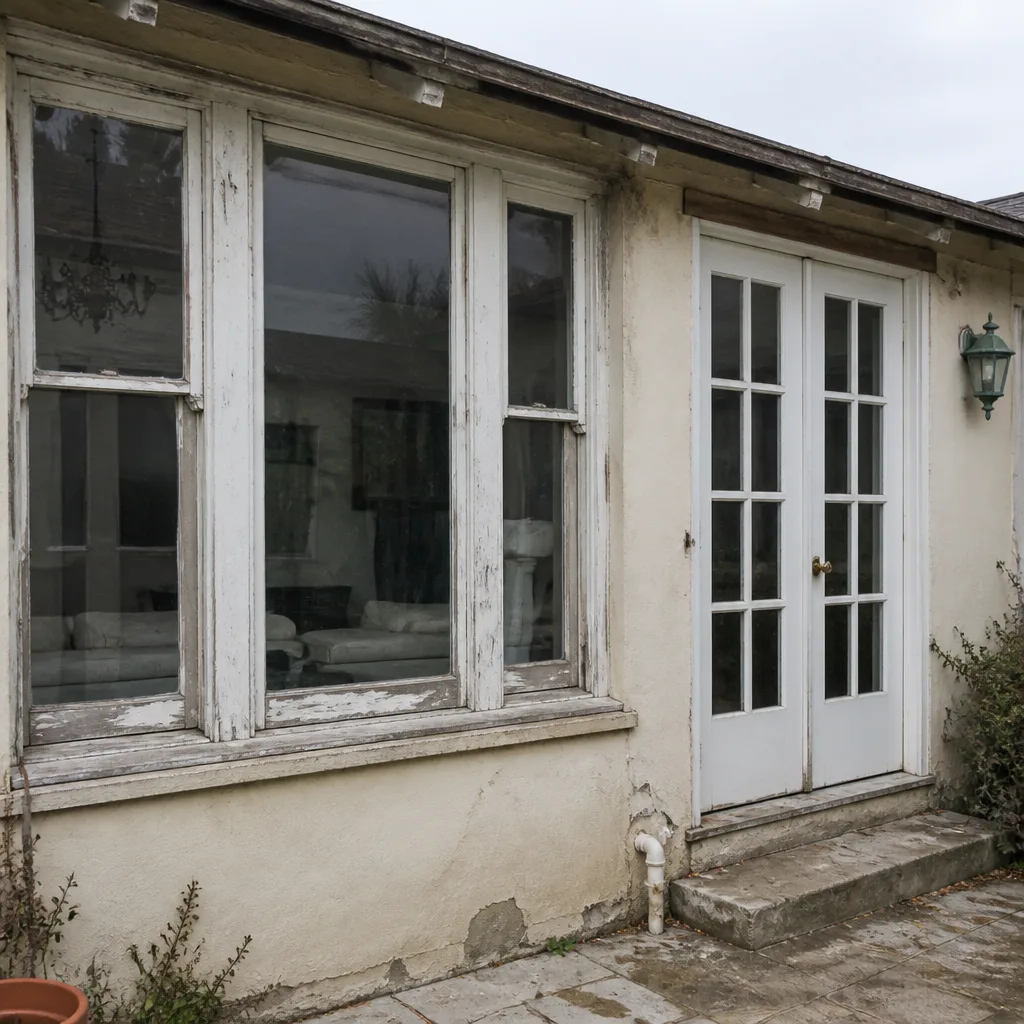 Before
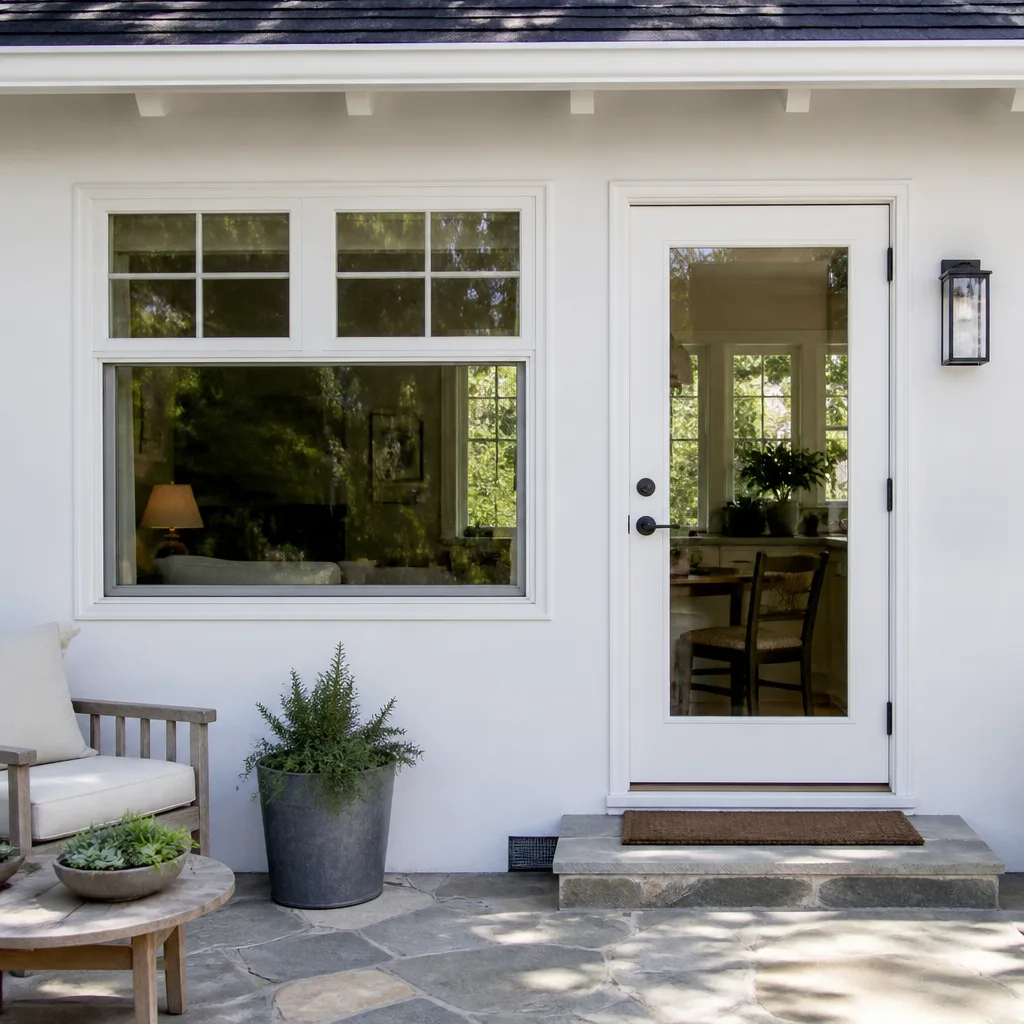 After
After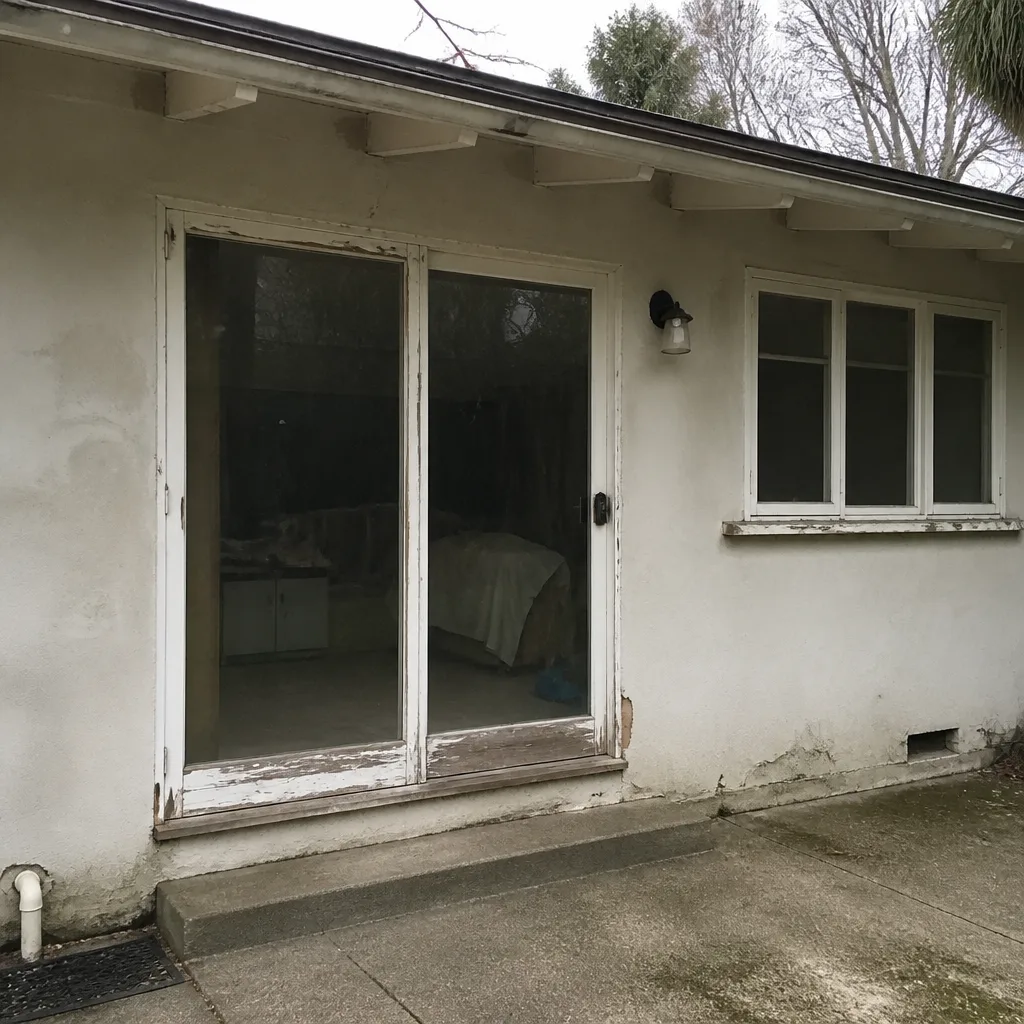 Before
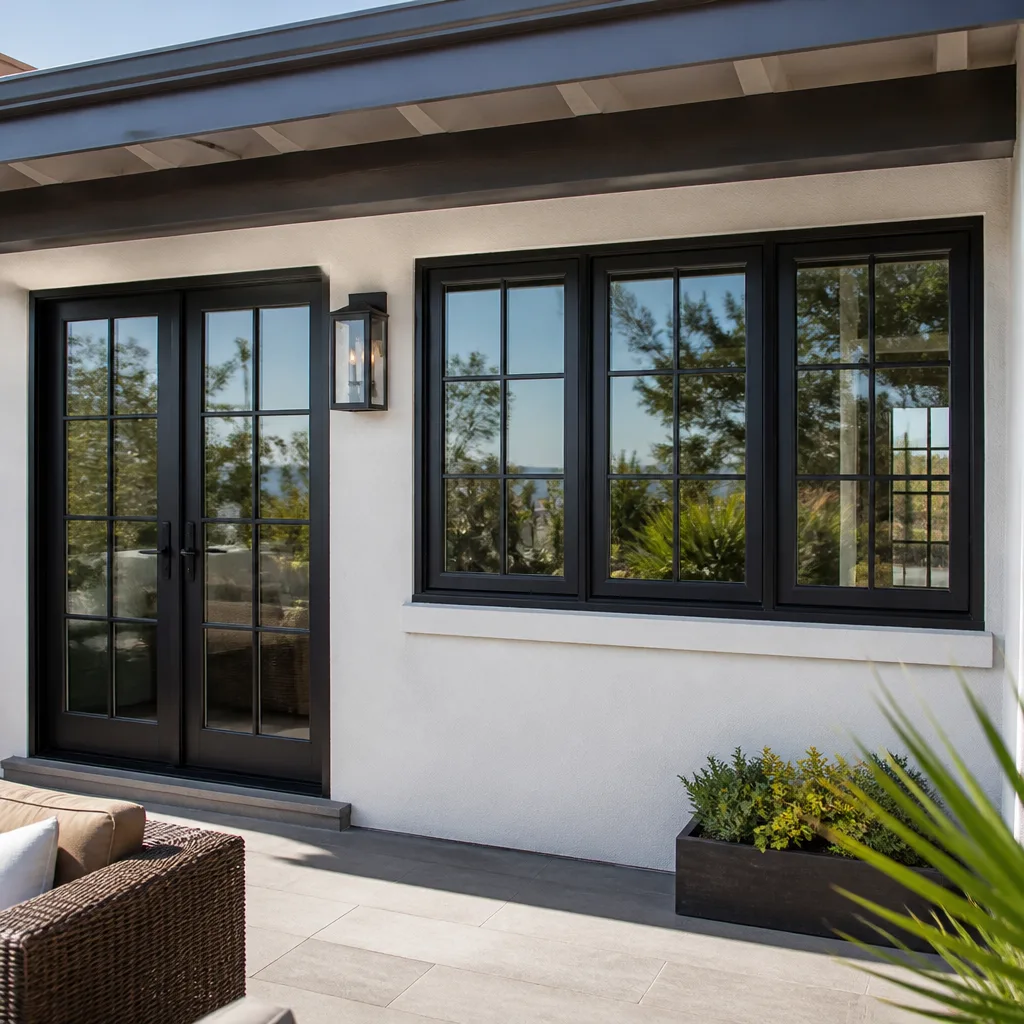 After
After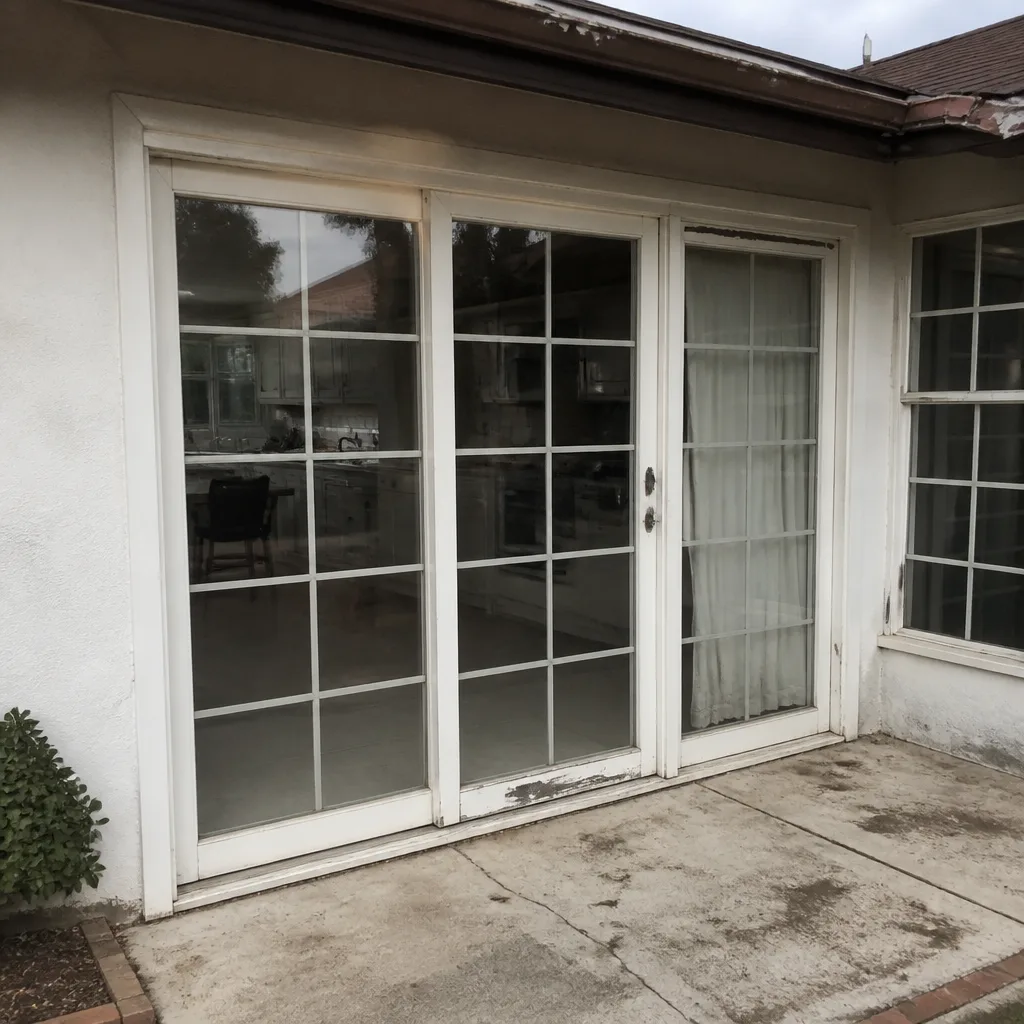 Before
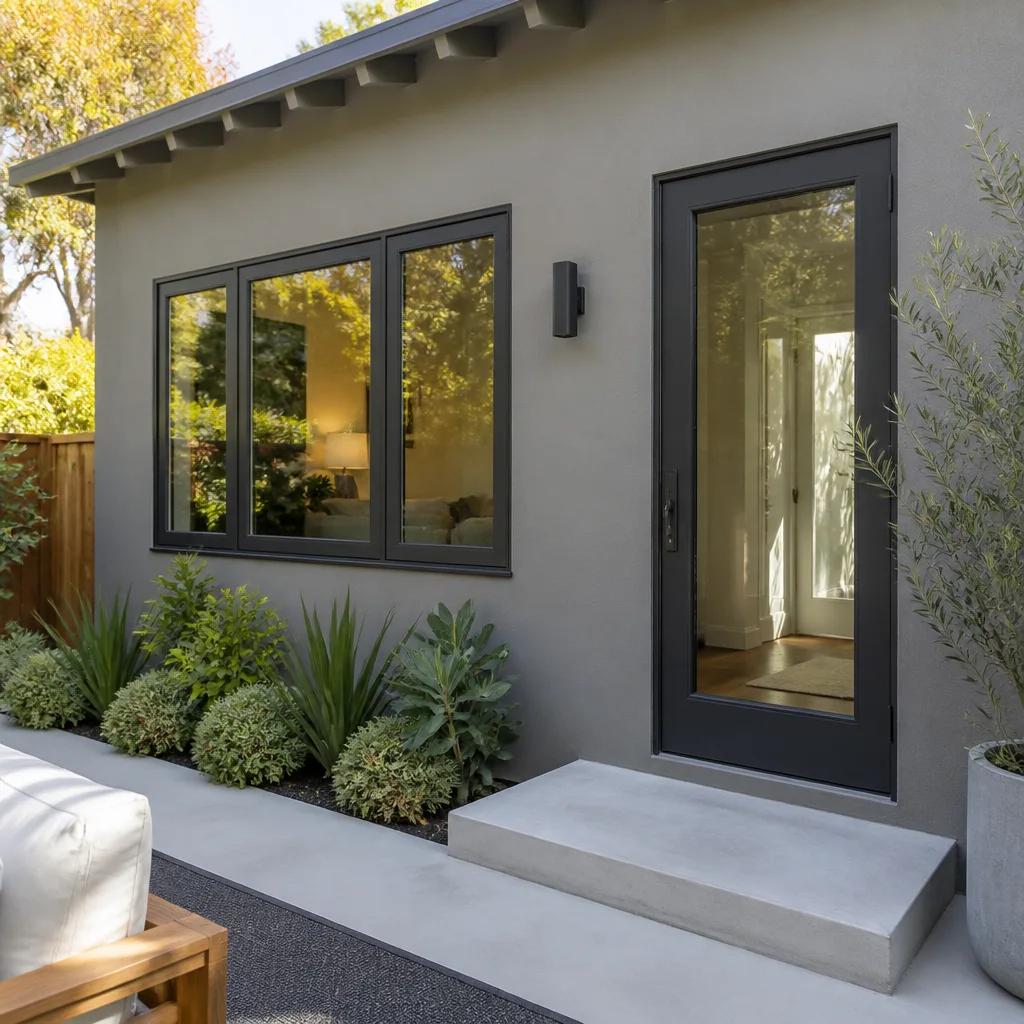 After
AfterDIY vs Professional Door Installation: What’s Safe to Do Yourself
The most expensive DIY door install isn’t the one that goes wrong on the first day. It’s the one that goes wrong during a home sale inspection three years later, when an unpermitted exterior door replacement becomes the buyer’s leverage in renegotiating the price. That’s the quiet failure nobody posts about on DIY forums. This guide draws the line clearly so you can decide before you order materials, and it’s written from Los Angeles, where Door Installation services matter more than in most places: our seismic codes, wildfire zone rules, and older housing stock turn a simple door swap into a different job faster than almost anywhere else in the country. By the end, you’ll know exactly which jobs you can handle with a level and a Saturday, and which ones deserve a written scope and a second set of hands.
Quick Answer
A DIY door installation is genuinely safe and reasonable when the job is an interior prehung door going into an existing, square, standard-size rough opening with no structural changes, no permit requirements, and no weatherproofing. The moment the project involves an exterior door, a non-standard opening, a rotted sill, a load-bearing wall, or any LA permit trigger, the work moves into professional territory regardless of how capable you are with tools. The dividing line isn’t skill level. It’s what’s already in the opening.
Table of Contents
- The Conditions That Make a Door Job DIY-Appropriate
- The Conditions That Move a Door Job Into Professional Territory
- The True Cost of DIY: Tools, Disposal, and Your Labor
- What a Botched Exterior Door Install Can Do to an Insurance Claim
- Los Angeles Code and WUI Zones: Why Exterior Doors Are Different Here
- Step-by-Step: How to Handle a Safe Interior Prehung Door Install
- What Professional Installation Actually Includes at Lightwell
- Common Mistakes to Avoid
- When to Call a Professional
- Frequently Asked Questions
- The Bottom Line
The Conditions That Make a Door Job DIY-Appropriate
We’ll start with the honest answer: some door installations are genuinely fine to do yourself. We’ve been doing this since 2010, and telling a homeowner to pay a crew for a job they could handle in an afternoon doesn’t build trust. It builds a customer who feels overcharged, and that’s not a customer who calls again.
Here are the specific conditions that make a door replacement a legitimate DIY project:
- The door is interior. No weather stripping, no threshold, no flashing, no water intrusion risk. Interior doors don’t have to hold back rain, wind, or embers.
- The rough opening is standard size. Most interior prehung doors are built for rough openings of 82-1/2 inches tall by 30 to 36 inches wide. If your existing opening matches the new door’s stated rough opening in both dimensions, the frame should slide into place. If it doesn’t match, that’s a framing job, not a door job.
- The opening is square. When you check the diagonal measurements of the rough opening and they’re within 1/4 inch of each other, the opening is square enough for a prehung unit. If the diagonals are off by more than that, you’ll fight the door for hours and it will still rub or swing open on its own.
- The floor is level. An interior door hung over a sloped floor will never close properly. If leveling compound or floor adjustment is required, that’s already beyond a simple door swap.
- You’re replacing the slab only in a solid wood frame. If the existing door frame is square, solid, and free of rot and you can match the hinge locations exactly, swapping just the slab is a 2 to 3 hour job with a chisel and a drill. This is the classic “same-size hollow core replacement” job, and it’s a reasonable beginner project in Los Angeles homes with 1980s or 1990s construction.
- No permit is triggered. Interior door replacements in Los Angeles do not require permits when the opening is not being modified. You’re replacing like for like within an existing frame or rough opening. That changes completely with exterior work, which we’ll cover below.
If all six conditions are true, you have a legitimate weekend project. The same logic applies to interior window sashes, though windows add the layer of glass handling and seal integrity that doors don’t have.
The Conditions That Move a Door Job Into Professional Territory
This is where most DIY guides get vague. They say “call a pro for complex jobs” and leave you to guess what complex means, unlike our DIY vs Professional Window Installation: What’s Safe to Do Yourself guide. Here’s what it actually means in Los Angeles:
- Any exterior door, in any condition. An exterior door has to be weatherproofed against rain that comes sideways in winter storms, sealed against the fine dust that blows through every LA neighborhood, and in some zip codes, built to resist ember intrusion during wildfire season. These are not optional details. They’re the difference between a door that looks good for a year and a door that protects your home for twenty.
- Exterior doors in WUI zones. California’s Wildland-Urban Interface zones cover significant portions of the LA Basin, from the foothills of the San Gabriels to the hills above the Valley and through much of the Santa Monica Mountains corridor. In these zones, exterior door replacements may require specific ember-resistant assemblies, specific weather stripping, and product compliance documentation. We regularly work with CGI and CWS products for exactly this reason: they’re engineered and tested for these conditions. A homeowner installing a big-box steel door in a WUI zone can end up with a door that’s compliant on paper with nothing, and that matters at resale.
- Any modification to the rough opening. Widening, narrowing, raising, lowering, squaring. The moment you touch the studs around a door opening, you’re doing structural work. In Los Angeles, structural work requires a permit, plans, and an inspection. If you cut into a stud and it’s a load-bearing wall, you’ve just created a structural issue that will show up on an inspection report.
- Doors adjacent to load-bearing walls. Some interior doors sit in non-load-bearing partition walls. Others sit within a few feet of a beam, a point load, or a shear wall. If you’re not sure which one you have, that uncertainty alone is a reason to bring in a professional before you remove the first piece of casing.
- A rotted or deteriorated sill or jamb. In older Los Angeles homes, especially those built before 1970, sill rot from decades of sprinkler overspray and occasional leaky stucco is common. Replacing an exterior door when the sill underneath is compromised means fixing the structure first, then setting the door. If you install a new door over a rotted sill, the rot continues behind and under the new unit and the door will fail from the bottom up within a few years.
- Any job requiring a permit. In the City of Los Angeles, exterior door replacements that alter the opening size or structural framing require a permit. Some LA municipalities also require permits for replacing an exterior door with one of a different material or fire rating. The rule in our office is simple: if a permit is required, the job is professional. We pull permits, schedule inspections, and pass them. That’s part of the written scope, not an afterthought.
When any of these conditions apply, the DIY discussion is over. It’s not about whether you’re handy. It’s about what the city, the insurance company, and the building code will expect when the job is inspected, and you can see more about how we navigate that on our Los Angeles door installation page.
The True Cost of DIY: Tools, Disposal, and Your Labor
Let’s price out a realistic DIY prehung interior door install in Los Angeles, because most DIY cost comparisons conveniently leave out the things you’ll actually spend money on.
For a single standard interior prehung door in a square opening, here’s what a Los Angeles homeowner can expect to pay in 2025 dollars:
- The door itself: $80 to $220 for a basic six-panel prehung interior door at a big-box store or local lumberyard. Solid-core doors run $180 to $350.
- Tool rental or purchase: A level ($15 to $40), a shim pack ($8 to $15), a door installation kit ($25 to $60), and possibly an oscillating multi-tool for trimming casing ($45 to $75). If you already own these, skip this line. If not, you’re adding $90 to $190.
- Finishing supplies: Caulk ($6 to $12), wood filler ($8 to $16), paint or stain ($20 to $60), and casing nails or screws ($5 to $10). Total: $40 to $100.
- Disposal: LA Sanitation will take a wood door at the curb on bulky item pickup day, but that pickup is once per year per address, and if you just used it, you’re waiting. A junk-haul or bagster-style pickup for one old door runs $75 to $150 in most LA neighborhoods.
- Your labor time: For a first-time DIYer, a prehung interior door install takes 6 to 10 hours including removal, shimming, leveling, casing, and cleanup. That’s a full Saturday, possibly two. If you value your time at $40 an hour, that’s $240 to $400 in your own labor.
Realistic total for a first-time DIY interior prehung door install in Los Angeles: $350 to $900 when you count everything, including disposal and the value of your weekend.
A professional interior door install in Los Angeles typically runs $180 to $400 in labor on top of the door cost, and it includes removal, disposal, shimming, leveling, casing, and cleanup. That’s a genuine overlap range. For a simple interior prehung door, the DIY savings are real but modest: you’re pocketing roughly $100 to $300, and you’re spending 6 to 10 hours of your weekend to do it. For some people, that’s a good trade. For others, especially parents with kids and pets in the house, the calculation looks different: a professional crew does the job in 3 to 4 hours with shoe covers and drop cloths already in place, and nobody’s nap schedule goes sideways.
For exterior doors, the gap widens dramatically. A professional exterior door replacement in Los Angeles typically runs $1,200 to $3,800 all-in depending on door type, finish, hardware, and whether stucco or flashing remediation is involved, and that includes permits and inspection. The DIY version of the same job, done without a permit, might look like it costs $600 in materials. But that’s the number before the problems start, and the problems are what we’ll talk about next.
If you’re also thinking about replacement windows in the same project, we’ve written a full Los Angeles window replacement cost guide with the same kind of line-item breakdown.
What a Botched Exterior Door Install Can Do to an Insurance Claim
This is the section most DIY guides skip entirely, and it’s the one that costs homeowners the most money in Los Angeles.
Let’s trace two scenarios. In the first, you replace an exterior door yourself. No permit, no inspection, no professional sign-off. The door works fine for two years. Then a break-in happens, or a storm drives water under the threshold, or an ember from a brush fire finds the gap between the door frame and the rough opening. You file an insurance claim.
The adjuster’s first question is almost always: “Who installed the door, and was it permitted?” If the answer is “I did it myself, no permit,” the claim can be denied or reduced on the grounds that the installation was not performed to code and the damage resulted from that installation. This isn’t a hypothetical. California insurance adjusters are trained to look for unpermitted exterior work exactly because it’s so common and so directly related to water and fire claims. We’ve had Los Angeles homeowners call us after exactly this conversation, asking if we can retroactively pull a permit for a door they installed themselves. The honest answer is usually no: by the time the claim is filed, the unpermitted work has to be exposed, inspected, and in many cases, partially reconstructed before the city will sign off. That costs more than the original professional install would have.
Now the second scenario. A licensed, permitted exterior door replacement, installed by a professional, with the inspection on file with the city. When the claim is filed, the permit number goes in the paperwork. The adjuster moves on to the next question. The door did its job; the claim is processed normally.
There’s a similar dynamic at resale. California sellers are required to disclose unpermitted improvements. Buyers in Los Angeles, especially in competitive neighborhoods, use unpermitted exterior door replacements as renegotiation leverage. A discount of $5,000 to $15,000 off the sale price is not uncommon for unpermitted exterior work discovered during inspection, because the buyer is now inheriting the liability. The door you saved $800 on just cost you ten times that in a sale negotiation.
Permits exist to protect the building, and in Los Angeles, they also protect the homeowner from exactly this kind of downstream exposure. That’s why every exterior door we install through Lightwell Windows & Doors gets the permit it needs, the inspection it requires, and a paper trail that follows the house, not the homeowner.
Los Angeles Code and WUI Zones: Why Exterior Doors Are Different Here
Los Angeles isn’t one door market. It’s at least four: coastal, basin, valley, and hill. Each one has different wind loads, different fire exposure, and different building code implications for something as simple as an exterior door.
- Coastal zones: Salt air corrodes hardware faster. Marine moisture pushes water into ever tighter gaps. Door thresholds, weather stripping, and frame seals that would last twenty years in Burbank might last ten in Playa del Rey. The product spec matters more than the installation technique for corrosion resistance, but the installation matters for everything else.
- Basin and Valley homes: Many of these were built in the 1950s through the 1980s with stucco exteriors and wood framing. The most common exterior door failure we see in these neighborhoods is threshold rot from decades of sun exposure drying out the sealant, plus sprinkler overspray keeping the sill damp. By the time the door sticks or the threshold crumbles, the framing underneath often needs repair.
- Hillside and WUI-adjacent zones: This is where Los Angeles building code gets specific. Wildfire-resistive construction standards apply in designated fire hazard severity zones, which include much of the hillside housing from Pacific Palisades to the Verdugos to the San Gabriel foothills. Exterior doors in these areas may need to be tested for ember resistance, with specific weather stripping and specific frame-to-wall connections. We install CGI and CWS products in these zones because they’re built for this standard; the product engineering is already proven, and the install detail is written around it.
The thing about door installation in Los Angeles is that the building code assumes you’re doing it professionally. The code is written for trained installers, not for Saturday homeowners. The flashing details, the sill pan requirements, the anchorage schedules: these are all in the code book, but they’re written in technical language that assumes you know what a pan flashing is and why it matters. When we install exterior doors in any LA neighborhood, the written scope includes the flashing, the sill pan, the anchorage pattern, and the inspection. That’s the standard the city expects, and it’s the standard your insurance company expects whether you know it or not.
Step-by-Step: How to Handle a Safe Interior Prehung Door Install
If your project passes the DIY test from the first section, here’s the careful, methodical way to do it. This is the same sequence we use on our own interior door installs, and it works just as well for a homeowner with patience and a level.
- Measure the rough opening in three places. Width at top, middle, and bottom. Height on left, center, and right. If the measurements match the door’s rough opening requirements within 1/2 inch, proceed. If they don’t, stop and reconsider whether this is a door job or a framing job.
- Check the opening for square. Measure both diagonals of the rough opening. If they’re within 1/4 inch of each other, the opening is square enough. If they’re off by more than 1/4 inch, fixing the framing is beyond the scope of a prehung door install.
- Check the floor under the door for level. A 4-foot level across the threshold area tells you everything. If the floor slopes more than 1/4 inch across the door width, the door will sag and drag.
- Remove the old door and casing. Score the paint along the casing edges with a utility knife. Remove the casing boards with a flat pry bar. Pull the hinge pins and lift off the old slab. Then remove the old frame. This is where you’ll discover whether the rough opening is as clean as you hoped.
- Set the new prehung door in the opening. Tip it into place and shim under the hinge side first. The hinge jamb goes in first and gets shimmed plum in both directions. Check with a 4-foot level every time you set a shim.
- Shim the latch side, then the top. Keep the gap between door and frame consistent: about 1/8 inch on the hinge side, 1/8 inch on the latch side, and 1/8 inch at the top. The reveal should be even from top to bottom.
- Check the door swings. Open it halfway and let go. If it stays put, the hinges are aligned well. If it swings open or closed on its own, it’s out of level and the shims need adjustment.
- Fasten through the shims, not between them. Screw through the jamb, through each shim, and into the framing. This keeps the jamb from bowing when the screws tighten.
- Install the casing. Casing goes over the gap between the jamb and the rough opening. Miter the top corners or use straight butt joints depending on the style of the house. Caulk the casing-to-wall joint and paint.
- Clean up everything. Vacuum, sweep, and remove every scrap. This is the step that separates a job done from a job done well, and in our experience, it’s the step most first-time DIYers are too tired to finish.
That ten-step sequence is the simple version. It assumes everything goes right. If you’re installing a solid-core door, add 20 to 30 pounds of weight to every adjustment, which makes the leveling more finicky. If the opening isn’t square, the shims get wider and the door never hangs quite right. If the floor sags in the middle, the threshold scribes become a project of their own. That’s the reality of door installation: the simple version is genuinely simple, and the hard version is genuinely hard, and nobody can tell you which one you have until the old door comes out.
What Professional Installation Actually Includes at Lightwell
When a Los Angeles homeowner calls us for a door installation, they’re not paying for the same thing as a handyman with a cordless drill. This is the part where we’ll show our cards so you can compare what we do against what you’d be doing yourself.
Every Lightwell door installation starts with a pre-job walkthrough. One of our background-checked, uniformed technicians walks the home with you, measures the openings, checks the square and level, and looks for the things that change the scope: rotted sills, out-of-level floors, stucco condition, WUI zone compliance. That walkthrough produces a written scope and a written price. The price you see on the estimate is the price you pay at the end. No change orders, no end-of-invoice surprises. That’s the no-hassle upfront pricing rule we’ve operated under since 2010, and for families in Los Angeles who’ve been burned before by the other kind of quote, that’s usually the thing they mention first.
The install itself follows the C.A.R.E. values on every job:
- C – Clean up like it is our own home. Shoe covers on every visit. Drop cloths under every work area. A photo of the clean-up before we leave, every single time.
- A – Ask before we move or touch anything. The furniture, the plants, the mail on the table. If we need to move something, we ask first.
- R – Respect the family’s time and quiet hours. If there’s a nap schedule or a work-from-home window, we work around it. Tools stay quiet when they need to.
- E – Explain the price before the work. You get the number in writing before we touch anything. No mystery line items.
Then there’s the product side. We carry eight manufacturer brands, including ECO Window Systems, ES Windows, and CWS, because the right door depends on the home it’s going into. A mid-century tract house in the Valley needs something different than a hillside home in a fire zone. That’s also why we lean on our full door installation process to match product to home rather than forcing a preferred brand into the wrong opening.
Finally, every Lightwell door installation carries the 365-Day Done Right Promise. If the finished work isn’t right, within 365 days of installation, we make it right. Not partially. Not eventually. Right. No debate, no countdown, and no phone menu between you and a human being. Our phone is answered by a live person 24/7, every day of the year, and that same person will take the call at 2pm on a Tuesday or 2am on a Sunday. That’s the standard we hold ourselves to on every job in the Los Angeles area.
Common Mistakes to Avoid
- Not checking WUI zone status before buying an exterior door. Los Angeles wildfire hazard severity zone maps are public record. If your home is in one, the door you buy at a big-box store may not meet the ember-resistance standard the city requires. Confirm the zone first, then buy the door.
- Ordering a prehung door before measuring the rough opening. Prehung doors are sized by rough opening, not by the old door slab. We’ve seen too many Los Angeles homeowners order a standard 30×80 door and discover their 1960s rough opening is 29-1/2 inches wide. Now the door doesn’t fit and the framing plan just changed.
- Replacing an exterior door over a rotted sill. This is the big silent failure in LA’s older housing stock. The new door looks fine for two years, then starts to sag. The rot continued underneath. The fix costs more than the original install would have.
- Forgetting to include disposal. The old door has to go somewhere, and Los Angeles bulky item pickup is a once-a-year service. Budget for removal or budget for a truck.
- Ignoring the humidity and dust exposure in Los Angeles. The LA basin cycles between dry Santa Ana winds and damp marine-layer mornings. Exterior door seals that aren’t rated for both will fail early. This isn’t about installation technique; it’s about product selection, and it’s a common DIY miss.
- Underestimating the weight of solid-core and fire-rated doors. A solid-core interior door weighs 50 to 70 pounds. A fire-rated exterior door can weigh 100 pounds or more. One person can hang a hollow-core interior slab. It takes two people and good technique to hang a heavy exterior door properly. This is a safety issue, not just a quality issue: a 100-pound door coming off its hinges can hurt someone.
- Skipping the final level check before fastening. It takes thirty seconds to check the level one last time before driving the screws through the shims. Skipping it is how you get a door that swings closed on its own, or worse, a door that doesn’t latch cleanly and stays cracked open in the worst weather the Los Angeles winter throws at it.
When to Call a Professional
Call a professional when the door is exterior, when the opening isn’t standard, when the sill or framing shows signs of rot, when you’re in a WUI zone, when a permit is required, or when the door sits near a load-bearing wall. Those five conditions cover the vast majority of exterior door work in Los Angeles, and the intersection of those conditions means most exterior door replacements in this market are professional jobs from the start. The DIY path on an exterior door saves cash in the moment and creates exposure for years. If the project is interior and square and standard, do it yourself; we genuinely believe that’s your call to make. If any professional condition applies, Lightwell Windows & Doors offers DIY vs Professional Window Replacement: What’s Safe to Do Yourself guidance and free estimates in Los Angeles. Call (562) 478-8017, and a real person will answer.
Frequently Asked Questions
Interior prehung door installation in Los Angeles typically runs $180 to $400 in labor per door, while a professional exterior door replacement runs $1,200 to $3,800 all-in including permits, flashing, weatherproofing, and inspection, depending on the door type and the condition of the existing opening. A rot-repaired sill, a WUI-zone compliance requirement, or a non-standard opening will land on the higher end. Call (562) 478-8017 for a written, fixed estimate on your specific door project.
In most Los Angeles jurisdictions, a permit is required for exterior door replacement when the rough opening changes size or the structural framing is modified, and some municipalities require permits for material or fire-rating changes as well. Interior door replacements in existing, unmodified openings generally do not require permits. If a permit is required, it should be pulled before the work starts, and the inspection should be on file when the job is done.
Yes, when the rough opening is standard size, square, and level, and the wall is non-load-bearing. The job takes 6 to 10 hours for a first-time DIYer. If the opening is out of square by more than 1/4 inch across the diagonals, or the floor slopes noticeably, the job shifts from door installation into framing repair, and that’s the point to call a professional.
An unpermitted exterior door replacement can lead to a denied or reduced insurance claim if water intrusion, break-in, or fire damage is later traced to the unpermitted work, and it becomes a mandatory disclosure item at resale, potentially costing $5,000 to $15,000 in buyer negotiation. The recorded permit protects the homeowner as much as the building.
In LA’s Wildland-Urban Interface zones, look for exterior doors engineered and tested for ember resistance, like products from CGI and CWS, which are built for exactly these conditions. The product matters, and the installation details matter just as much. The ember-resistant door installed with a standard gap and standard weather stripping is no longer ember-resistant.
An interior prehung door install typically takes a professional crew 3 to 4 hours including removal, shimming, leveling, casing, and cleanup. A standard exterior door replacement with no structural surprises takes most of a day. Projects involving rot repair, stucco remediation, or framing changes can run into two or three days from start through inspection.
At Lightwell Windows & Doors, no. The written estimate is the price. If we uncover something unexpected inside the opening, like rotted framing or out-of-square structural work, we stop, explain the finding, and provide a written change order before touching anything else. The no-hassle upfront pricing rule applies to every job, and you approve the number before the work continues.
The Bottom Line
The DIY-versus-professional door installation question has a clean answer: the opening decides. For more guides & resources on making the right choice, explore our blog. A square, standard, interior opening with an even floor is a perfectly reasonable DIY project. An exterior door, a non-standard opening, a rotted sill, a load-bearing wall, or a permit trigger is a professional job in Los Angeles, not because the work is beyond a capable homeowner, but because the stakes are higher than the door itself: insurance claims, resale leverage, city inspections, and wildfire compliance. The expensive mistake isn’t a crooked door. It’s the unconverted liability that follows an unpermitted exterior install for years. If you’re in the professional territory, Lightwell Windows & Doors serves Los Angeles with written prices, background-checked crews, and a 365-Day Done Right Promise on every install. Call (562) 478-8017 for a free estimate, and we’ll measure the opening with you before anyone opens a toolbox.
Written by Keith Yamada, Owner at Lightwell Windows & Doors, serving Los Angeles since 2010.