
Last updated October 8, 2026
Free in-home measure and quote - PGT, CGI and CWS impact lines compared on your actual openings, style by style
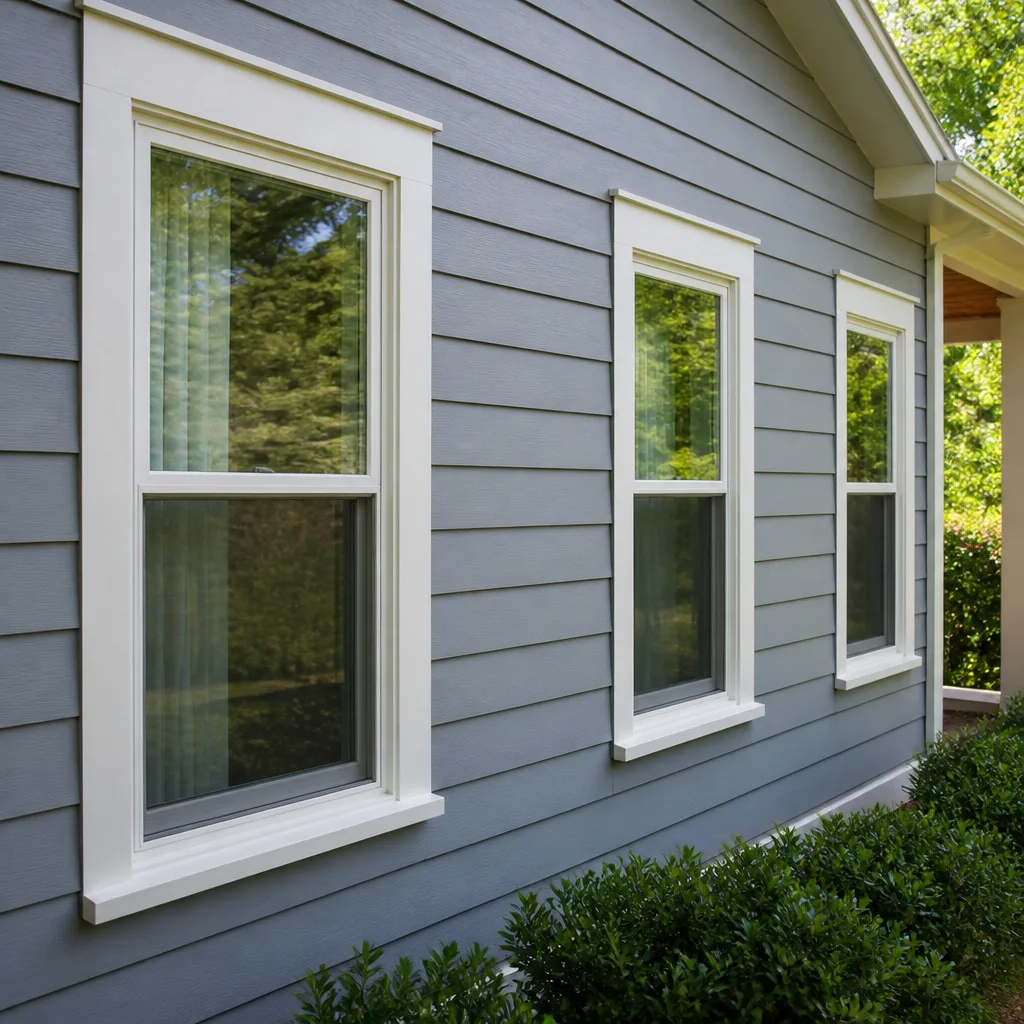
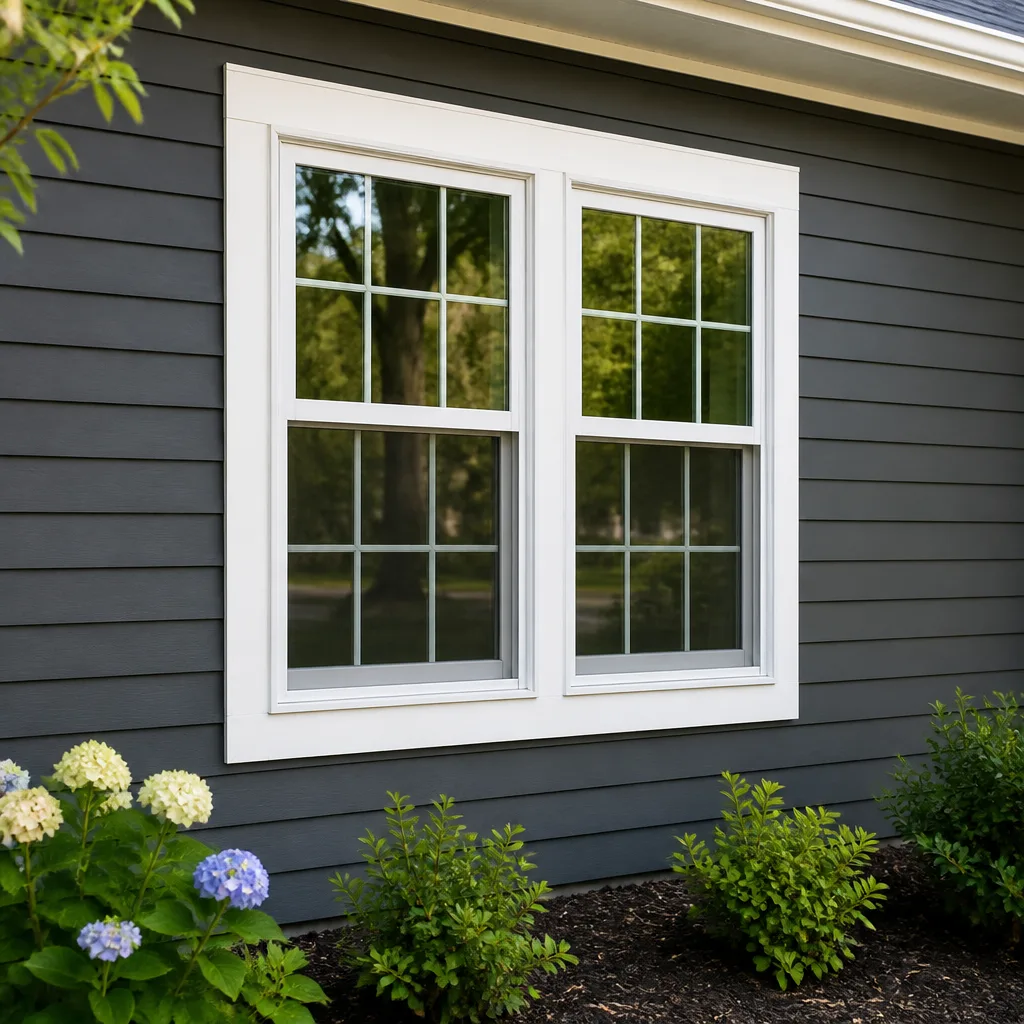
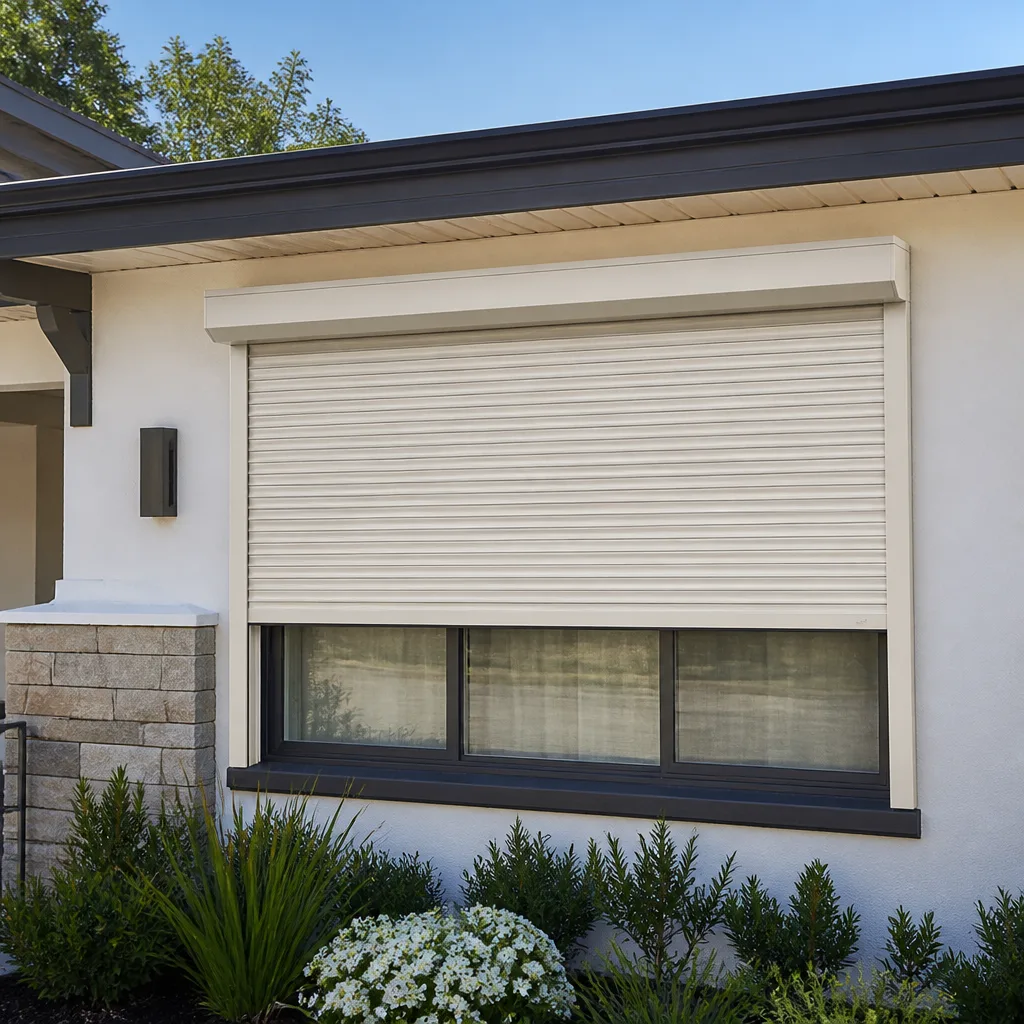
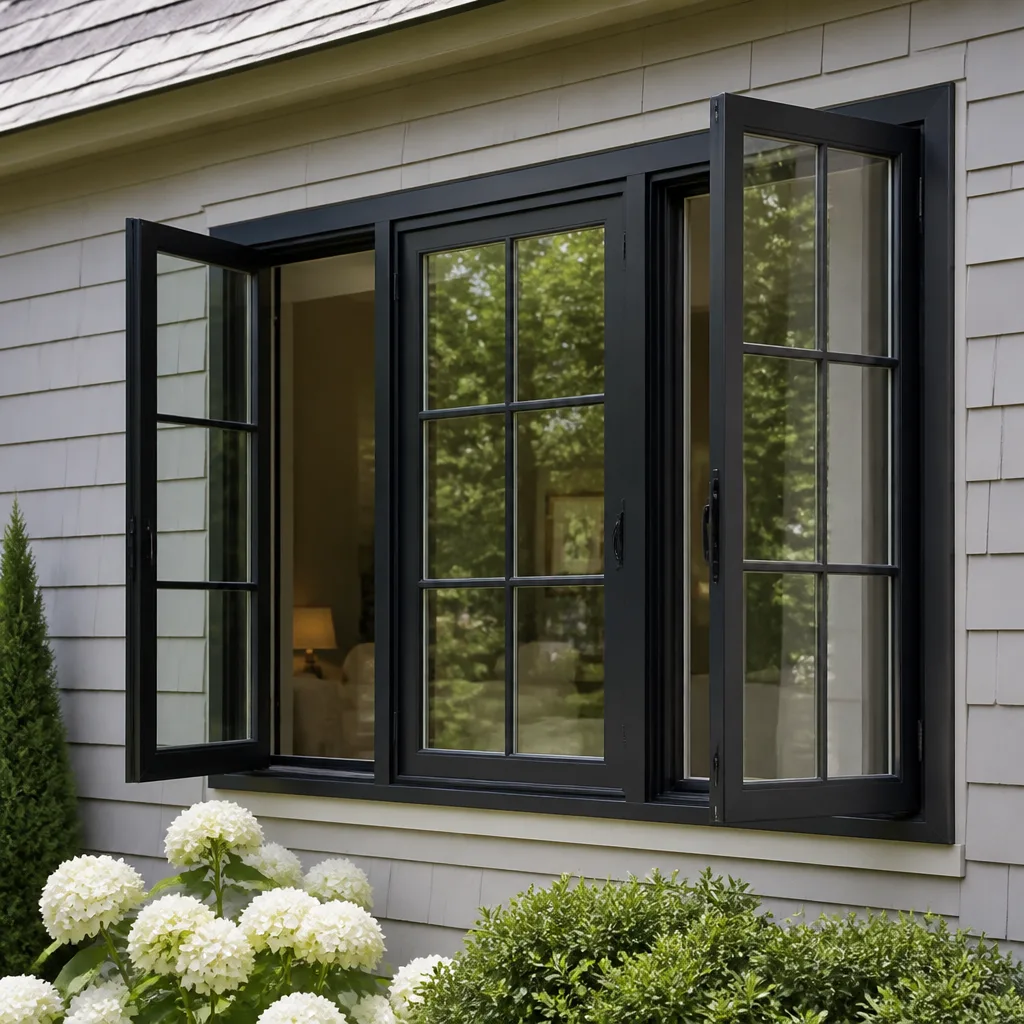


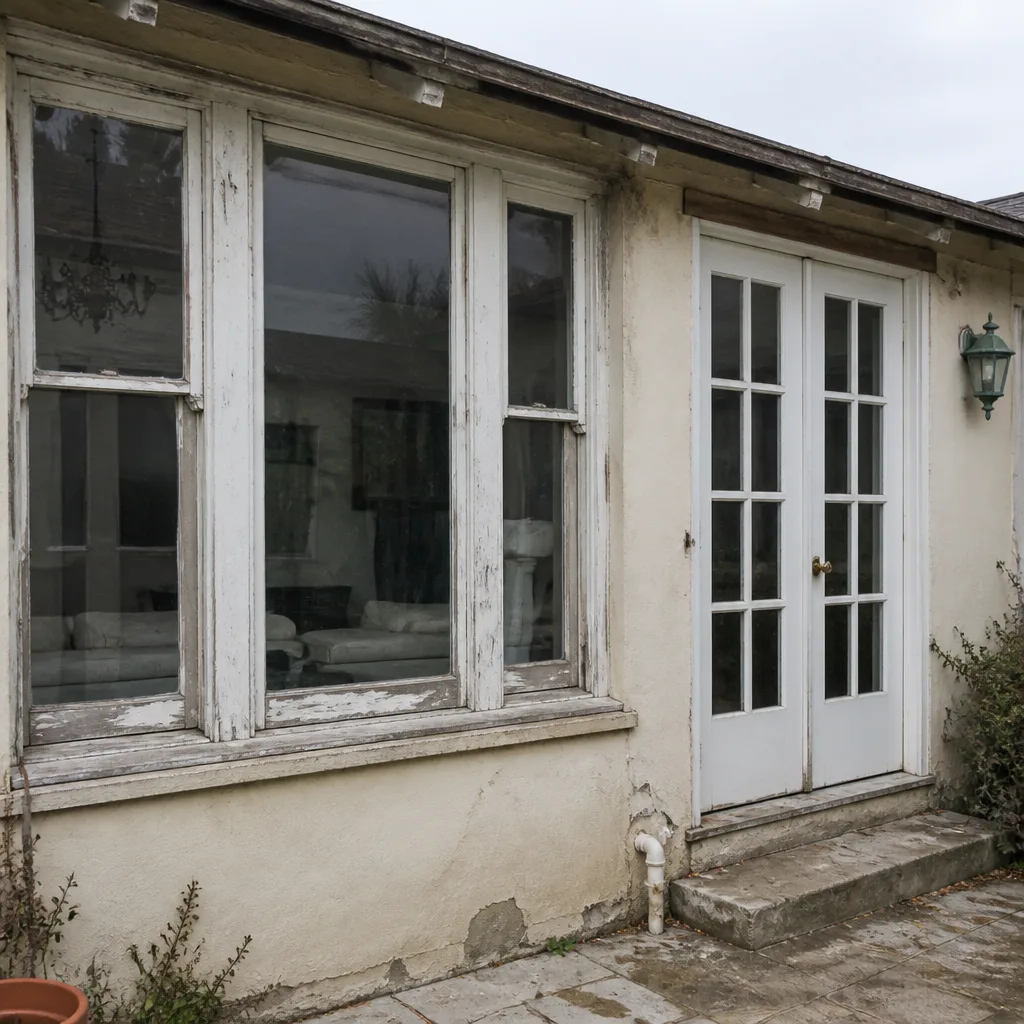 Before
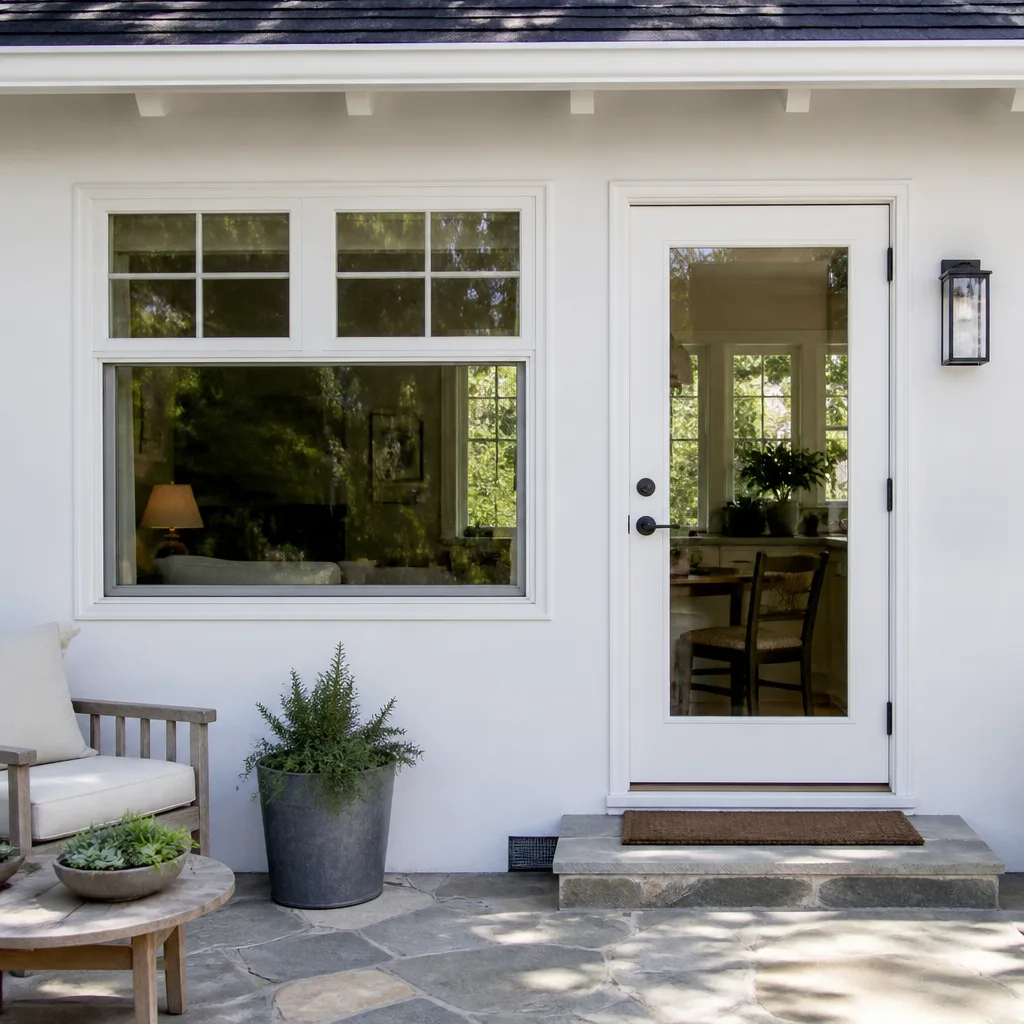 After
After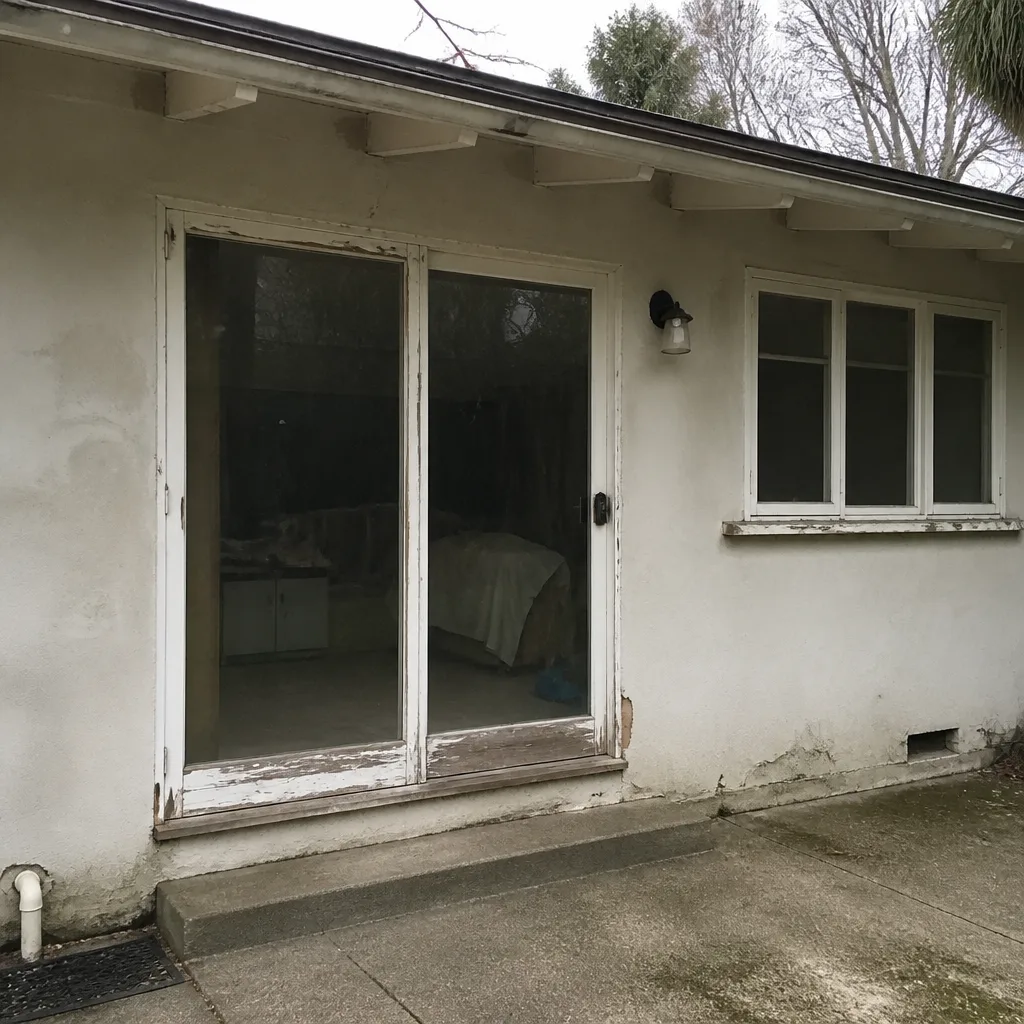 Before
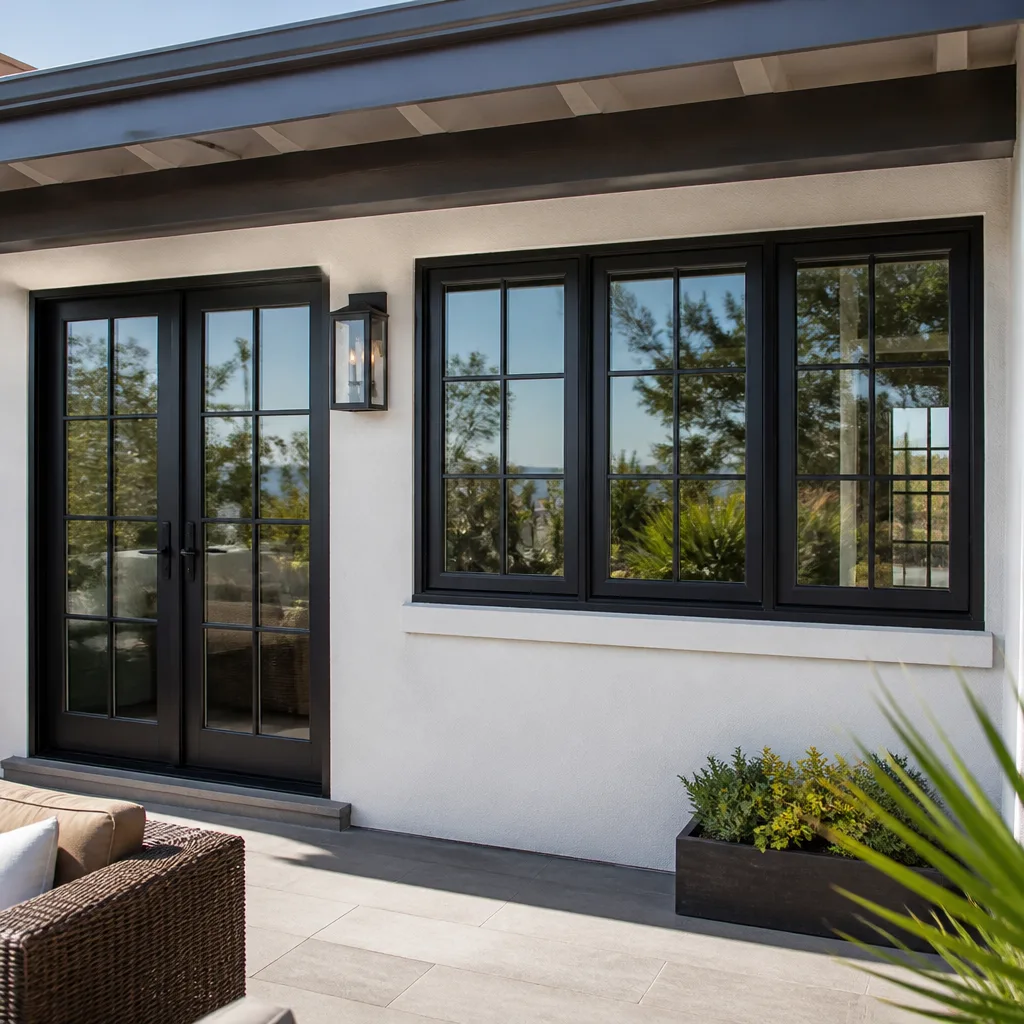 After
After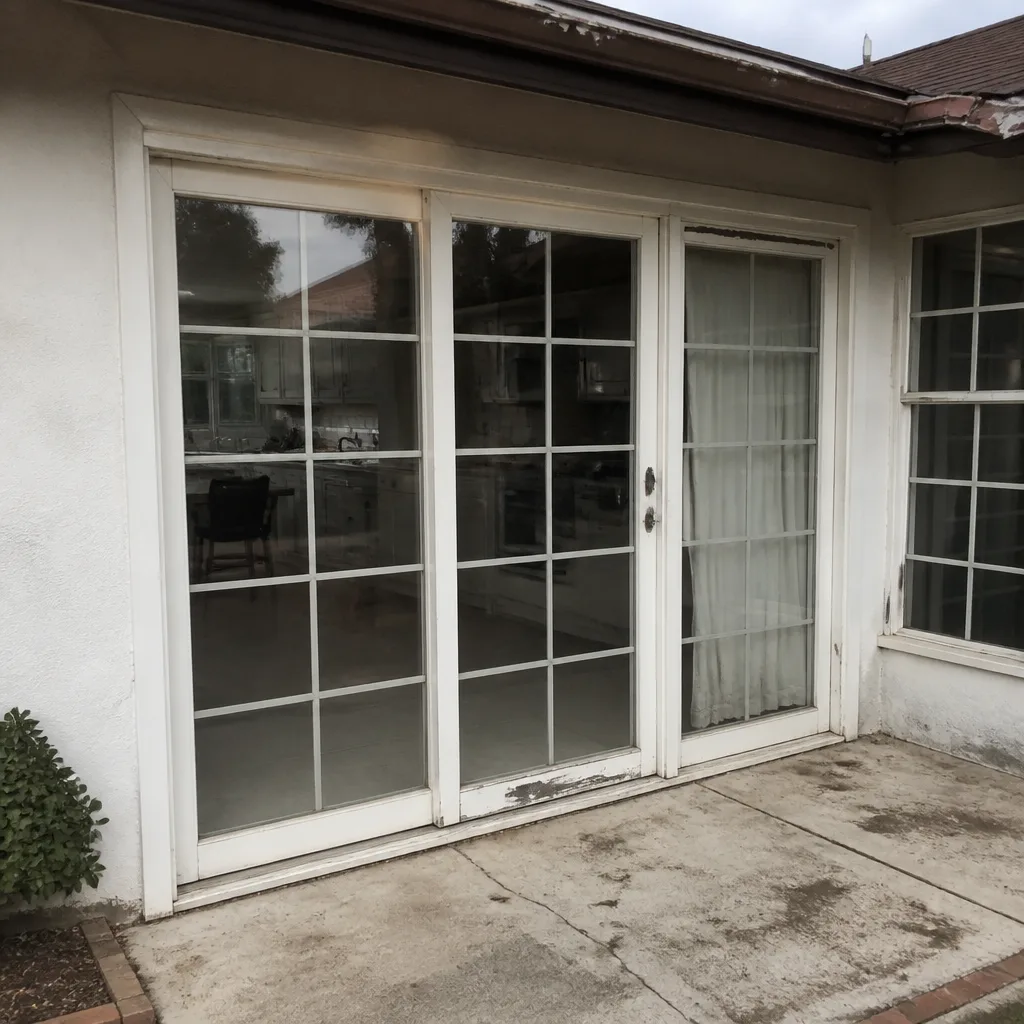 Before
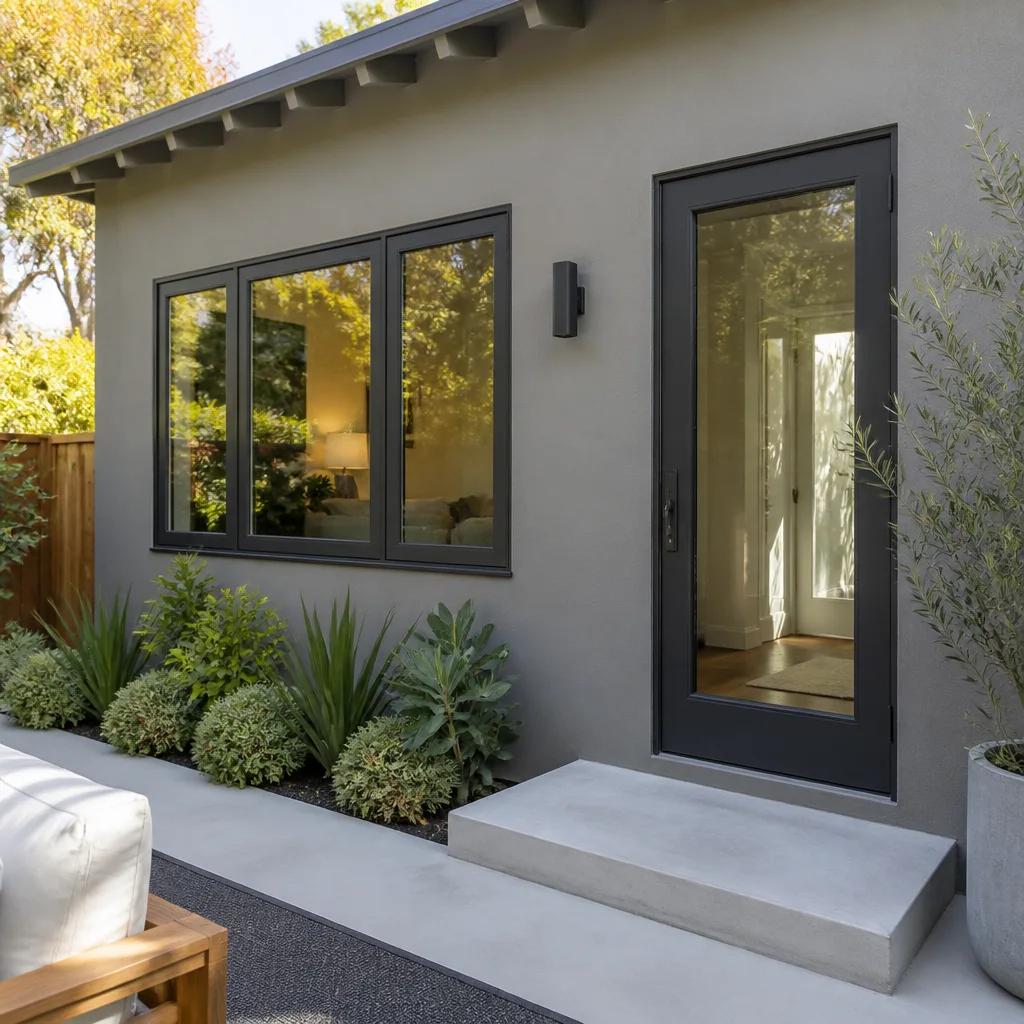 After
AfterDIY vs Professional Window Replacement: What’s Safe to Do Yourself
An unpermitted DIY window replacement in Los Angeles doesn’t just risk a fine. It can surface during a home sale as an unpermitted improvement, which often forces the seller to either retroactively permit work that no longer meets current code or reduce the sale price to cover buyer remediation. That single fact reframes the entire DIY question, because the true cost of a window swap is rarely about the window itself. It’s about what happens behind the flange, under the stucco, and inside the wall cavity where water will find any mistake you made. This guide draws the line between a safe Saturday project and a job that belongs in the hands of a crew with a written price and a name on the door, and pairs well with our DIY vs Professional Windows & Doors: The Los Angeles Homeowner’s Decision Guide.
Quick Answer
DIY window replacement is genuinely safe only when four conditions are all true: the existing opening is square and rot-free, the exterior is a siding material you can flash without special training, the new unit matches the old dimensions exactly, and your local jurisdiction doesn’t require a permit. If any one of those conditions fails, and in Los Angeles at least one usually does, the risk shifts from manageable to expensive. Most homeowners we’ve met should handle their own interior prep and leave the structural work to a professional crew.
Table of Contents
- The Four Conditions That Make DIY Window Replacement Actually Safe
- Why Stucco Exteriors Change Everything in Los Angeles
- What Your Homeowner’s Insurance Says About a Failed Self-Install
- The Tools You Don’t Own and Probably Can’t Rent Locally
- The Real Cost: DIY vs a Written All-In Quote
- Permits in Los Angeles: What Actually Triggers Them
- What You Can Safely Do Yourself (and What You Shouldn’t Touch)
- How a Professional Crew Should Handle Your Home
The Four Conditions That Make DIY Window Replacement Actually Safe
Most YouTube tutorials start with the assumption that your opening is ready for a new window. That assumption is wrong more often than people realize, especially in Los Angeles where housing stock ranges from 1920s Craftsman bungalows in Highland Park to 1970s stucco boxes in the Valley. Each era brings its own problems: settled framing, water intrusion behind old flashing, dry rot hidden under trim. So instead of asking “can I do this,” the better question is “does my situation meet all four conditions for a safe DIY swap?”
Condition 1: The Existing Opening Is Square
A window opening that’s off by even a quarter inch corner-to-corner changes everything. You can shim it, yes, but shimming introduces pressure points, and pressure points crack glass over time. Before touching anything, you need to check the opening with a framing square at all four corners and measure diagonals. If the diagonal measurements differ by more than a quarter inch, the frame has settled or was framed sloppy from the start. Fixing that properly means removing trim, adjusting framing, and sometimes sistering new lumber alongside old. That’s structural carpentry, not a weekend project.
Condition 2: No Penetration of the Weather Barrier
If your exterior is wood siding, fiber cement, or vinyl, a careful homeowner can often remove the old window and install a new one without breaking the water-resistive barrier behind it. But if that barrier gets nicked, cut, or stretched, water will find the gap. In Los Angeles, houses built before 1980 often have no house wrap at all, just building paper that tears when you pull an old window flange through it. You won’t know until you’re already committed.
Condition 3: Same Unit Dimensions
Replacement windows are built to order. If your opening measures 35 3/4 inches wide and 59 1/2 inches tall, that’s the size you order. But if you order wrong, by even a half inch, the window doesn’t fit, and you now own a custom unit you can’t return. Professional installers in Los Angeles measure with a specific protocol: width at top, middle, and bottom; height at left, center, and right; take the smallest measurement, subtract the right reveal. Get it wrong and you’re paying for a second window.
Condition 4: No Permit Required
Here’s where Los Angeles gets specific. The Los Angeles Department of Building and Safety (LADBS) requires a permit for window replacement when the opening size changes, when you’re installing a new window where none existed, or when the work involves structural framing. A straightforward same-size replacement in a single-family home often doesn’t need a permit, but the moment you enlarge an opening, add egress where there wasn’t any, or touch load-bearing framing, you’re in permit territory. More on this below.
Why Stucco Exteriors Change Everything in Los Angeles
If you live in a 1940s through 1970s Los Angeles home, there’s a high chance your exterior is stucco. Neighborhoods like Westchester, Lakewood, and the older pockets of the San Fernando Valley are dense with it. Stucco is the single biggest reason DIY window replacement goes wrong in Los Angeles, and most tutorials filmed in other parts of the country skip it entirely.
Stucco is not a siding you can simply pull away and reattach. It’s a cementitious shell, usually applied over metal lath and building paper, and it forms the primary weather barrier for the entire wall assembly. When a window is set into stucco, the exterior flange gets sealed into the stucco itself. To remove that window, you have to cut into the stucco around the perimeter, which breaks the water management system. Putting the new window back requires flashing that integrates with the existing stucco in a specific sequence: a sill pan flashing, head flashing that tucks under the stucco above, and side flashing that laps over the building paper in the right order.
Get that sequence wrong, and water that hits your wall above the window runs behind the new unit, soaks the framing, and shows up months later as a soft spot under the interior sill. In our experience replacing windows across Los Angeles, stucco homes have the highest rate of hidden framing damage. The stucco looks fine from the outside, but the wood inside has been quietly rotting for years. A professional crew opens the wall, shows you what’s there, and addresses it before the new window goes in. A DIY tutorial can’t show you what it can’t see.
What Your Homeowner’s Insurance Says About a Failed Self-Install
Homeowner’s insurance in California typically covers sudden water damage from a failed appliance or a storm. What it covers less reliably is water damage caused by a window you installed yourself without a permit and without following manufacturer instructions. If an adjuster determines the water intrusion resulted from an improper self-install, the claim can be denied on the grounds of homeowner negligence, and you’re left holding the bill for inner wall repair, mold remediation, and possibly new flooring.
This is the part nobody says out loud in YouTube comments. When a licensed contractor installs a window and something fails, their insurance and workmanship warranty respond. When you install it yourself and something fails, your insurance company has a clear path to deny the claim. In Los Angeles, where water intrusion can sit invisible behind stucco for months before showing up as a stain on interior drywall, that risk compounds. By the time you see the damage, the framing has been wet for a season, and the remediation cost is not small.
None of this means every DIY window will fail. It means the downside risk is asymmetric. A successful DIY saves you labor cost. A failed DIY costs you the window, the framing, the interior repair, and potentially an insurance fight. That’s a lot of downside for a project that looks simple on camera.
The Tools You Don’t Own and Probably Can’t Rent Locally
A code-compliant window installation requires more than a drill, a level, and a caulk gun. Here’s the list that most homeowners discover they don’t have:
- A brake for bending aluminum flashing: Los Angeles homes use a lot of aluminum trim and flashing. Cutting and bending it to the right profile requires a metal brake, which is not a standard rental item at most local equipment shops. Buying a cheap one that produces wavy bends defeats the purpose.
- A proper sill pan and back dam set: These come with the window from some manufacturers, but not all. Field-fabricating a code-compliant sill pan from flashing tape requires knowing the right lap sequence, and the tape itself, proper flashing tape, not duct tape, is not cheap.
- Closed-cell backer rod and polyurethane sealant: The sealant that goes between the window frame and the rough opening matters. The wrong caulk degrades, cracks, and lets water in. The right product is a polyurethane or modified polymer sealant, applied over backer rod in the correct depth ratio.
- Low-expansion foam formulated for windows: Regular spray foam expands too aggressively and bows the window frame, which is a common DIY mistake that shows up as a window that won’t lock. Window-specific foam costs more and requires a steady hand.
- Shims that won’t rot or compress: Composite shims, not wood shims, should be used around window openings. Wood shims soak up moisture and transfer it to the frame.
- A second person who’s actually installed a window before: A double-hung unit can weigh 60 to 90 pounds and needs to be held square while you shim and fasten. Your spouse holding it while you read instructions is not the same as someone who’s done it 200 times.
If you count the cost of buying or renting the specialized items, plus the first-attempt waste most people burn through, the “savings” from DIY start shrinking quickly.
The Real Cost: DIY vs a Written All-In Quote
Here’s a realistic side-by-side for a typical double-hung replacement in a Los Angeles single-family home, assuming you need to buy or rent most of the tools above. This is not a quote, it’s a planning range based on what we see in the local market.
| Cost Item | DIY Estimate | Professional All-In |
|---|---|---|
| Window unit (mid-grade vinyl or aluminum) | $350 – $700 | Included in quote |
| Tool purchase or rental (brake, foam gun, shims, sealant, flashing tape) | $180 – $420 | Included in quote |
| Permit (if required) | $150 – $400 | Included in quote |
| Correction call (one visit to fix a mistake) | $250 – $600 | Covered under warranty |
| Disposal of old window | $40 – $80 (dump run) | Included in quote |
| Total realistic range per opening | $970 – $2,200 | $900 – $2,400 |
What jumps out is that the ranges overlap. Most window replacements in Los Angeles run between $900 and $2,400 per opening when installed professionally, depending on the unit, the exterior, and whether framing repair is needed. The DIY range lands in similar territory once you include tools and one correction call, and that’s before valuing your own weekend, your back, and the risk that the first attempt doesn’t hold up.
The difference is what happens when something goes wrong. With a professional, you pick up the phone and someone makes it right. With DIY, you’re back at the hardware store buying more flashing tape, hoping round two goes better. Keith Yamada has walked enough Los Angeles homeowners through this math to know that the honest answer surprises people.
Permits in Los Angeles: What Actually Triggers Them
Los Angeles permit requirements for window replacement are not a gray area if you know what to look for. The LADBS website lists the triggers clearly. Here’s the practical version:
- Same-size, same-opening replacement: Generally no permit needed for a straightforward swap where the rough opening is unchanged and no structural member is altered.
- Enlarging an opening: Permit required. Cutting into a wall to make a window bigger touches framing and possibly shear capacity, which matters in earthquake country.
- Adding a new window where none existed: Permit required. This is new penetrative work on an exterior wall and needs plan review.
- Changing window type in a way that affects egress: If you’re removing a bedroom window that met egress requirements and replacing it with one that doesn’t, you’ve created a code violation that will surface at resale.
- Stucco or plaster exterior work that breaks the weather barrier: Even if the opening size is unchanged, cutting stucco to remove a window triggers the need for proper re-flashing and may require an inspection if the scope crosses into exterior wall repair.
The resale concern is real. Los Angeles buyers, their agents, and their inspectors look for unpermitted work. The Lightwell Windows & Doors home team has spoken with more than a few sellers who discovered a window swap from years ago had become a closing condition. The fix at that point costs more than doing it right the first time.
What You Can Safely Do Yourself (and What You Shouldn’t Touch)
There’s a version of this project where you do meaningful work with your own hands and leave the risky parts to someone trained. That division looks like this:
Safe for a Careful Homeowner
- Interior prep: Moving furniture, taking down curtains, clearing the work area so the crew has open access. This saves time and protects your belongings on your terms.
- Paint touch-up after installation: Once the window is in and the trim is finished, repainting interior trim is a satisfying, low-risk task.
- Caulking interior gaps with paintable latex caulk: Interior sealant is cosmetic, not structural. If it fails, the worst case is a draft, not a rotting frame.
- Hardware adjustment after installation: Tightening a loose handle or adjusting a lock striker plate on your new window is homeowner-level work and worth learning.
Leave to a Professional
- Anything involving a ladder above one story: Window replacement on a second floor from the outside is not a safe ladder project. Falls from window-height ladders are a leading cause of home improvement injuries.
- Any window set into stucco or EIFS: As covered above, the flashing sequence is unforgiving.
- Any window larger than a standard bedroom window, or any window with tempered glass requirements near doors or low to the floor: Glass code is specific, and getting it wrong has safety consequences for kids.
- Removing a load-bearing header or altering any framing: This is structural work and belongs with a professional.
- Anything that changes the exterior dimensions of the opening: Permit territory, inspection territory, and the kind of error that shows up as water damage later.
For the parts you leave to a pro, you want a crew that treats the inside of your house the way you would. That means shoe covers on from the front door to the work area, drop cloths under the window, and a photo of the clean-up before they leave so you know what the space looked like when the work was done. That’s the standard we hold ourselves to on every job.
How a Professional Crew Should Handle Your Home
If the four conditions point you away from DIY, the next question is what a professional install should actually look like, because not all crews are the same. In Los Angeles, where many homes have original wood floors that predate the homeowner’s parents, protecting the interior matters as much as the window itself.
A Lightwell crew follows a set of on-site behaviors called the C.A.R.E. values, and they’re specific enough to be worth naming. C is for Clean up like it’s our own home: drop cloths under every window, a vacuum pass before packing up, and no debris left in the driveway. A is for Ask before we move or touch anything: furniture, wall hangings, window treatments, even a pet gate. R is for Respect the family’s time and quiet hours: we’re not running loud tools during nap time if you tell us a toddler’s asleep, and we show up when we said we would. E is for Explain the price before the work: a written number, in your hand, before any tool comes off the truck.
Those four letters only mean something if the company stands behind them. That’s where the Cedarwell Care Promise comes in. Every job gets a written price before work starts, and every job carries the 365-Day Done Right Promise: if the finished work is not right, we make it right. No debate, no countdown. That’s the floor, not the ceiling.
We also carry a curated lineup of eight manufacturer brands, which matters for one practical reason: the recommendation fits the home, not the installer’s preferred vendor. For a Spanish-style stucco home in Los Feliz, the right window might be an ES Windows aluminum unit with a slim frame that matches the original steel. For a mid-century post-and-beam in the hills, a Therma-Tru or ECO Window Systems unit might handle the sun load better. For a coastal home in the South Bay dealing with salt air, a marine-grade finish matters. The point is that nobody should be forced into a single product line because that’s what the installer stocks.
Common Mistakes to Avoid
- Skipping the diagonal measurement check. If your opening is not square and you order a square window, you’ll discover the problem only after the old window is out and the new one won’t seat. Measure diagonals before ordering anyone.
- Using the wrong sealant. Latex caulk around an exterior window flange fails within one Los Angeles winter, which brings rain, and then you have water behind your new window. Exterior sealing requires polyurethane or modified polymer sealant over backer rod.
- Putting house wrap on backward. The lap direction matters: upper layers go over lower layers so water sheds down and out. Backward lapping funnels water inside the wall. Stucco makes fixing this a full re-flash.
- Not checking egress requirements in bedrooms. A bedroom window in Los Angeles must meet minimum opening dimensions for fire escape. Replace a compliant window with a non-compliant one and you’ve created a resale problem and a genuine safety hazard for your kids.
- Over-shimming the frame. More shims is not better. Over-shimming bows the window frame, which means the sash won’t close properly, the lock won’t engage, and the glass is under constant stress. A window that won’t lock is also a security issue.
- Assuming a permit isn’t needed without checking LADBS. The rules are published and specific. Guessing wrong doesn’t protect you when the buyer’s inspector flags the work during escrow.
- Disposing of the old window incorrectly. Los Angeles has specific rules for construction debris. Tossing a window with broken glass into your regular trash bin can get you a fine and is genuinely dangerous for sanitation workers. A professional crew handles disposal as part of the job.
When to Call a Professional
Call a professional when any of the four conditions fails, when your exterior is stucco, when the window is on a second story, when the opening size changes, or when the thought of flashing tape lap sequence keeps you up at night. Also call when you want a written price before the work starts, a crew that covers your floors and protects your kids’ sleep schedule, and a name to call if something’s not right a year later. Lightwell Windows & Doors offers Window Replacement with free estimates in Los Angeles, call (562) 478-8017. We’ll measure, quote in writing, and walk you through what the job will look like from start to clean-up.
Frequently Asked Questions
Most window replacements in Los Angeles run between $900 and $2,400 per opening, installed, with the range depending on the window material, the exterior type, and whether any framing repair is needed. Stucco homes trend toward the higher end because the re-flashing work is more involved. Call (562) 478-8017 for an exact written quote, estimates are free.
A same-size, same-opening window replacement in a single-family home generally does not require a permit in Los Angeles, but enlarging an opening, adding a new window, or altering framing does. Check the LADBS requirements for your specific scope before removing anything, because unpermitted work can surface during a home sale.
Stucco is a cementitious shell that acts as the primary weather barrier. Removing a window set in stucco means cutting into that shell, and re-flashing it correctly requires a specific lap sequence that most DIY tutorials filmed outside California skip entirely. A flashing mistake on stucco lets water behind the new window where it rots framing silently for months.
Often not. If water damage results from an improper self-install, the adjuster can classify it as homeowner negligence and deny the claim. Professional installations carry the contractor’s workmanship warranty and insurance, which shifts that risk off you.
A typical single-window replacement takes one crew a half day to a full day, including interior protection, removal, installation, flashing, sealing, and clean-up. Larger jobs with multiple openings are usually scheduled across several days. A written quote will include a timeline before you commit to anything.
What makes Window Replacement in Los Angeles different from other markets?
Los Angeles combines stucco-heavy older housing stock, seismic code requirements, and strict permit enforcement with a resale market where buyers’ inspectors scrutinize unpermitted work. Add in the marine layer’s persistent moisture near the coast and the Valley’s dry heat, and the flashing and sealant choices matter more here than in places with simpler siding and less code scrutiny. For a closer look at how we install, see our Window Installation in Los Angeles guide, or read about Door Installation in Los Angeles if your project includes an entry door too.
The Bottom Line
The honest answer to “can I replace my own windows” is a checklist, not a yes or no. If your opening is square, your exterior is sideable without breaking a weather barrier, your new unit matches your old dimensions, and your jurisdiction doesn’t require a permit, then a careful homeowner can attempt a single window swap and come out ahead. If any one of those conditions fails, which happens more often in Los Angeles than most tutorials admit, the risk outweighs the savings. A failed self-install can cost more than a professional would have charged in the first place, and that’s before you count the insurance exposure. Know which situation you’re in before you put a pry bar to the first piece of trim, and explore more guides & resources to plan your project.
Written by Keith Yamada, Owner at Lightwell Windows & Doors, serving Los Angeles since 2010.
Ready for a written price and a clean, careful install? Call Lightwell Windows & Doors at (562) 478-8017 for a free estimate. We’ll measure, quote in writing, and explain exactly what will happen in your home before any work begins.