
Last updated October 8, 2026
Free in-home measure and quote - PGT, CGI and CWS impact lines compared on your actual openings, style by style
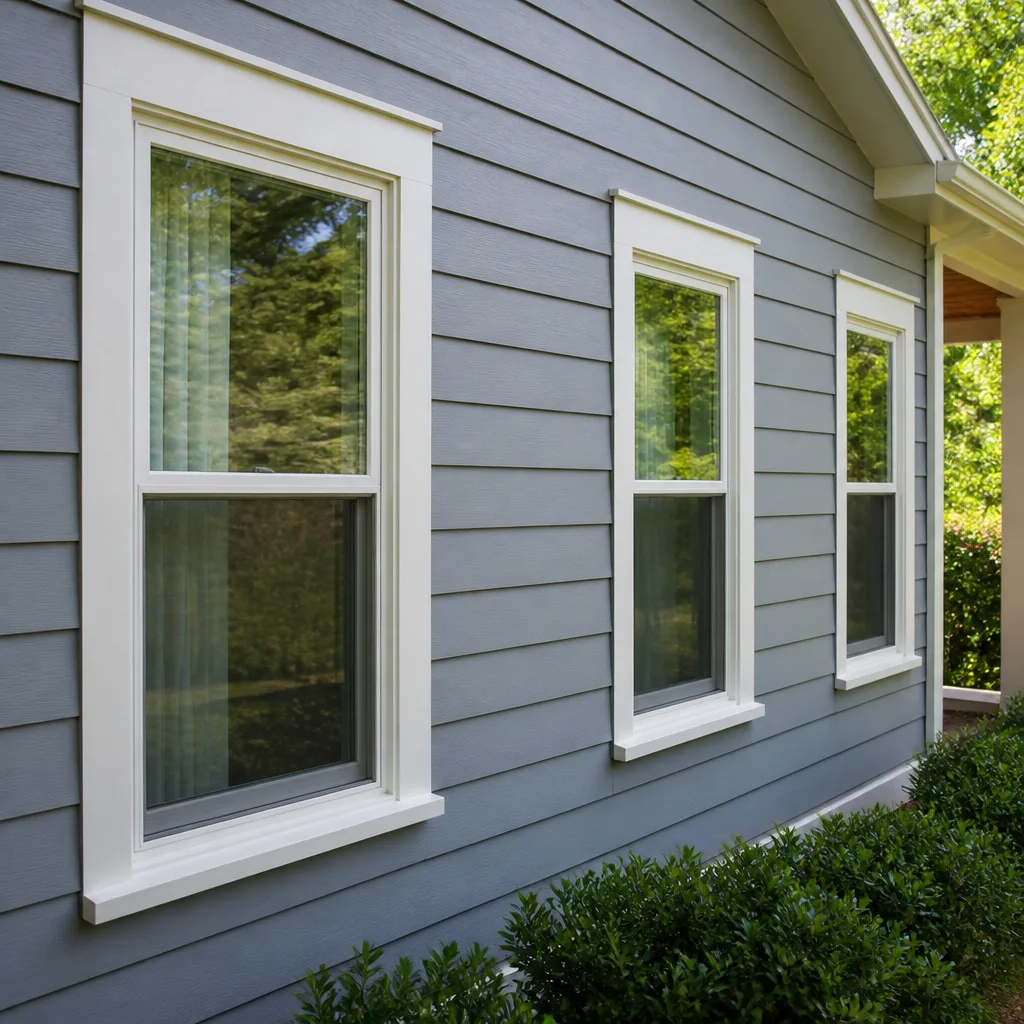
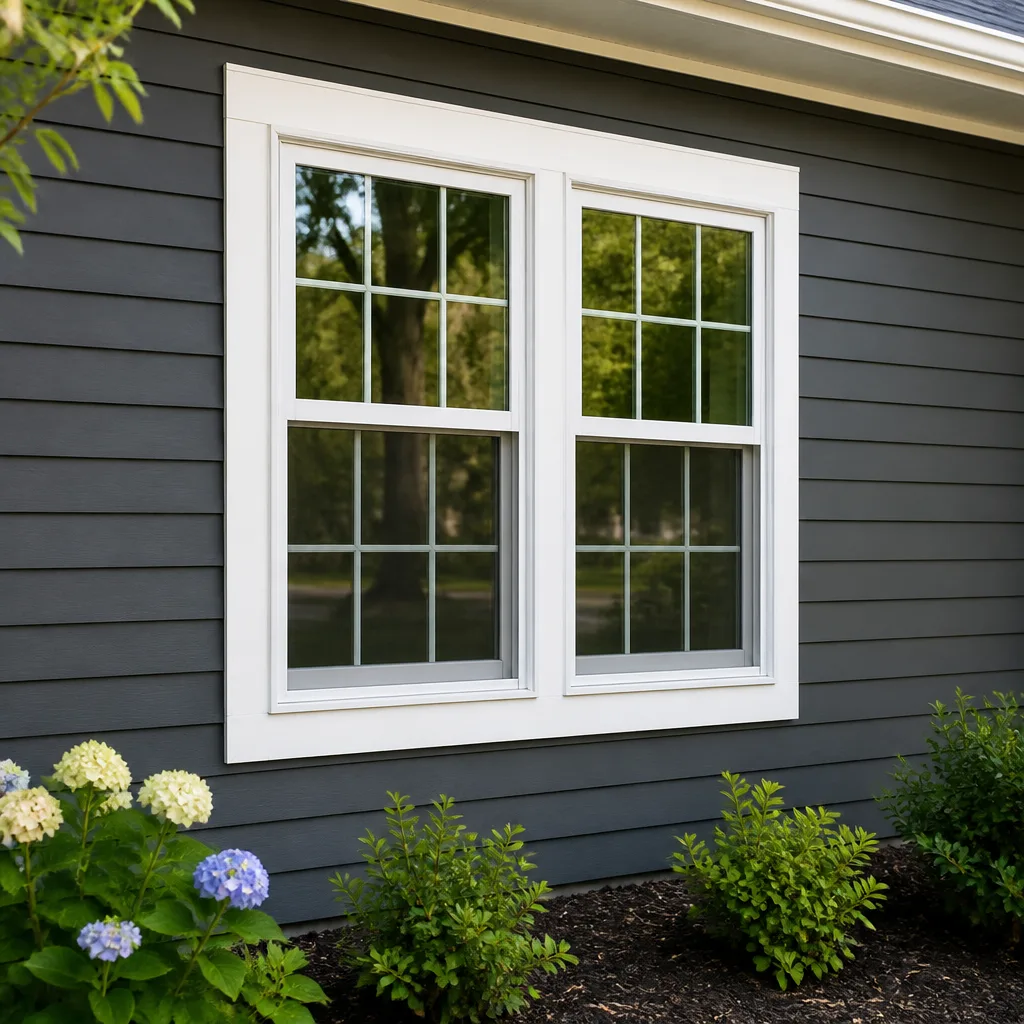
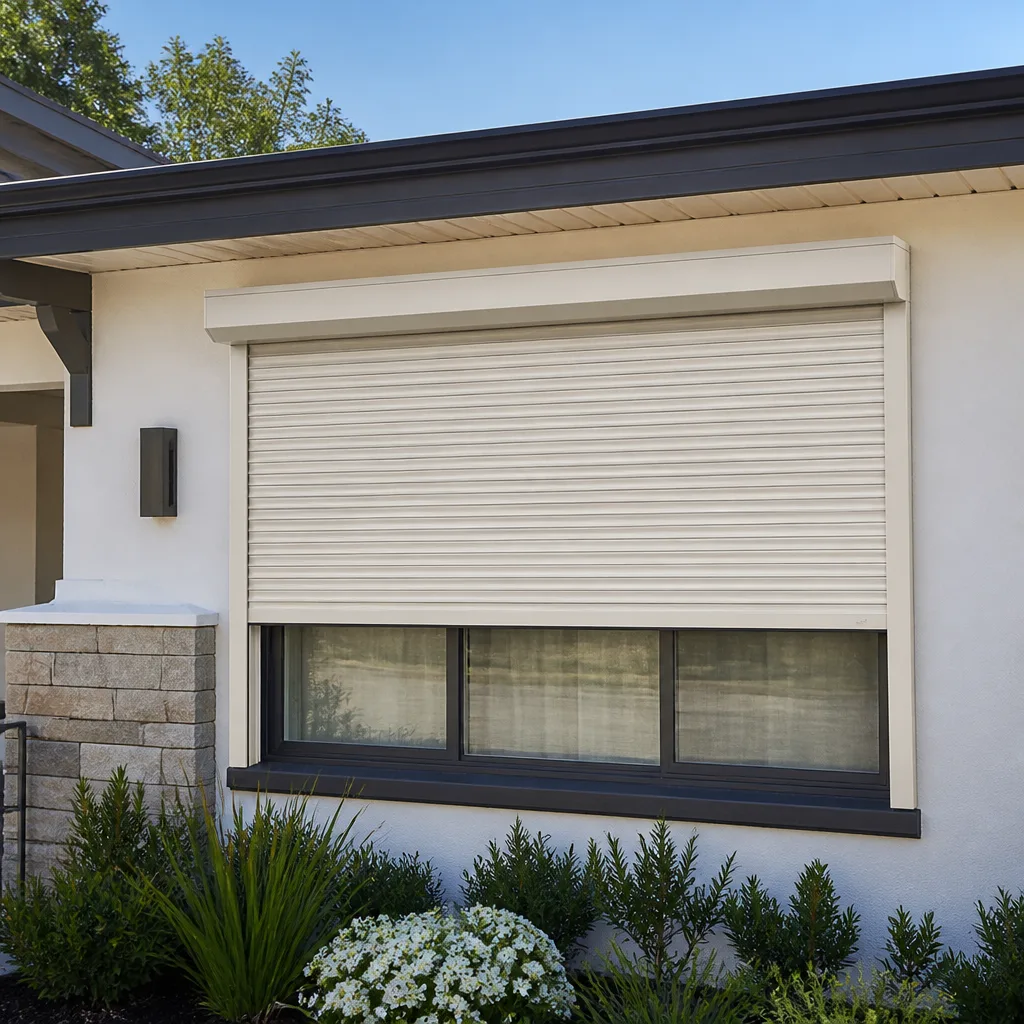
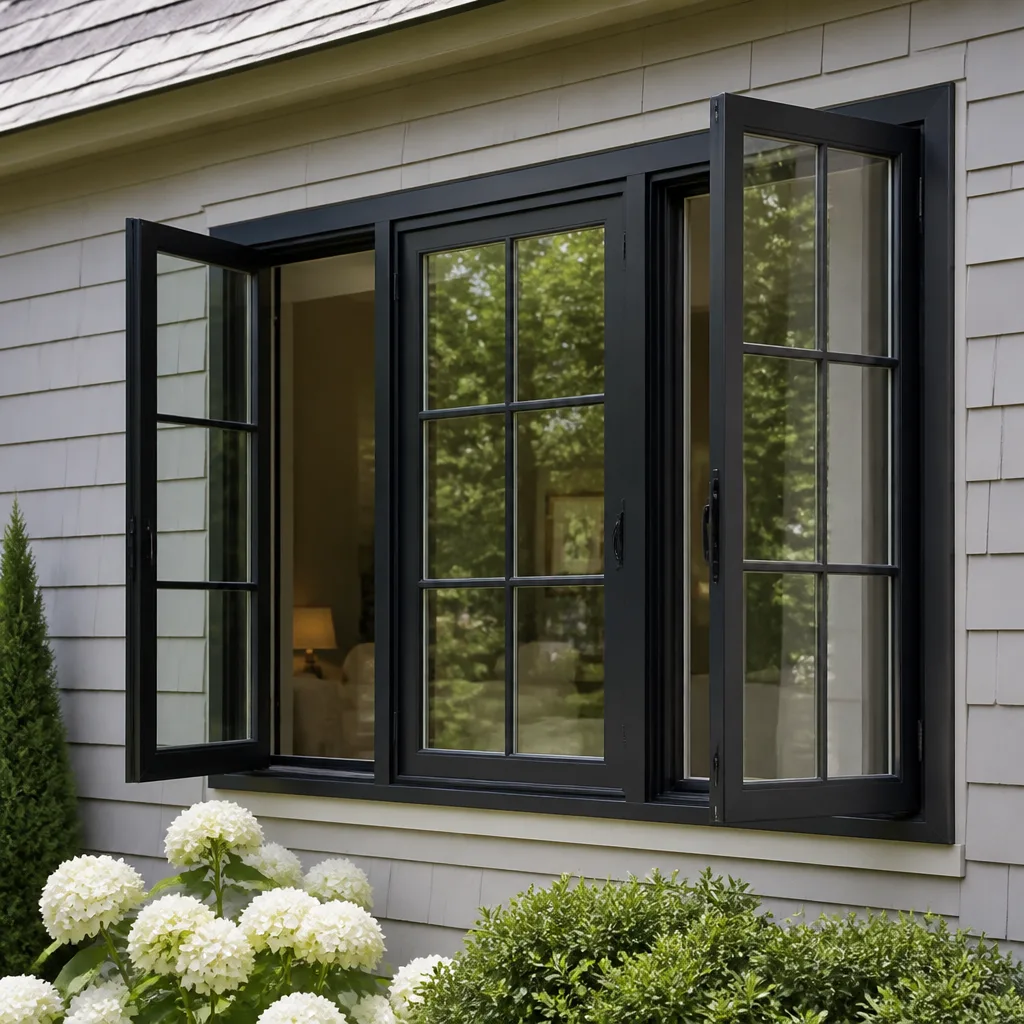
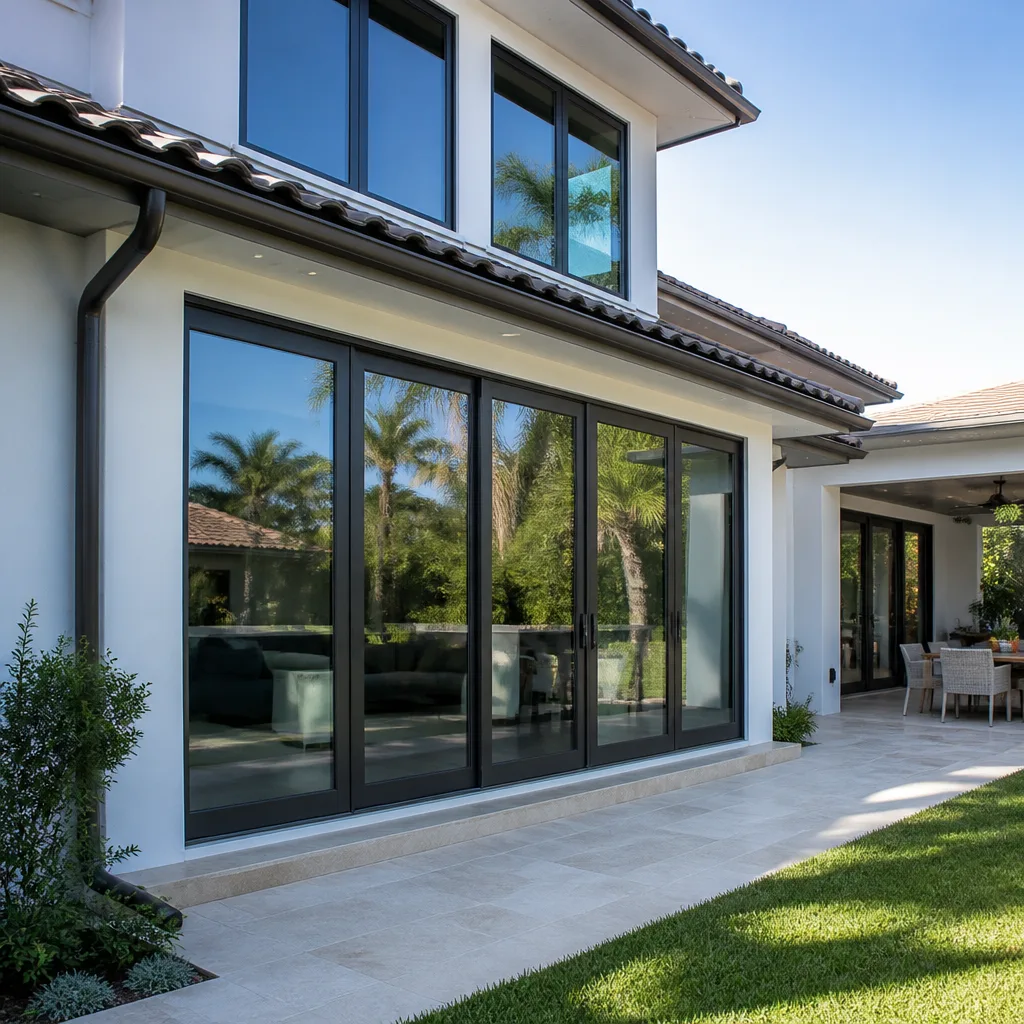

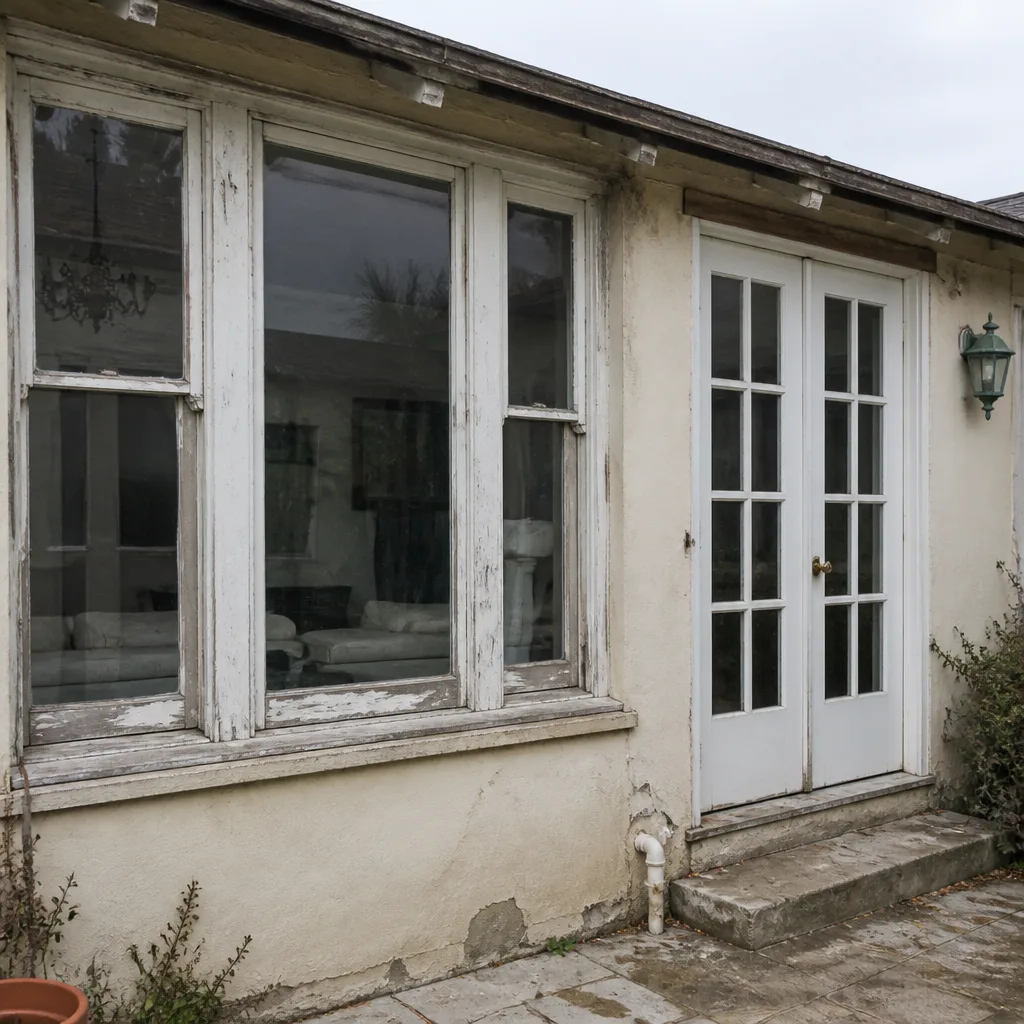 Before
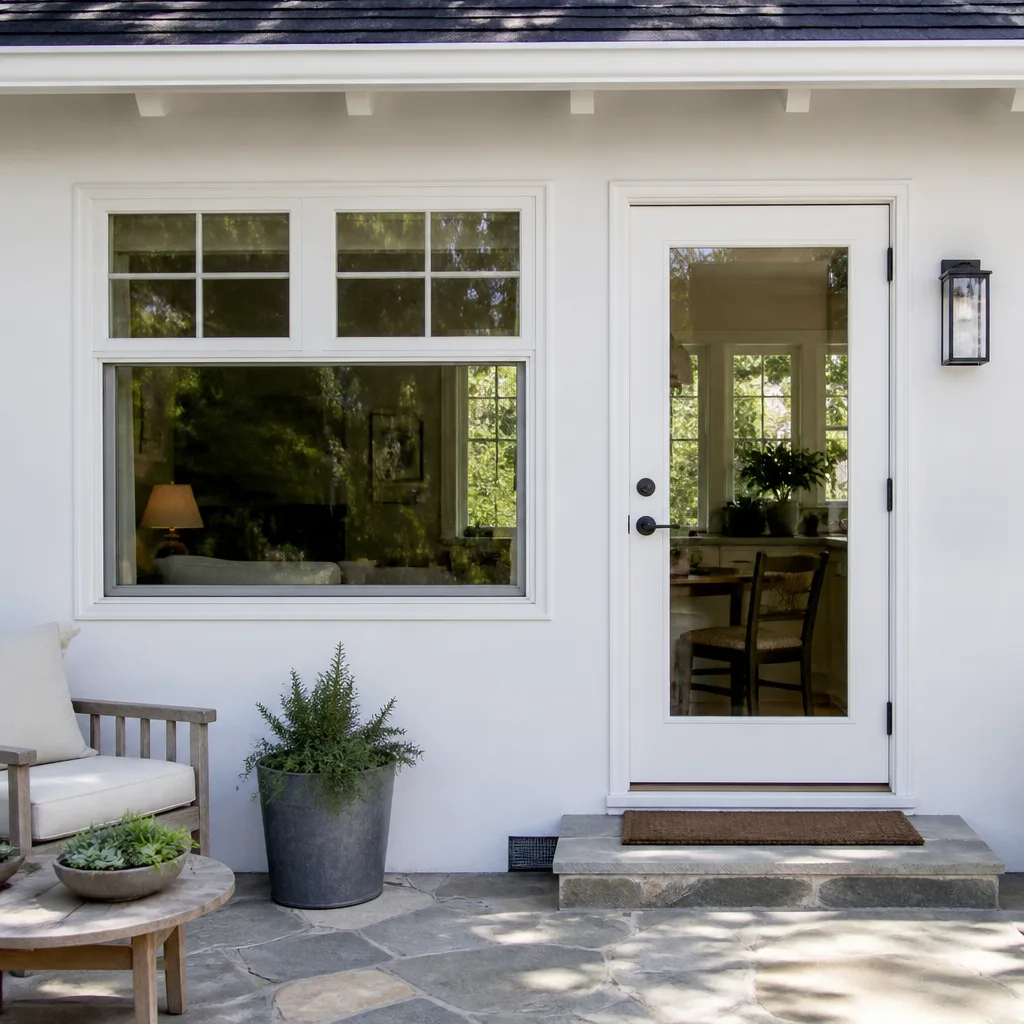 After
After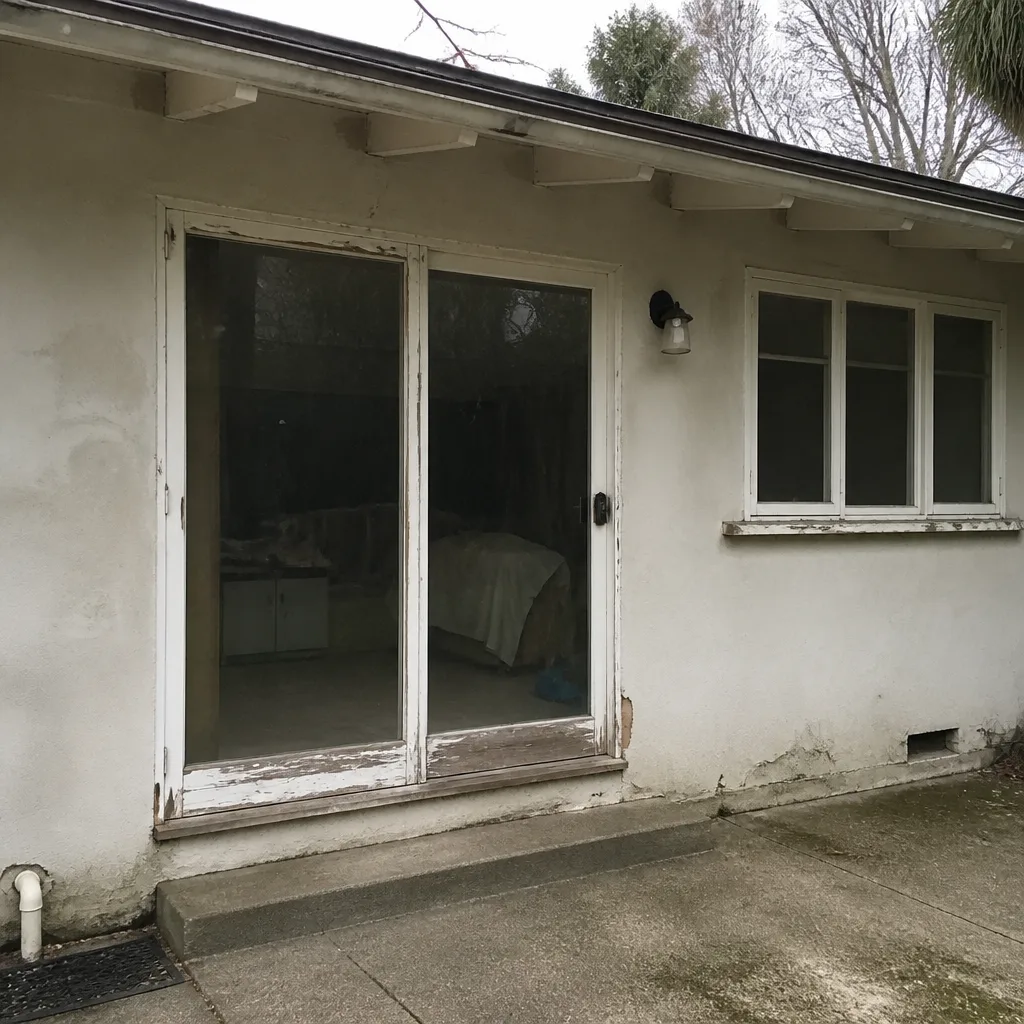 Before
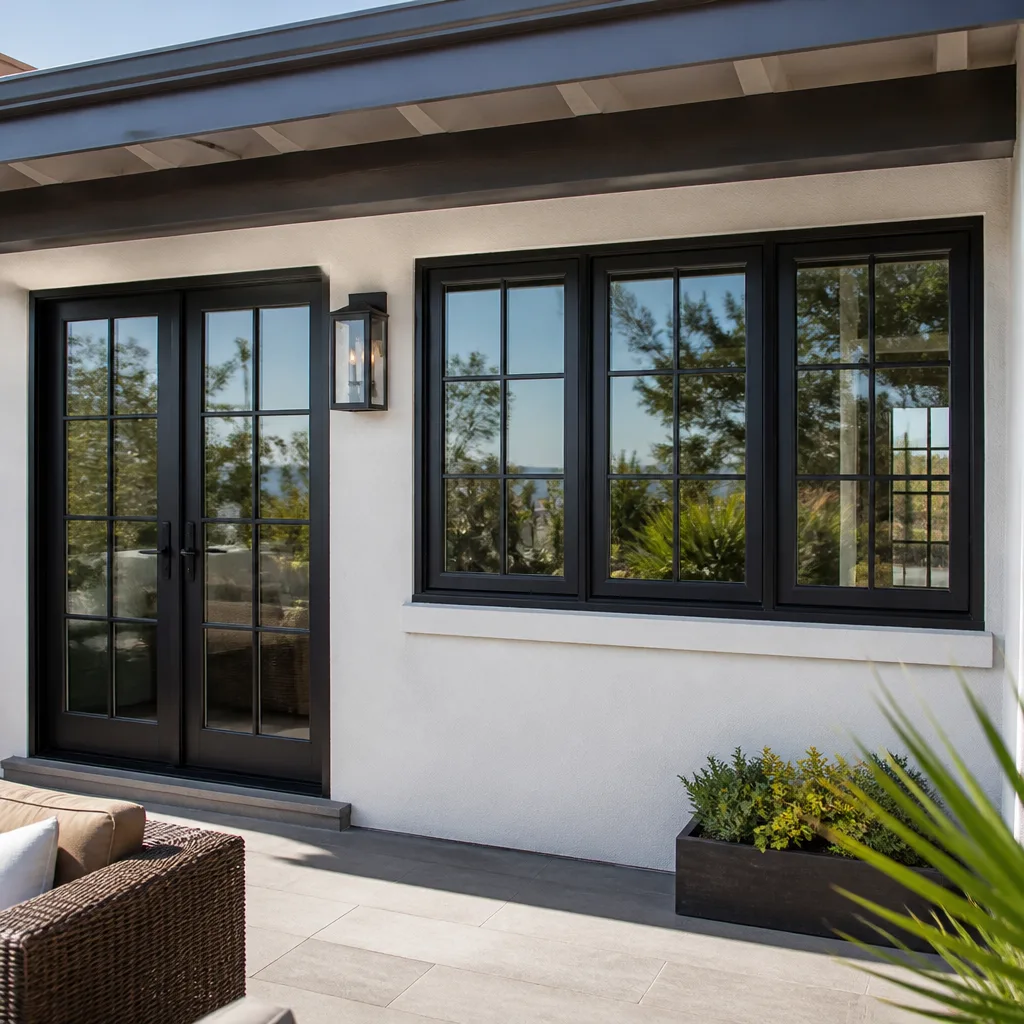 After
After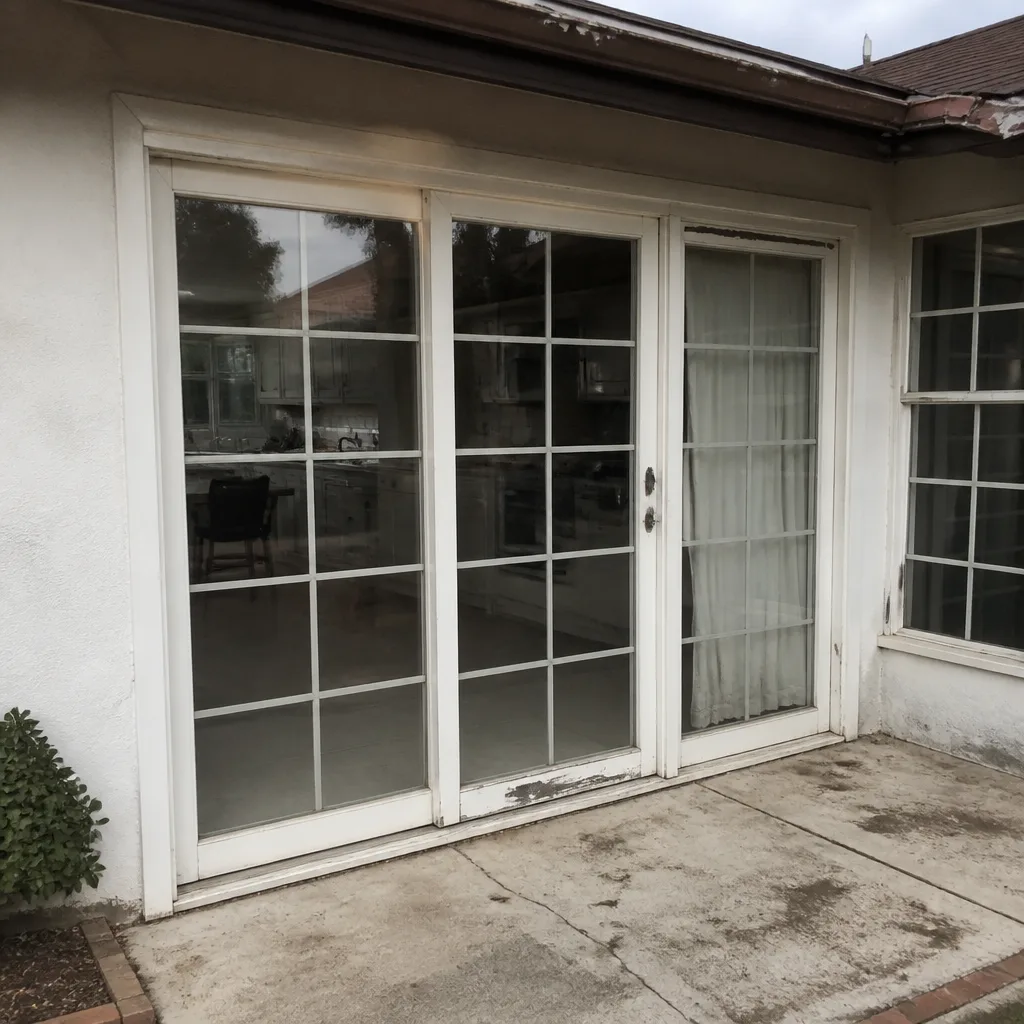 Before
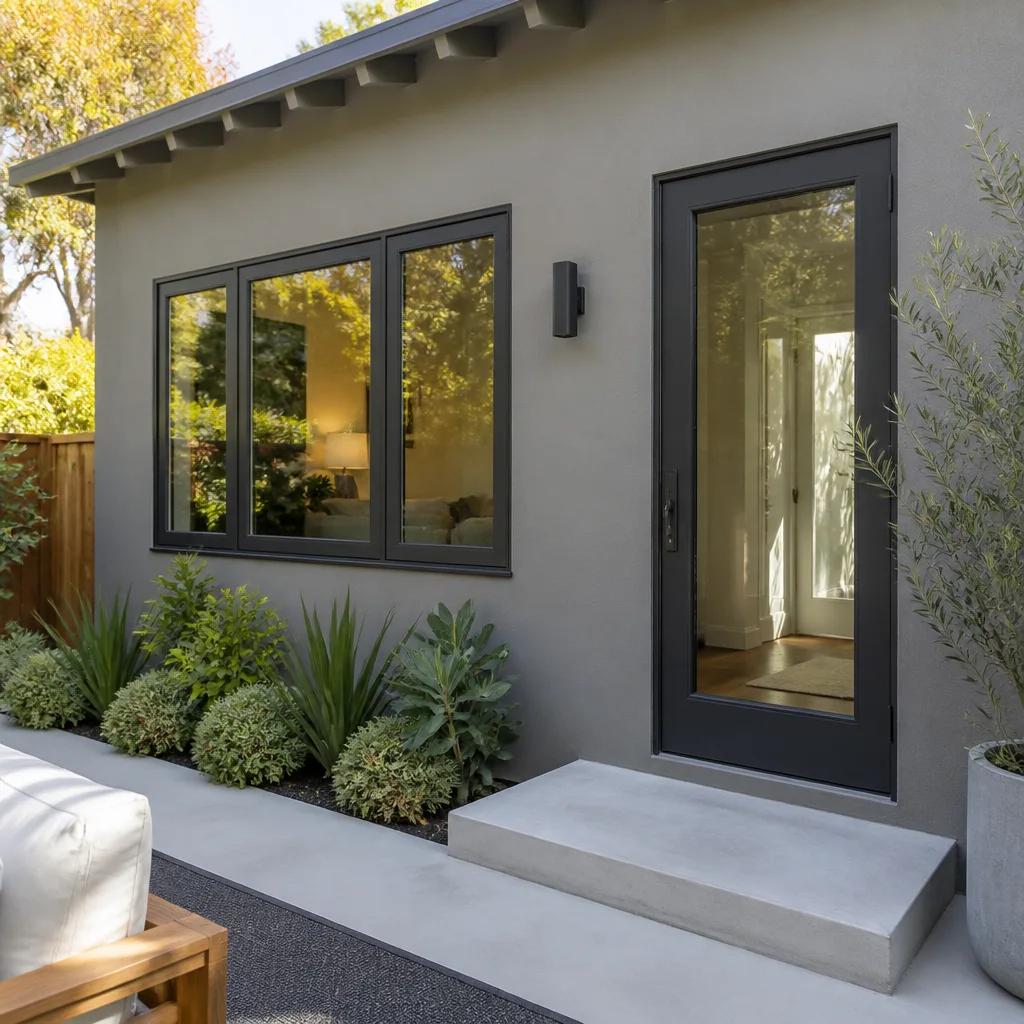 After
AfterDIY vs Professional Window Installation: What’s Safe to Do Yourself
Most DIY window guides treat every window job as the same task: measure the hole, buy a window, screw it in, caulk around it. That framing gets homeowners into trouble. The real dividing line isn’t your skill with a drill. It’s whether the opening already exists in your Los Angeles home, or whether you’re creating or changing one. A same-size replacement is a manageable project for a careful homeowner. A new opening, or an enlarged one, is legally and structurally a different job entirely. This guide breaks down exactly where that line sits, what the Los Angeles Department of Building and Safety actually requires, and which mistakes cost the most to undo.
Quick Answer
Same-size window replacement is within reach for a careful DIYer who follows flashing and waterproofing steps correctly. Installing a window into a new or enlarged opening is not a safe DIY project, because it requires a structural header, LADBS permits, and integration with the wall’s weather-resistant barrier that, done wrong, can require removing the window and opening the wall for inspection. Most Los Angeles homeowners should DIY only same-size replacements and call a professional for anything involving the rough opening, such as Window Installation services.
Table of Contents
- Replacement vs. New Opening: Why the Opening Defines the Job
- What Actually Triggers a Permit in Los Angeles
- What “Close Rough” Means and Why a Quarter Inch Matters
- The Three Tools and Two Materials That Separate Correct from “Looks Fine”
- Step-by-Step: What a Safe DIY Replacement Actually Looks Like
- How to Evaluate a Contractor’s Installation Proposal Before You Pay
- Los Angeles Climate Factors That Change How Windows Should Be Installed
- Warranty, Insurance, and Liability: What DIY Changes
Replacement vs. New Opening: Why the Opening Defines the Job
The structural difference between these two jobs is the biggest thing most DIY resources gloss over. A replacement window goes into a rough opening that already exists. The header above that opening was sized and installed when the wall was framed. The weather-resistant barrier, or WRB, was lapped over the original window flange. The job is mostly about exchanging one manufactured unit for another that fits the same hole. You are not making structural decisions. You are completing a swap.
A new opening, or an enlarged opening, is structural work. You are cutting into the wall’s framing. You are deciding what header size carries the load above the window. You are determining how the opening gets transferred down to the foundation. You are opening the building envelope and re-closing it in a way that has to shed water for decades. In Los Angeles, where many homes are stucco over wood frame, getting the WRB integration wrong means water sits against the sheathing and framing. The first sign may be a slight musty smell or a soft spot on the interior drywall years later. By then, the repair is not a window problem. It’s a wall reconstruction problem.
We’ve walked into Los Angeles homes where a homeowner, or a handyman, installed a new window into a stucco wall without the proper flashing sequence. The window looked straight from the outside. Inside the wall, the water that ran down the stucco had followed the paper backward into the sheathing. The fix required pulling the window, removing stucco around the opening, replacing rotten framing, re-papering, and reinstalling. The price beat the original professional installation by thousands.
What Actually Triggers a Permit in Los Angeles
Here’s the plain-language version of what LADBS requires. You do not need a permit to replace an existing window with a new one of the same size, same location, and same type of operation. If you’re swapping a single-hung for a single-hung, slider for slider, casement for casement, same opening dimensions, no permit is required. This is the DIY-viable path in Los Angeles.
You do need a permit when:
- The opening is new. There was no window there before.
- The opening is being enlarged in any dimension. A 3-foot-wide hole becoming a 4-foot-wide hole is a permit job, no matter how small the change sounds.
- The window type changes the opening requirements. Swapping a fixed window for an egress window, or a slider for a casement that changes the opening loads, may require review.
- The window is in a location that requires egress and the replacement changes the clear opening dimensions.
The permit is not a rubber stamp. For a new or enlarged opening, LADBS requires a structural check. They want to know the header is sized for the span and the load above it, including seismic loads. Los Angeles residential code matters here; it’s not a suggestion. An inspector will look at the header, the king studs, the jack studs, the sill, and the anchors. If the work was done without a permit and the city finds out through a neighbor complaint, a sale inspection, or a title report, the process gets expensive. The city can require the window be removed, the wall opened, and the work exposed for inspection. That is how a money-saving DIY becomes a five-figure correction.
If the job is a same-size replacement but you live in a historic district or an HOA with architectural review, check with your association before you start. The city permit might not apply, but the HOA’s rules do.
What “Close Rough” Means and Why a Quarter Inch Matters
In window installation, “close rough” refers to the distance between the window frame and the rough opening framing. The ideal gap is typically a quarter inch to a half inch around the perimeter. Too tight, and the window binds against the framing as the house settles. Too loose, and you’re filling a three-quarter-inch gap with shims and spray foam that will not carry the window properly. Both conditions create operational problems that are nearly impossible to fix after cladding is installed.
On a stucco home in Los Angeles, the sequence goes: window goes in, gets shimmed and screwed, then trim or stucco stop is applied. Once the stucco is on, the gap is buried. If the window was proud on one corner or pinched on another, the symptoms show up as a sash that won’t close cleanly, a lock that misses its keeper, or a frame that bows when the sun hits it. Adjusting the window afterward means cutting back the stucco or the interior casing. That’s a repair, not an adjustment.
A quarter inch of error in either direction is enough. This is the dimension that separates a professional installation from one that just looks weathertight in the first month. The skilled installer is not working from the window’s stated frame size alone. They’re measuring the actual opening at multiple points, checking for out-of-square conditions, and planning the clearance before the window ever comes out of its box.
The Three Tools and Two Materials That Separate Correct from “Looks Fine”
Most DIYers own a drill, a level, a caulk gun, and a pry bar. Those are replacement-window tools. What they usually don’t own are the tools and materials that make the difference between a window that works for years and one that fails inside the wall. Here’s the short list.
The three tools:
- A sill pan flashing system, not a bead of caulk. The sill is the most vulnerable part of the window. Water that gets past the sash drains onto the sill. A proper sill pan slopes that water out to the exterior. Caulk is not a sill pan.
- A pin or brad nailer for setting trim and flashing in place. Surface-applied flashing tapes and metal trim need to lay flat and stay put while the window is set. Hand-nailing these pieces is possible but rarely neat on a stucco or wood-sheathed home.
- A glazing shim gauge, or a pack of horseshoe shims used deliberately. Setting a window level and plumb while maintaining the close rough clearance takes repeatable shims. Random scraps of wood do not give repeatable results.
The two materials:
- Flashing tape, not just caulk. The corners of a window opening are the first place water gets in. Flashing tape, applied in the right sequence, bridges those joints. Caulk alone fails at corners within a few seasons in Los Angeles sun.
- Backer rod and sealant intended for joint movement. Window-to-wall joints move with temperature and wind. A high-quality sealant over a backer rod stays flexible. A home-store caulk that hardens will crack and pull away.
None of these are exotic. But they’re rarely in the standard toolbox, and they’re rarely in the budget of a homeowner who’s priced the job as “window plus caulk.” When those parts get skipped, the installation looks fine from the street for the first year. The damage is happening behind the cladding.
Step-by-Step: What a Safe DIY Replacement Actually Looks Like
If you’ve decided to replace a same-size window yourself, here’s the sequence that matters. This assumes a wood-framed Los Angeles home with stucco or lap siding. Skip any step, and the risk lands on the wall, not just the window.
- Measure the existing window’s frame, not just the glass. Pop the interior casing off one side and measure the rough opening height, width, and depth. Check for square by measuring corner-to-corner diagonals.
- Order the replacement window from those rough opening dimensions minus the close rough allowance. If the rough opening is 36 inches by 48 inches, the new window’s frame should be roughly 35.5 inches by 47.5 inches. Do not order the same size as the old window’s visible frame without checking the rough opening.
- Remove the old window carefully. Undo the interior stops, cut the exterior caulk line, and keep the sashes together. If the old window has a nail fin, cut through it or remove the fasteners rather than prying against the stucco.
- Inspect the rough opening for rot or water damage. This is the one thing you cannot skip. If the sill framing is soft or the sheathing is delaminated, the opening needs repair before the new window goes in. In stucco homes, stained or powdery stucco around the opening is a sign water has been getting in.
- Install a sill pan flashing. If the existing opening does not have one, this is a simple addition that protects the most vulnerable seam. A commercial sill pan or a folded piece of flashing tape both work when done correctly.
- Set the window in the opening, shimmed level and centered. Use shims at the sill, the midpoint, and the top on both sides. Check level and plumb on the frame itself, not the glass.
- Fasten through the frame into the framing. Use the manufacturer’s specified fastener pattern. For nail-fin windows, the fin gets fastened before flashing. For block-frame windows, the frame itself gets screwed into the jack studs.
- Apply flashing tape in the correct sequence: bottom corners first, then sides, then a cap across the top. The top piece laps over the side pieces so water running down the wall never goes behind the tape.
- Seal the exterior joint with backer rod and sealant, then air-seal the interior gap with low-expansion foam. Use foam meant for windows. High-expansion foam can bow the frame and pinch the sash.
- Replace the interior casing and clean up. If the home is stucco, leave the stucco channel clean and use a paintable sealant so the repair can be matched by a stucco contractor or a patient DIYer.
If at any point in this sequence you find yourself unsure whether the opening is structurally sound, stop and call someone. The cost of an hour of professional assessment is far less than the cost of hanging a window in a compromised wall.
How to Evaluate a Contractor’s Installation Proposal Before You Pay
If you’ve decided the job goes to a professional, the proposal itself will tell you whether the installer knows what a code-compliant installation requires. Here are the items to look for, and the ones to ask about before any deposit is paid.
- The proposal names the flashing sequence. It should say something like “sill pan, corner flashing, side flashing, head flashing” or reference the manufacturer’s installation manual. A proposal that just says “install window” does not demonstrate that the crew knows what happens behind the cladding.
- The proposal includes the gap tolerance or close rough dimension. You want to see a mention of shimming, leveling, and centering the window in the opening. This tells you the installer is planning the fit, not just sliding the window into a hole.
- The proposal clarifies permit responsibility. For same-size replacement, no permit is typically required in Los Angeles. For new or enlarged openings, the proposal should state who pulls the permit and who’s responsible for inspection. If the contractor offers to skip a required permit, that is a red flag, not a favor.
- The proposal includes removal and disposal of the old window, and protection of the interior. You want to see mention of drop cloths, floor protection, and a cleanup plan. At Lightwell Windows & Doors in Los Angeles, every job includes shoe covers and drop cloths on every visit, plus a photo of the clean-up before the crew leaves. That is part of the Cedarwell Care Promise, and it should be part of any proposal you’re considering.
- The proposal is a fixed written price. A professional installer should give you a written price before any work starts. No-hassle upfront pricing is the standard. If the proposal has allowances or “plus extras” language, get the specific scenarios in writing before you sign.
When you’re calling around Los Angeles for window estimates, ask this question directly: “Can you walk me through the flashing sequence you use on a stucco home?” A good installer answers without pausing. If the answer is “we caulk it really well,” keep looking.
Los Angeles Climate Factors That Change How Windows Should Be Installed
Los Angeles has a reputation for easy weather, and in most ways that’s fair. But the city’s climate puts specific stresses on windows that homeowners in other regions don’t think about. The same sun that makes Los Angeles pleasant also degrades sealants fast. Ultraviolet exposure breaks down the polymers in caulk and sealant within five to ten years. A window installed with an exterior sealant that is not UV-stable will fail at the joint long before the window itself is worn out.
Then there’s the rain. Los Angeles gets most of its annual rain in a handful of intense storms rather than spread across a season. A wall that would survive a gentle drizzle elsewhere gets hit with a concentrated downpour that finds every entry point. The WRB integration, the flashing laps, and the sill pan all get tested in a few hours. If the installation was close but not correct, the wall gets wet in a way that doesn’t happen with mild, frequent rain.
Wind is another factor. Los Angeles gets strong Santa Ana winds that drive rain sideways against the wall. A window opening that faces a canyon or a long street will see wind-driven moisture that a protected opening never sees. The head flashing and the top of the side flashing are what keep that water out. These are not optional on any Los Angeles window, but they are critical on the windward side of the home.
And there’s the soil. Many parts of Los Angeles sit on expansive or shifting soils that cause slow, small movements in the framing. The close rough clearance matters here more than anywhere. A window set too tight in a home that is settling slightly will bind. A window set with proper clearance will ride those movements without cracking seals or bowing the frame. This is one of those details that makes a professional installation worth the cost in Los Angeles, because the installer has seen which openings are most prone to movement in which neighborhoods.
Warranty, Insurance, and Liability: What DIY Changes
When you install a window yourself, you carry the labor warranty. If the window sags, the sash binds, or the flashing fails, the manufacturer will likely point to the installation. Their product warranty covers manufacturing defects. It does not cover the workmanship of the person who put it in the wall. A professional installation from a company like Lightwell Windows & Doors in Los Angeles comes with warranty coverage that includes the installation itself, backed by the 365-Day Done Right Promise. For more context on when to hire a pro, read our guide on DIY vs Professional Window Replacement: What’s Safe to Do Yourself. If the finished work is not right, Lightwell makes it right. That commitment is stamped on every job, including the harder ones.
Liability is the other piece. If a window you installed leaks and damages the framing inside your wall, your homeowners insurance may or may not cover it depending on the cause and your policy. If a contractor’s installation fails, their insurance and their workmanship warranty are on the hook. That shift in liability is one of the strongest reasons to hand any job involving the rough opening to a professional.
There is also the matter of resale. Los Angeles homes sell with inspections. A buyer’s inspector will flag a window that is out of square, a sash that won’t close, or signs of water damage around an installation. If the window was installed without a permit when one was required, that can become a title issue. The money saved on the original install becomes a discount on the sale price, or a repair bill before closing.
Common Mistakes to Avoid
- Treating a new opening like a bigger replacement. Cutting a new hole in a Los Angeles wall without a header, a permit, and a flashing plan is the fastest way to a structural failure. This is not an advanced DIY project; it is a code violation with real consequences.
- Measuring the old window’s glass and ordering that size. The rough opening is not the same as the glass size. Measure the framing, not the visible window. This one error causes more reorders than any other in window replacement.
- Skipping the sill pan because the old window didn’t have one. Older Los Angeles homes were often installed without sill pans, and many of them have sill rot as a result. The replacement is your chance to correct the deficiency, not repeat it.
- Using high-expansion foam around the window frame. Standard spray foam expands with enough force to bow the frame and pinch the sash. Use low-expansion window and door foam, and follow the manufacturer’s bead size.
- Caulking the bottom of the window frame. Water that gets past the sash needs a place to drain. The bottom exterior joint should let water out, not trap it inside. This is a counterintuitive but critical detail.
- Relying on caulk instead of flashing tape. Caulk fails at corners, especially under Los Angeles UV exposure. Flashing tape is the real water barrier. Caulk is the cosmetic finish.
- Ignoring the permit trigger for an enlarged opening. An enlarged opening is a structural change, even if the change is only a few inches. The risk is not the city fine alone, but the cost of tearing out and redoing the work to satisfy an inspection.
When to Call a Professional
If the job involves a new opening, an enlarged opening, a compromised wall, a stucco home with no visible flashing, or a window that is part of an egress requirement, call a professional before you cut anything. The structural header, LADBS permit process, and WRB integration are not DIY-friendly tasks, and the cost of correcting a mistake is far higher than the cost of doing it right the first time. For Los Angeles homeowners specifically, see our DIY vs Professional Windows & Doors: The Los Angeles Homeowner’s Decision Guide. Lightwell Windows & Doors offers free estimates in Los Angeles. Call (562) 478-8017 to schedule one, and we’ll walk you through what the job requires before you commit to anything.
Frequently Asked Questions
Yes, same-size replacement windows in the same location with the same operation type do not require a permit in Los Angeles. The window must fit the existing rough opening without structural changes. If the opening is new or enlarged, a permit is required and the work must pass LADBS inspection.
The hardest part is getting the flashing sequence and the close rough clearance right. The flashing has to be installed in a specific order so water always drains outward. The gap around the window needs to stay between a quarter inch and a half inch. Both are learnable on a same-size replacement, but both are unforgiving when done wrong.
Professional replacement window installation in Los Angeles typically runs between $300 and $800 per opening for labor, depending on the window type, the home’s cladding, and the condition of the rough opening. New opening installation is more, because it includes framing, permits, and structural work. Lightwell Windows & Doors provides a written price before any work starts, so you’ll know the exact number before you commit.
Most window manufacturers require installation according to their published instructions for warranty coverage. A DIY installation that does not follow the manual, especially the flashing requirements, can void the product warranty. A professional installation from Lightwell Windows & Doors is covered by the 365-Day Done Right Promise, which means if the finished work is not right, we make it right.
Look at the exposed framing after removing the old window. Probing the sill and the lower corners with a screwdriver will tell you if the wood is soft or powdery. In Los Angeles stucco homes, water stains around the opening’s interior drywall or crumbling stucco at the sill are signs of water damage. If you see these, stop and call a professional before continuing.
Ask them to walk you through the flashing sequence they’ll use, whether they’ll pull a permit if one is required, what the close rough tolerance will be, and whether the price is fixed and in writing. Any installer who can’t answer the flashing question clearly is not the person you want cutting into your wall. Call (562) 478-8017 for a free estimate and a written proposal that names all of these details.
The Bottom Line
Safe DIY window installation in Los Angeles means same-size replacement, careful measurement, correct flashing, and the humility to stop when the opening itself is in question. For more guides & resources, visit our blog. The threshold is not about how handy you are. It’s about whether you’re working inside an existing opening or changing the structure of the wall. New and enlarged openings require a structural header, a permit, and a weatherproofing sequence that most DIY resources undersell. If you’re unsure which side of the line your project falls on, call a professional. The estimate is free. The mistake is not.
Written by Keith Yamada, Owner at Lightwell Windows & Doors, serving Los Angeles since 2010.