
Last updated October 8, 2026
Free in-home measure and quote - PGT, CGI and CWS impact lines compared on your actual openings, style by style
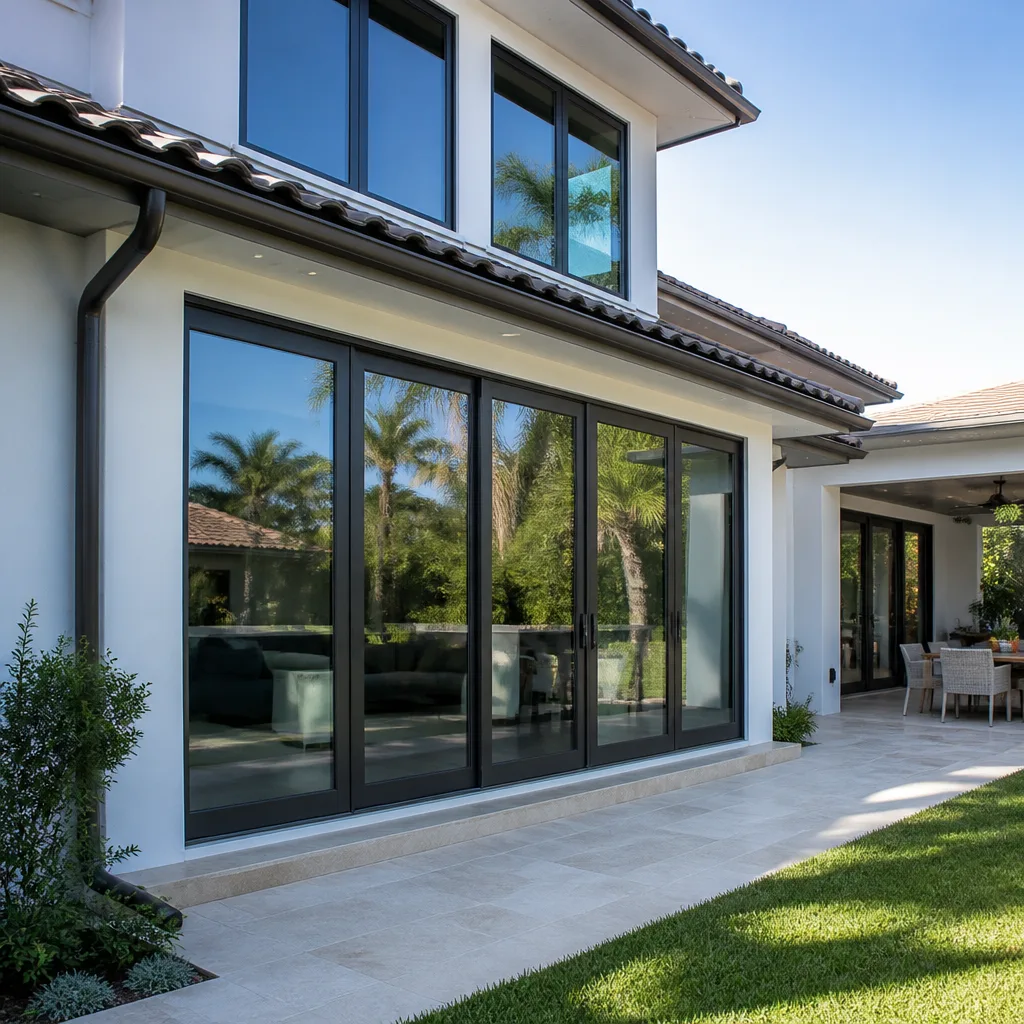

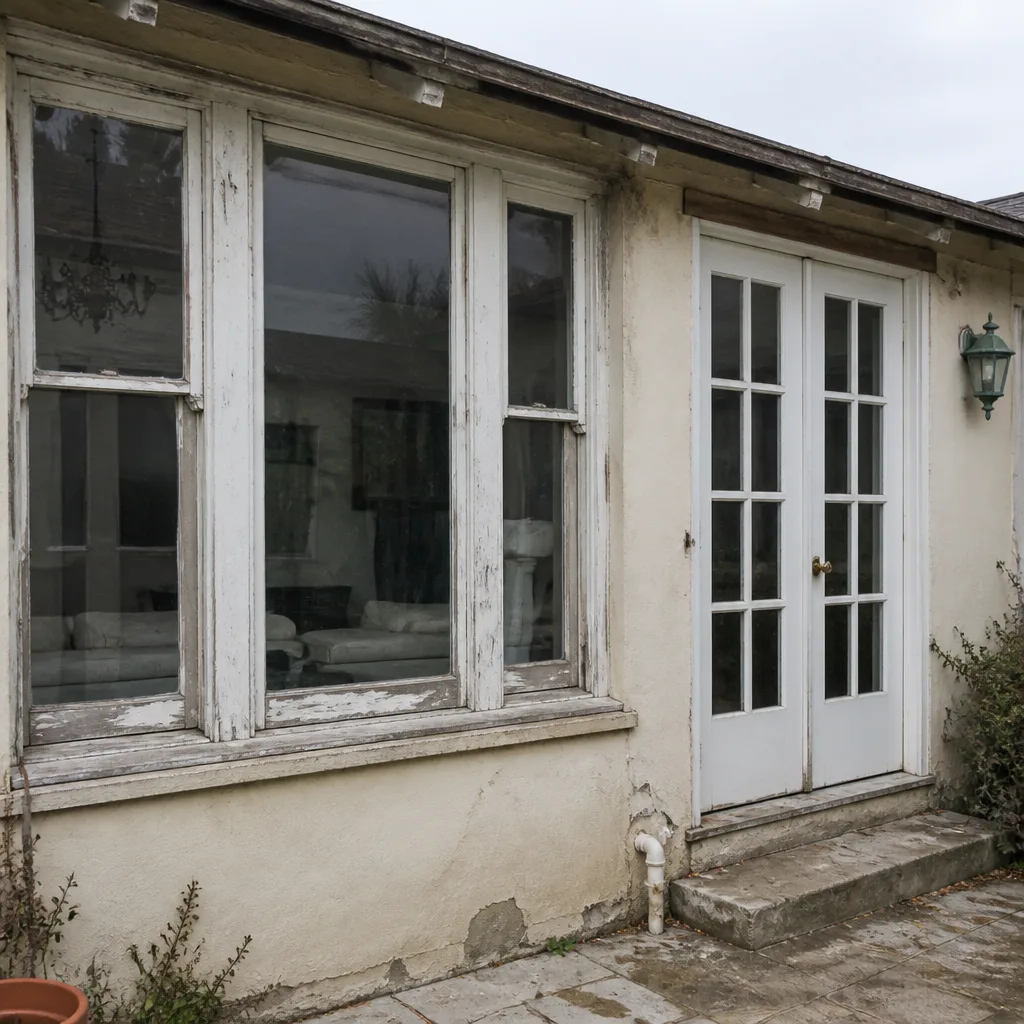 Before
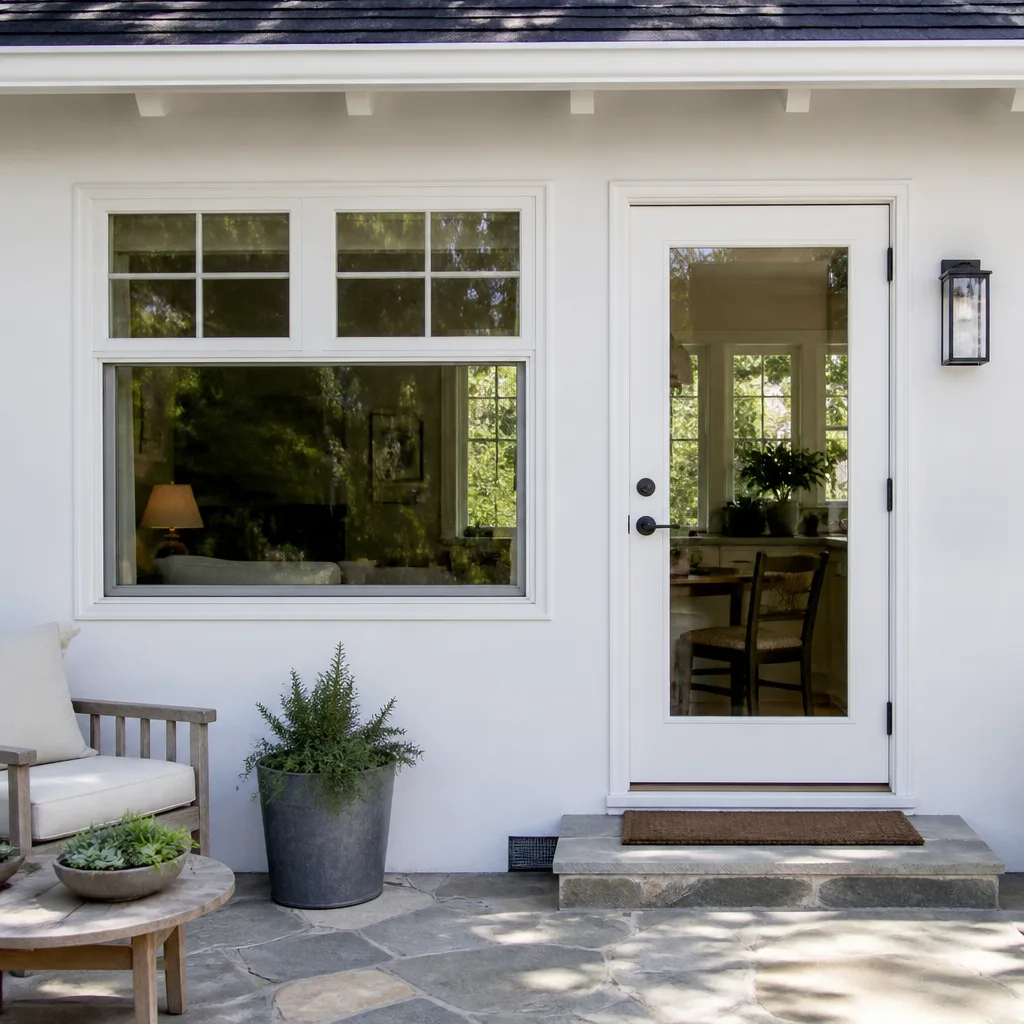 After
After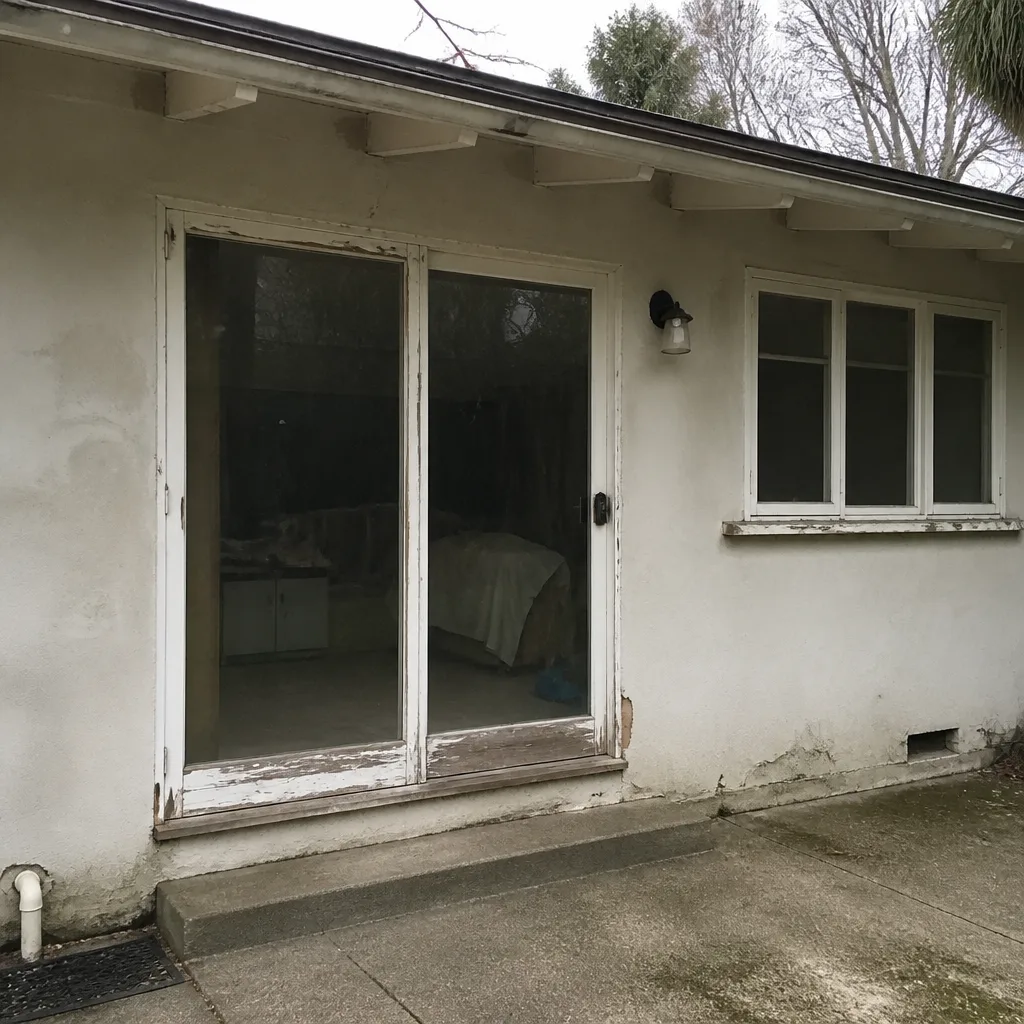 Before
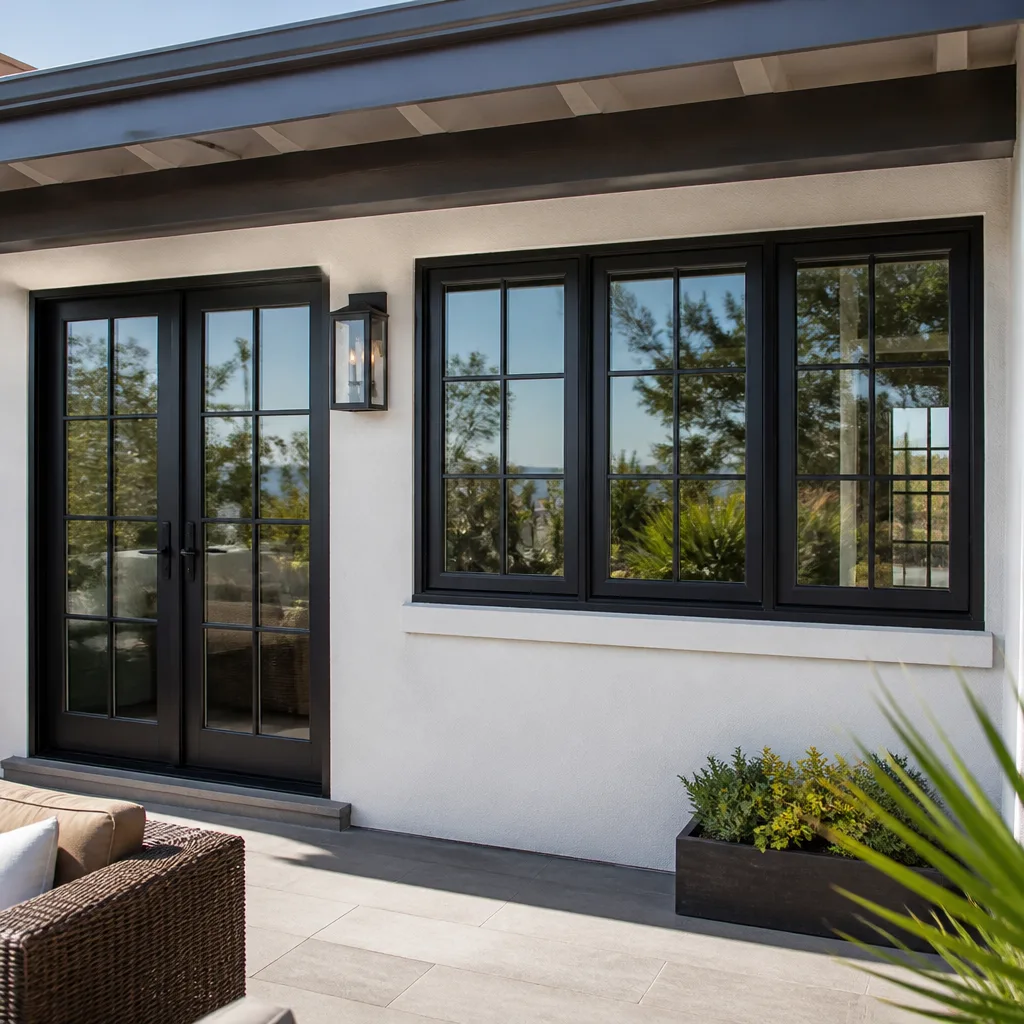 After
After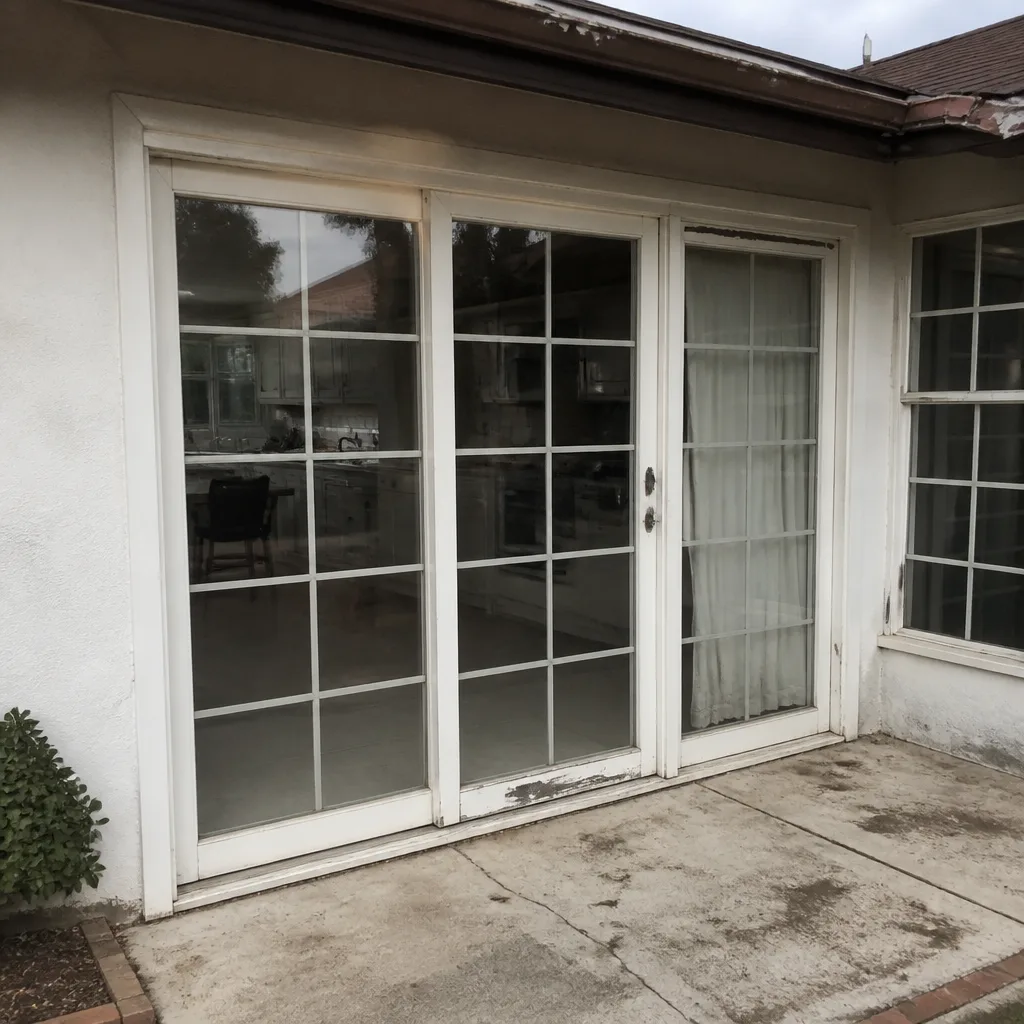 Before
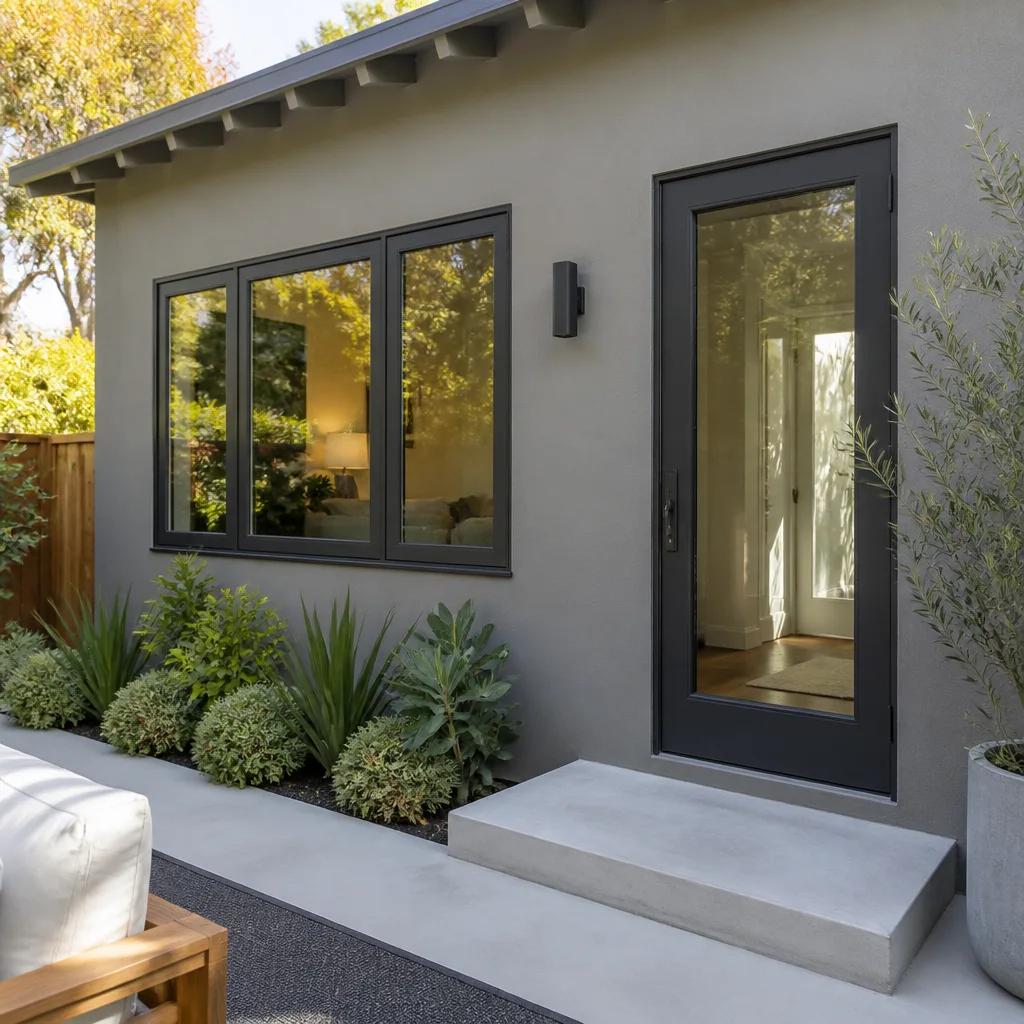 After
AfterDoor Installation Warning Signs Every Homeowner Should Know
If your newly installed exterior door shows daylight around the frame when you stand inside at night with the interior lights off, the installation has a weatherstripping or shimming failure. That gap will cost more in energy loss over a year than the callback visit costs the contractor to fix. Most homeowners in Los Angeles accept small gaps, sticky latches, and doors that drift open on their own because they assume every new door behaves that way. It doesn’t. A properly installed door stays put, seals cleanly, and closes without persuasion. This guide walks you through the specific checks to run on day one, day seven, and day thirty after your Door Installation services are complete, while the warranty conversation is still easy to have.
Quick Answer
The clearest warning signs of a poor door installation are daylight visible around the closed door, a door that swings open or shut on its own instead of staying where you leave it, a deadbolt that scrapes or requires force to throw, and weatherstripping that looks flattened or uneven within the first month. If you notice any of these, document them with photos and contact the installer immediately. In Los Angeles, where summer heat pushes doors to expand and contract against their frames, these problems rarely fix themselves.
Table of Contents
- Day One: What a Correct Installation Looks Like
- How to Test the Door Swing for Proper Balance
- Threshold, Weatherstripping, and Door Sweep: What Compression Should Look Like
- Hardware Checks: Deadbolt, Hinges, and Screws
- Day Seven: What Settling Reveals
- Day Thirty: Long-Term Installation Failures Surface
- Documentation: What to Keep So Your Callback Is Honored
- Los Angeles-Specific Factors That Affect Door Installation
Day One: What a Correct Installation Looks Like
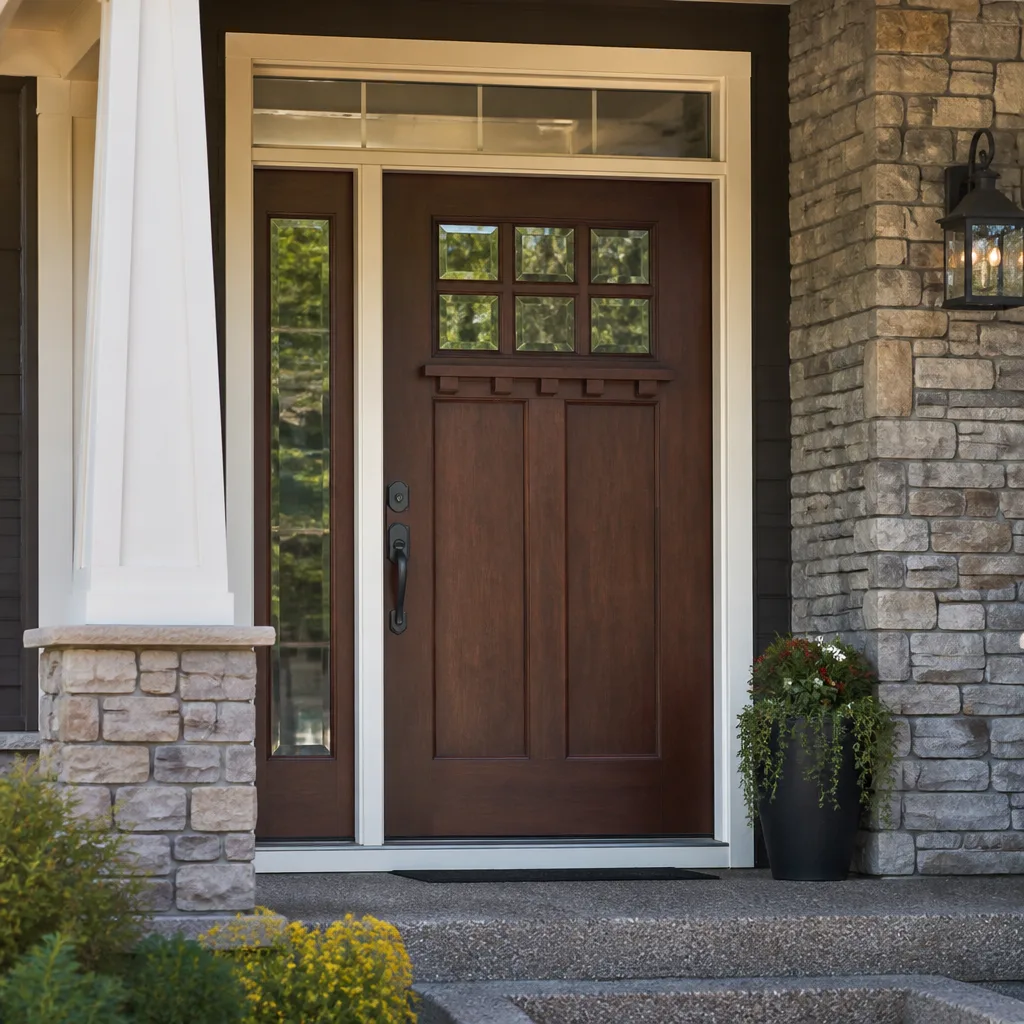
A door installation done right is not dramatic. The door should close with a soft, even resistance as the weatherstripping compresses, then settle into the frame without a thud. You should not have to lift the handle, lean your shoulder into it, or jiggle it to get the latch to engage. In Los Angeles, where many homes have stucco exteriors and wood framing that has settled over decades, the installer should have shimmed the new door to match the existing opening, not forced the opening to match the door.
Run these checks before the installer leaves the driveway:
- Stand outside and look at the gaps. The reveal, which is the space between the door slab and the frame, should be even all the way around. If it is 1/8 inch at the top hinge and 3/16 inch at the bottom latch, the door is racked.
- Close the door from outside and run your hand around the perimeter. You should feel the weatherstripping making contact everywhere. A gap where you feel air moving is a sealing failure.
- Open and close the door three times at normal speed. Listen for scraping, grinding, or a metallic click that suggests the latch is catching on the strike plate edge rather than sliding into the hole.
- Check the threshold for movement. Step on it. It should feel solid, not springy. A threshold that flexes underfoot was not properly supported underneath.
- Look at the caulk line on the exterior. It should be continuous and tooled smooth, with no gaps where water could get behind the frame. In Los Angeles, rain is infrequent but often arrives fast and heavy when it does come. A missing bead of caulk becomes a wall cavity leak the first winter it storms.
How to Test the Door Swing for Proper Balance
A well-hung door stays wherever you leave it. That single sentence is the most reliable diagnostic in door installation, and it is the one most homeowners never think to test. Here is the procedure: open the door halfway, about 45 degrees, and let go. Take your hands off it completely. Then watch.
If the door holds its position, the hinges are plumb and the weight is distributed evenly. If it swings open on its own, the hinge side is leaning outward or the floor is sloping, and the installer did not account for it. If it swings closed on its own, the hinge side leans inward. Either way, the problem is not the door. It is the alignment of the installation. The door slab itself leaves the factory square. When it drifts, the installer hung it out of plumb.
In Los Angeles, we see this frequently in hillside neighborhoods like Echo Park, Silver Lake, and Mount Washington, where homes settle unevenly and floors are rarely perfectly level. A careful installer checks the floor with a level before setting the first screw. A rushed one hangs the door to match the rough opening and then blames the house when the door drifts. Do not accept that explanation. An experienced installer shims to correct the existing conditions, not to accommodate them.
Run the swing test on day one and again on day thirty. If the door passed on day one and drifts on day thirty, something has shifted in the frame or the hinges are loosening. Both are warranty issues.
Threshold, Weatherstripping, and Door Sweep: What Compression Should Look Like
The seal at the bottom of an exterior door is a system of three parts working together: the threshold, the weatherstripping on the sides and top, and the door sweep or gasket on the bottom of the slab. When they are installed correctly, they compress against each other to form a continuous air and water barrier. When they are installed incorrectly, they leave gaps that are invisible from a standing height but obvious when you get down on the floor and look.
Here is what to check:
- The door sweep should leave a visible compression line on the threshold. After a week of use, you should see a faint line where the sweep contacts the threshold cap. If there is no contact line, the sweep is too short or the threshold was installed too low.
- The weatherstripping should spring back after you press it. Pinch the weatherstripping along the latch side and release. It should immediately return to its shape. If it stays compressed or looks flattened, the door was installed too tight against it, which wears it out in months instead of years.
- There should be no light visible under the door from inside. Stand inside at night with the interior lights off and look at the bottom of the door from a low angle. If you see light, the sweep is not making contact. That gap lets conditioned air escape and brings in dust and insects, which matters in Los Angeles neighborhoods near open hillsides.
- The corner pads, where the weatherstripping meets the threshold, should overlap. If there is a visible seam or gap at either lower corner, water can get driven in during wind-blown rain. Doors from brands like Therma-Tru and PGT are engineered for those corner pads to interlock. A gap means the installer cut them too short.
- On a ViewLux or CGI door with a multi-point locking system, the weatherstripping should compress evenly along the full length. Multi-point locks draw the slab into the frame at several points along the door edge. If the compression is tight at the lock points but loose between them, the door was not adjusted correctly after hanging.
Worn-on-arrival contact points indicate the door was set without a gap adjustment pass. A good installer hangs the door, then adjusts the hinges and strike plate positions, then checks the compression. It is a three-step process. When the third step is skipped, the first fifteen closes start shearing the weatherstripping and the seal degrades from brand new to five-years-old within a month.
Hardware Checks: Deadbolt, Hinges, and Screws
Hardware problems after a door installation are almost always installation problems, not product problems. The deadbolt, hinges, and screws are simple mechanical parts. When they misbehave, it is because they were mounted out of alignment or under-torqued.
Start with the deadbolt. Close the door and throw the bolt. It should slide into the strike plate hole with no resistance beyond the normal spring tension. If you have to pull the handle toward you, lift the door, or push the door in to get the bolt to throw, the strike plate is misaligned with the bolt path. This is the most common hardware failure we see in Los Angeles door installations. The fix is repositioning the strike plate, which is a fifteen-minute job for the installer and a constant daily annoyance for the homeowner who does not call it in.
Check the hinges next. Look at where each hinge leaf meets the door and the frame. The leaf should sit flush in its mortise, not proud of the surface. If you can catch a fingernail on the edge of a hinge leaf, the mortise was cut too shallow or the installer used a hinge that doesn’t match the door prep. Over time, a proud hinge leaf works loose and the door starts sagging.
Finally, inspect the screws. Every hinge should have a screw in every hole. If one is missing, it means the installer stripped it during installation and did not replace it with a longer screw or a plug. Look for screws that are not fully seated. A hinge screw that sits a quarter turn proud of the leaf will back out within months as the door cycles through thousands of open-and-close movements. In a home with kids and pets, that cycle count multiplies fast.
Day Seven: What Settling Reveals
After a week, a correctly installed door has settled into its final position and the hardware has stopped shifting. If problems appear at this mark, they are not settling problems. They are installation problems that the first week of use has exposed.
By day seven, run these checks:
- Re-run the swing test. A door that now drifts open or closed where it held position on day one is a red flag. Something moved: a hinge loosened, a shim compressed, or the frame was not anchored tightly.
- Check for screw popping on the hinge plates. Look closely at the screw heads. If you see a small dome of paint or wood around a screw head, the screw is walking out of its hole.
- Listen for the latch clicking against the strike plate. A properly installed door should close with one soft sound: the latch entering the strike. A two-stage sound, click-scrape, means the latch is dragging.
- Feel for drafts around the perimeter at night. The easiest time to detect air movement is after dark, when outside temperatures drop. In Los Angeles that is especially true in beach-adjacent neighborhoods like Santa Monica, Venice, and Playa del Rey, where the marine layer rolls in every evening.
- Check the interior trim. The casing should be tight against the wall with no gaps at the corners. A gap means the trim was not coped or mitered correctly, or the wall was not flat and the installer did not scribe the trim.
Day seven is also the right time to take photographs of anything that looks off, before you call the installer. A photo with a date stamp is far more useful in a warranty conversation than a verbal description. It gives both parties a clear reference point and removes the “it was fine when we left” argument.
Day Thirty: Long-Term Installation Failures Surface
Thirty days is how long it takes for installation problems that were too subtle to notice at first to become impossible to ignore. The door has opened and closed hundreds of times. It has been through temperature swings, direct afternoon sun, and the first real weather since installation. What remains at day thirty is not going away.
The specific failures to look for at the thirty-day mark:
- The door sticks at the top latch corner. This is frame racking. The installer did not shim the hinge side level, and the weight of the slab has been gradually twisting the frame. On a CWS or ECO Window Systems door with a fiberglass frame, the frame itself may flex to accommodate slight misalignment. On a wood door, the slab swells and binds.
- The weatherstripping is visibly different on one side than the other. Flattened on top but fresh at the bottom means the door was hung tight at the head. The remedy is hinge adjustment to balance the gap.
- The threshold cap is loose at one end. Threshold caps on aluminum thresholds snap onto the base. If the installer cut the cap too short, it walks out of position as the door is used. A loose threshold cap is a trip hazard for kids and pets and lets water get under the threshold.
- You can see daylight at the bottom corners when the door is closed. Corner seal pads wear quickly when they are misaligned. By thirty days, the wear is visible as a small triangular gap.
- The door is louder than it was on day one. A door that now closes with a rattle or a hollow sound has hardware that is working loose or weatherstripping that has lost its compression.
If any of these five things are present at day thirty, document them and call the installer. Every door installation that Lightwell does in Los Angeles carries a 365-Day Done Right Promise, which means if the finished work is not right, we make it right. No debate, no countdown. You should expect the same from whoever hung your door. A contractor who resists coming back at day thirty is telling you how they handle warranty work. Believe them.
Documentation: What to Keep So Your Callback Is Honored
Three pieces of documentation determine whether a warranty callback gets honored quickly or turns into a dispute: photos of the installation, the written invoice scope, and the warranty terms. Keep all three somewhere you can find them a year later.
Photos. Take photos on day one, day seven, and day thirty. Photograph the gaps around the door from both sides, the threshold, the weatherstripping, and any hardware you want to check later. These photos are your before-and-after record. When a problem appears at month five, you want a picture from month one that shows the same area looking correct. That establishes the problem developed over time, which points to an installation or product issue, not pre-existing damage.
The written invoice scope. The invoice should list exactly what was installed: the door slab, the frame, the threshold, the hardware, the weatherstripping, and any trim. It should also state the work that was performed: shimming, insulation, caulking, anchoring. If the invoice just says “door installation,” you have no documentation of what the contractor agreed to do. A written price before any work starts is standard practice at Lightwell, and it should be standard at any company you hire.
Warranty terms. Know what the warranty covers and for how long. Product warranties from manufacturers like PGT and CGI cover manufacturing defects in the door slab. Installation warranties cover the labor of hanging the door. They are separate things, and the installer is responsible for the second one. If the installer offers no explicit installation warranty, ask why. Any installer who stands behind their work will put it in writing.
Los Angeles-Specific Factors That Affect Door Installation
Los Angeles has specific conditions that shape how doors perform after installation, and a knowledgeable installer accounts for them. The city spans coastal fog zones, inland heat, hillside microclimates, and neighborhoods where the daily temperature swing routinely exceeds 30 degrees. A door that is set perfectly in the moderate morning may bind or gape by late afternoon when the sun has been hammering the exterior surface for hours.
Stucco exteriors, common across Los Angeles from the Westside to the Valley, add another variable. Stucco builds up thickness at door openings, which means the installer has to manage the transition between the door frame and the stucco plane carefully. If the frame is set too deep or too proud of the stucco, the trim will not sit flush and the caulk line will fail early.
Hillside homes in neighborhoods like Los Feliz, Echo Park, and the Hollywood Hills often have door openings that are out of square because the house has settled. An installer who works in those areas regularly comes to the job knowing the rough opening will not be plumb. They carry shims by the box and they know how to use them so the door slab hangs true even when the framing does not.
Older Los Angeles homes, especially those built before 1980, frequently have non-standard door openings. The door that fits may not be a stock size from a home center. This is where working with a company that carries multiple manufacturer brands, including ViewLux, CGI, and CWS, matters. The recommendation should fit the home, not the installer’s preferred vendor.
Finally, Los Angeles building code requires exterior doors to meet specific energy and safety standards. A properly permitted installation with an inspection that passes means the door was hung to code. That inspection record also protects you if you sell the home later. Buyers in Los Angeles ask about unpermitted work, and a door installation with no permit can become a negotiation point.
Common Mistakes to Avoid
- Assuming a sticky door is normal. A new door should not stick. If it does, the frame is out of square, the hinges are misaligned, or the slab was hung under stress. All three are installation problems.
- Waiting to call about a problem until it becomes severe. Small issues at day seven become structural issues at month seven. The installer is far more willing to address a minor adjustment than a complete re-hang, and the warranty conversation is easier while the job is fresh.
- Not testing the door swing before the installer leaves. The open-and-let-go test takes ten seconds. Once the installer drives away, you lose the immediate opportunity to have an alignment problem corrected on the spot.
- Ignoring the paper invoice details. A vague invoice gives the contractor room to dispute scope later. In Los Angeles, where many homes have non-standard openings and multiple bids, a detailed written scope protects you.
- Replacing a door without addressing the surrounding moisture issues. If the old door rotted at the bottom, the cause was likely water getting behind the frame. Installing a new door without correcting the flashing or drainage simply moves the problem to the new door.
- Choosing a door based on appearance alone. Los Angeles sun exposure varies dramatically by zip code. A door that faces west in Woodland Hills needs different material choices and sealing than a door facing east in Long Beach. The installer should be talking about orientation, not just style.
When to Call a Professional
Call a professional when the door will not close without force, when you can see daylight around the closed slab, when the deadbolt no longer seats in the strike plate, or when water appears on the interior floor after rain. These are not cosmetic issues and they will not improve with time. If the original installer is unresponsive, get a second opinion from a company that works on doors daily. Lightwell Windows & Doors offers free estimates in Los Angeles, including callback inspections on doors installed by other companies. Call (562) 478-8017 and a live person will answer, not a voicemail maze.
Frequently Asked Questions
Look for daylight around the closed door, a door that swings open or closed on its own instead of staying where you leave it, a deadbolt that scrapes or requires force, and weatherstripping that appears flattened or uneven within the first month. Any one of these indicates an installation problem that should be addressed immediately while the warranty conversation is still easy to have.
Yes. A newly installed door should close with smooth, even resistance and latch without forcing. A door that sticks means the frame is out of square, the slab was hung under stress, or the hinges are misaligned. The fix is an adjustment, not a bigger problem, but only if it is addressed early. Call (562) 478-8017 for a free estimate if your installer is not responding.
Door installation in Los Angeles typically runs between $800 and $2,500 per door for labor, depending on whether it is a slab replacement in an existing frame or a full frame-out replacement with trim. The door slab itself adds another $400 to $3,500 or more depending on brand, material, and glass options. Three of the brands available through Lightwell are CGI, CWS, and ViewLux, each with different price points. Call (562) 478-8017 for a written line-item quote.
Check the gap around the door for evenness, test the door swing by opening it to 45 degrees and letting go, run your hand around the weatherstripping to feel for air gaps, step on the threshold to confirm it is solid, and look at the exterior caulk line for continuity. Do all of this before the installer leaves.
Yes. Photograph the gaps, the threshold, the weatherstripping, and all hardware on day one, day seven, and day thirty. A dated photo record establishes a baseline and makes it far easier to document a problem that develops later, which protects your warranty claim and reduces back-and-forth with the installer.
The 365-Day Done Right Promise at Lightwell means if the finished door installation is not right, the company makes it right within the first year after installation. No debate, no countdown. The promise covers workmanship issues on the installation itself. Product warranties on door slabs from manufacturers like PGT and CGI are separate and cover manufacturing defects. Both should be in writing when you sign the contract.
The Bottom Line
A door installation goes wrong in specific, detectable ways, and most of them show up within the first thirty days if you know what to look for. Test the swing on day one. Check the compression of the weatherstripping on day seven. Look for frame racking and corner seal gaps on day thirty. Keep photos, a detailed written invoice, and the warranty terms. When you find a problem, call it in immediately, while the installer still remembers your address and the warranty clock is still running. A door that is installed correctly will protect your home for decades with almost no attention. A door that is installed incorrectly will demand your attention constantly. The difference is in the first month, and now you know how to see it. For a free door installation estimate in Los Angeles, call Lightwell Windows & Doors at (562) 478-8017.
Written by Keith Yamada, Owner at Lightwell Windows & Doors, serving Los Angeles since 2010.