
Last updated October 8, 2026
Free in-home measure and quote - PGT, CGI and CWS impact lines compared on your actual openings, style by style
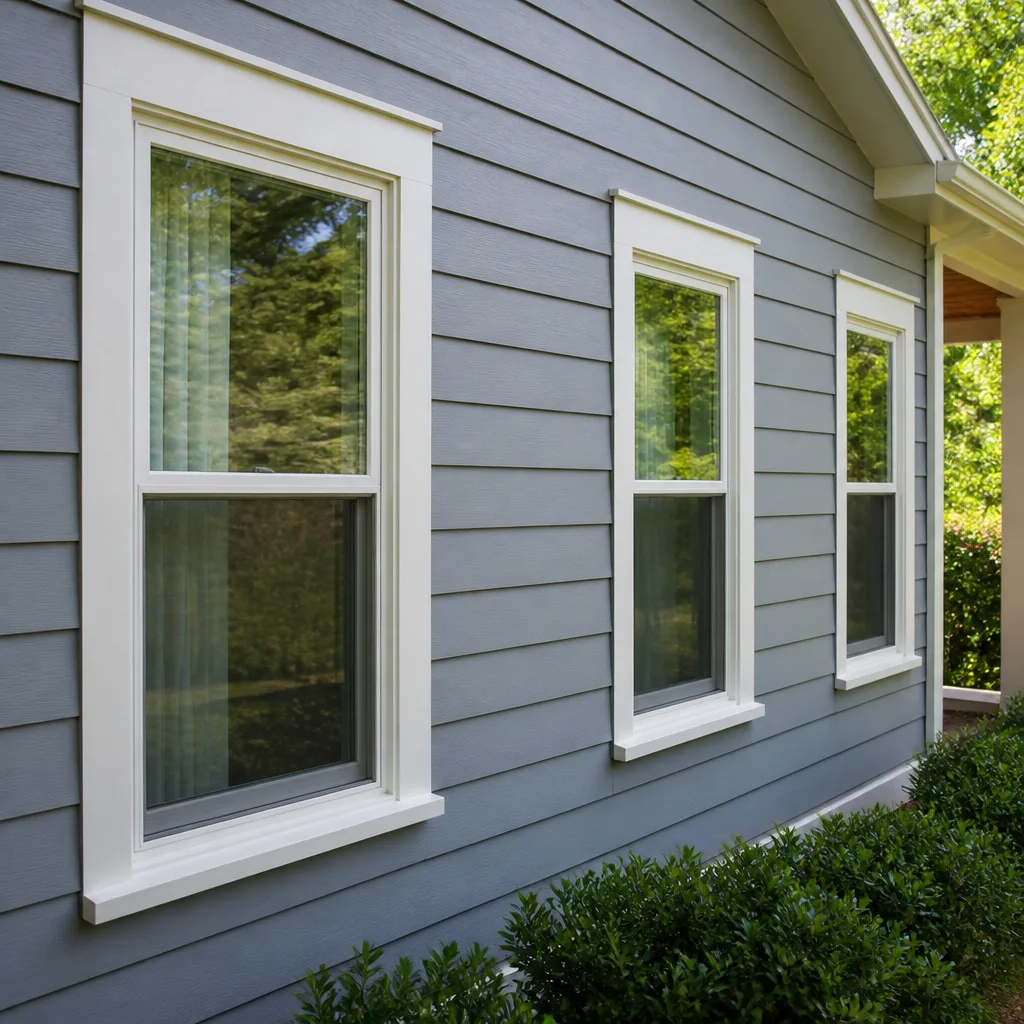
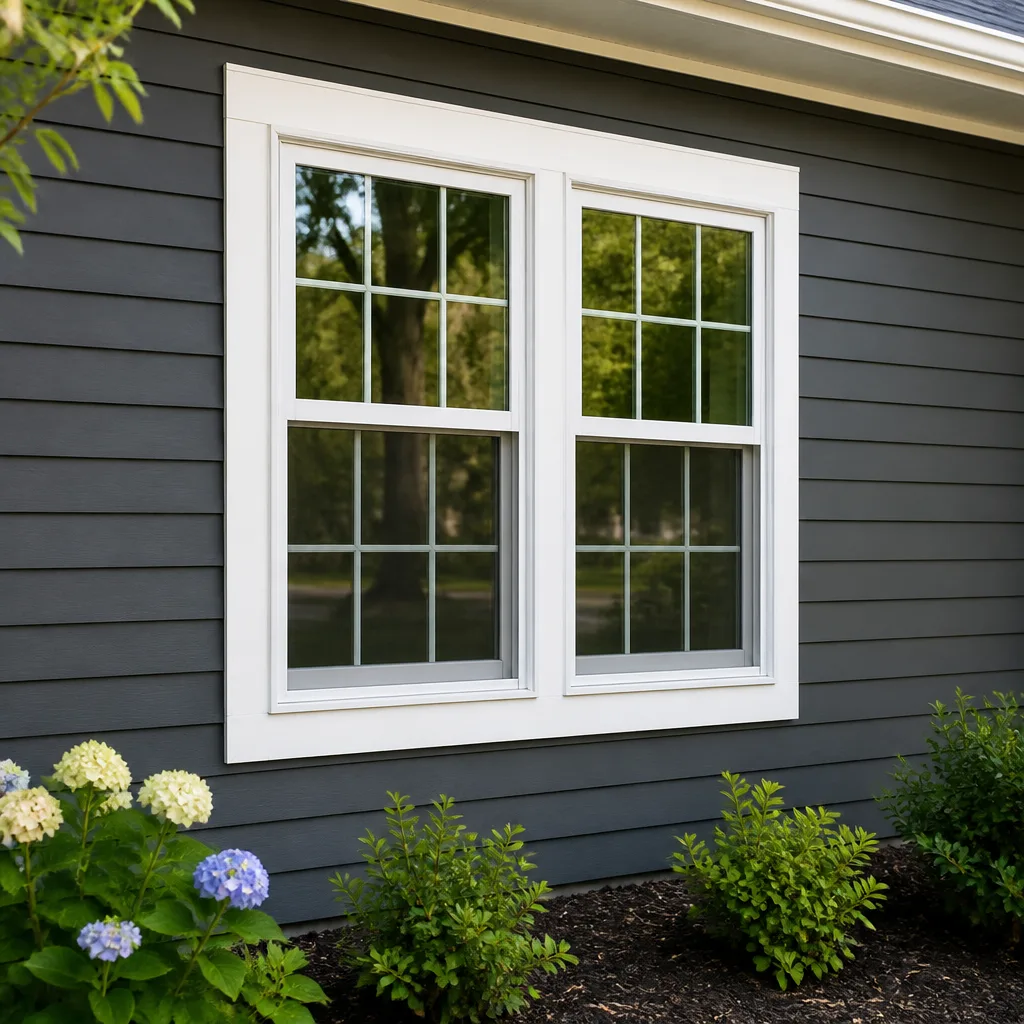
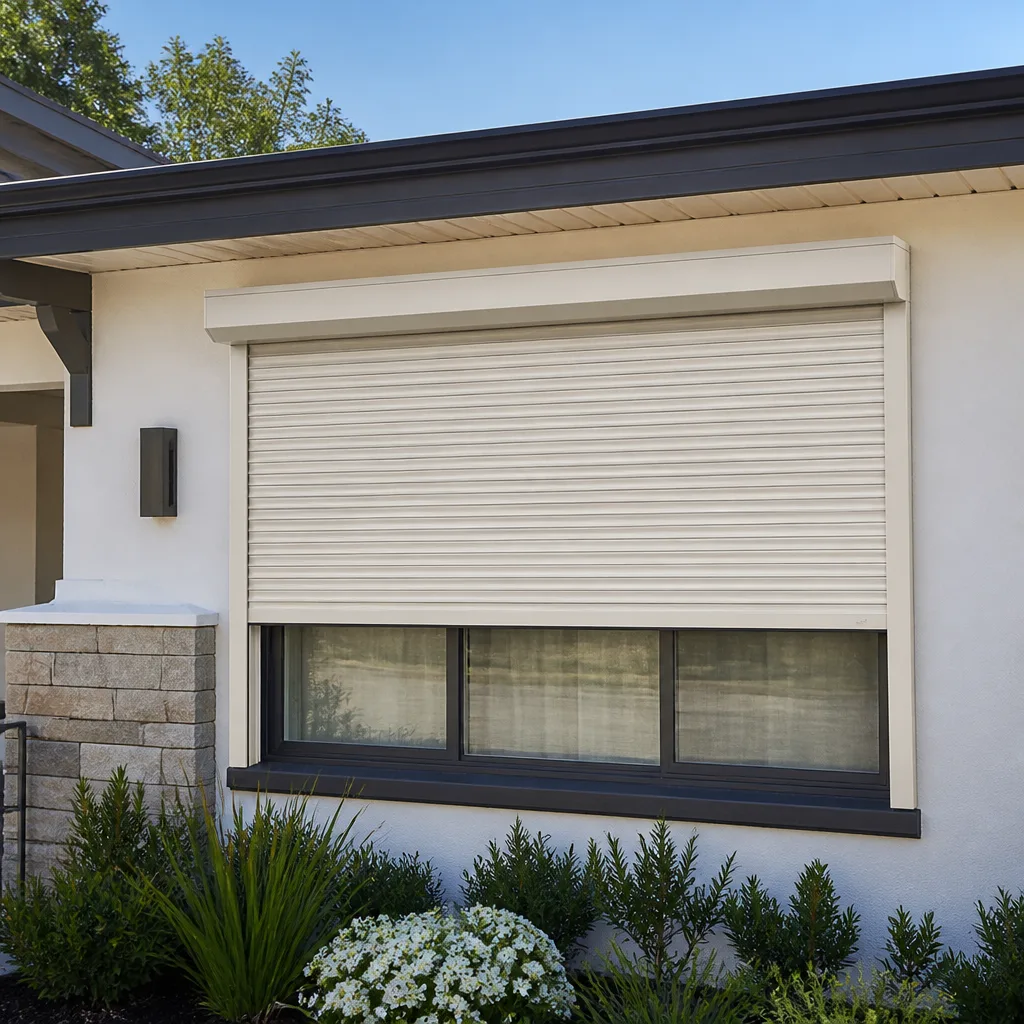
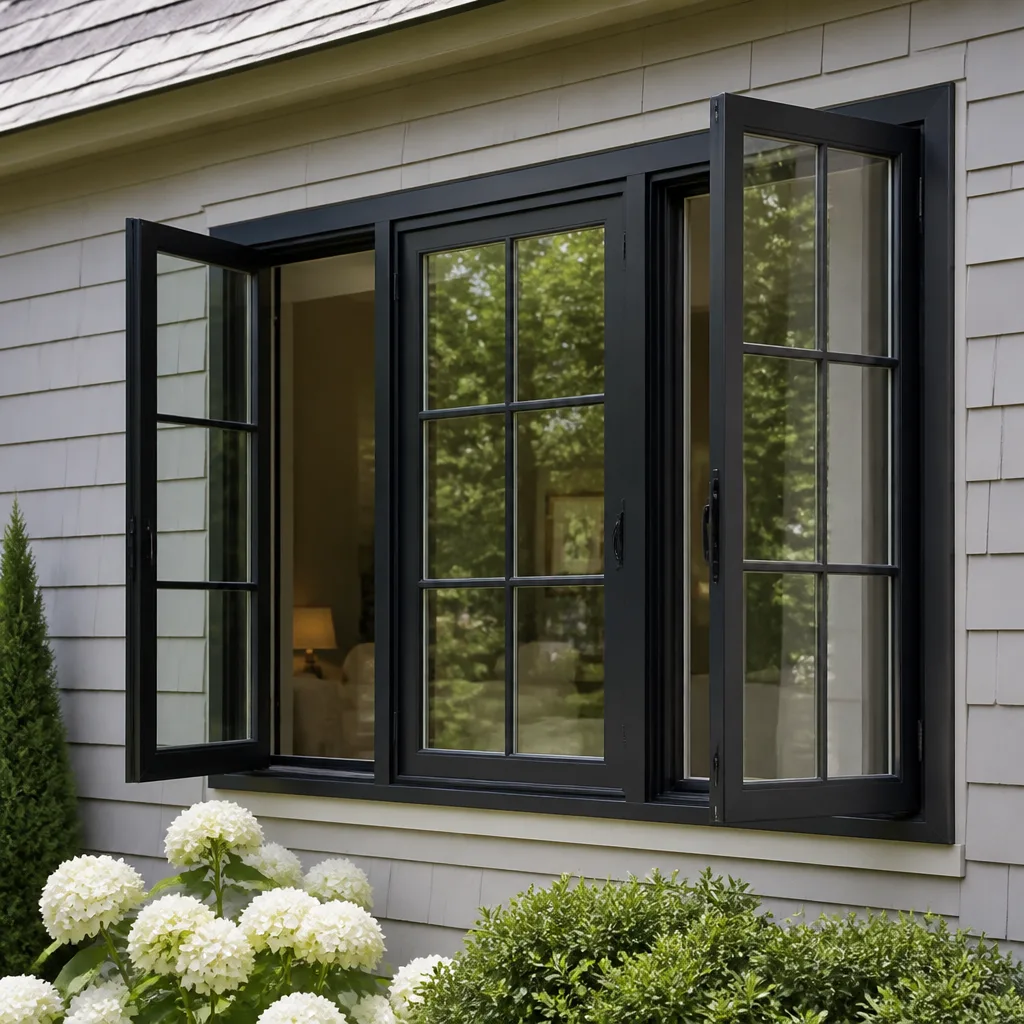
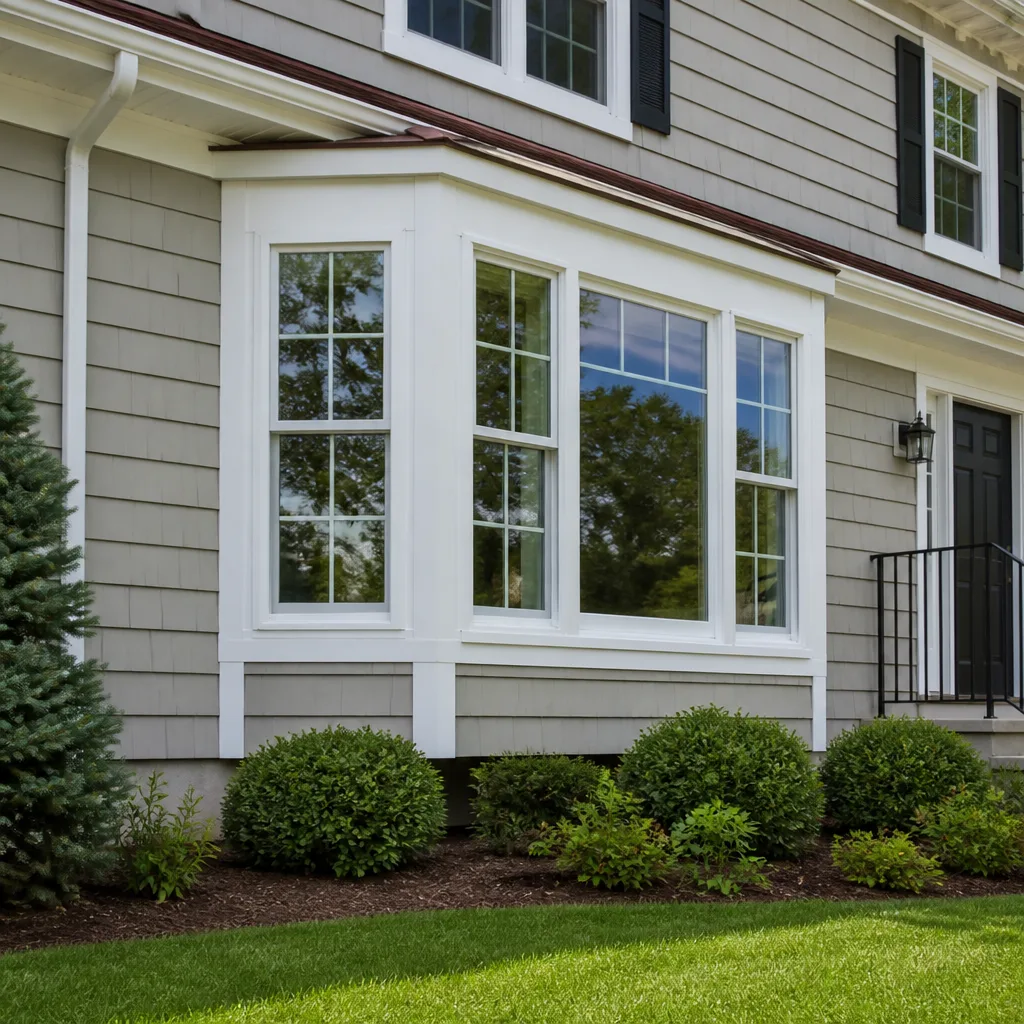
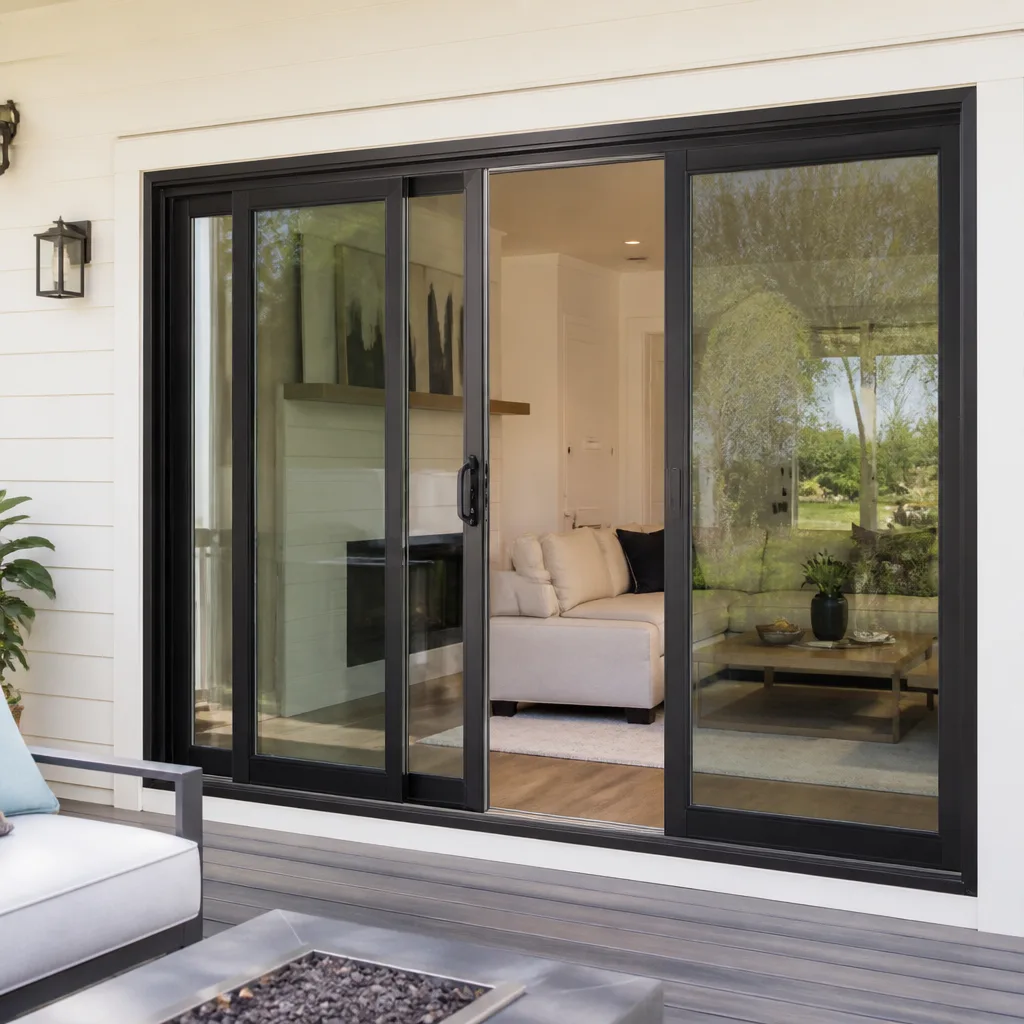
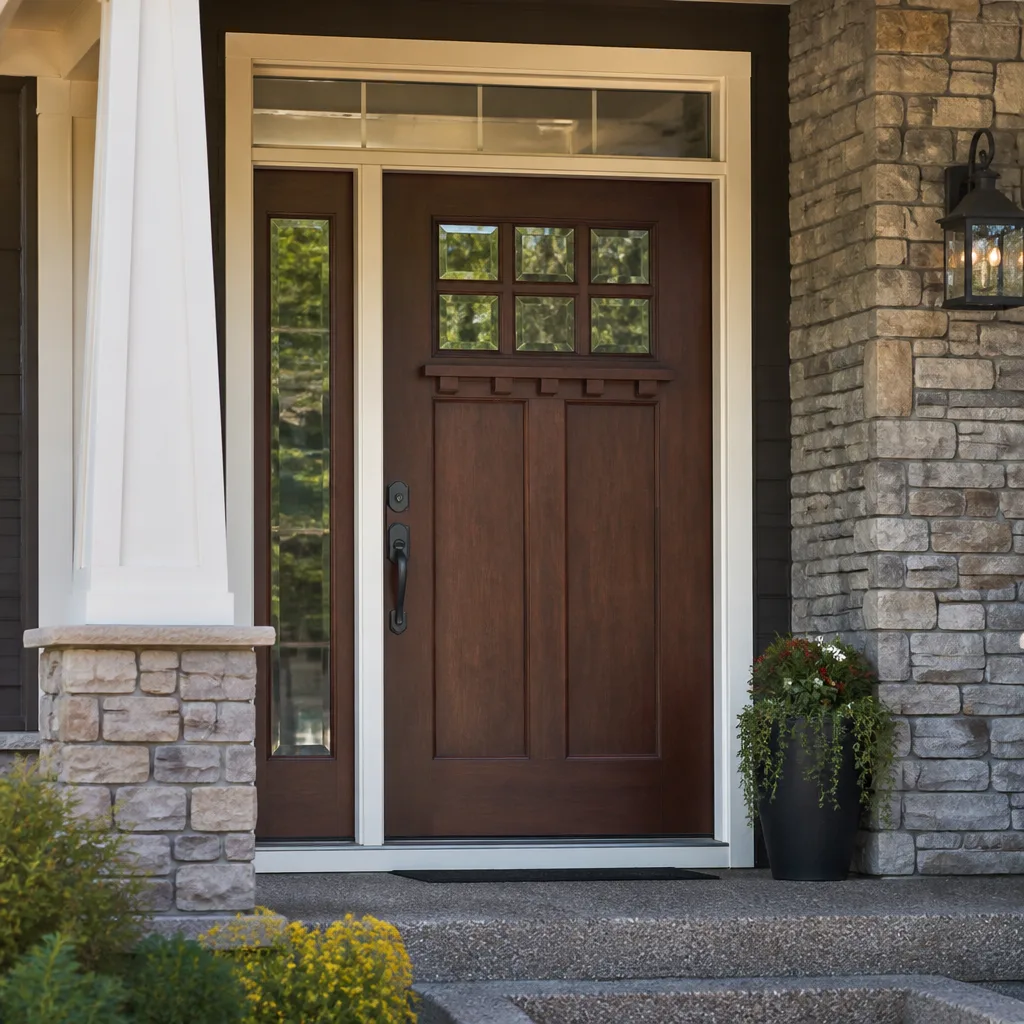
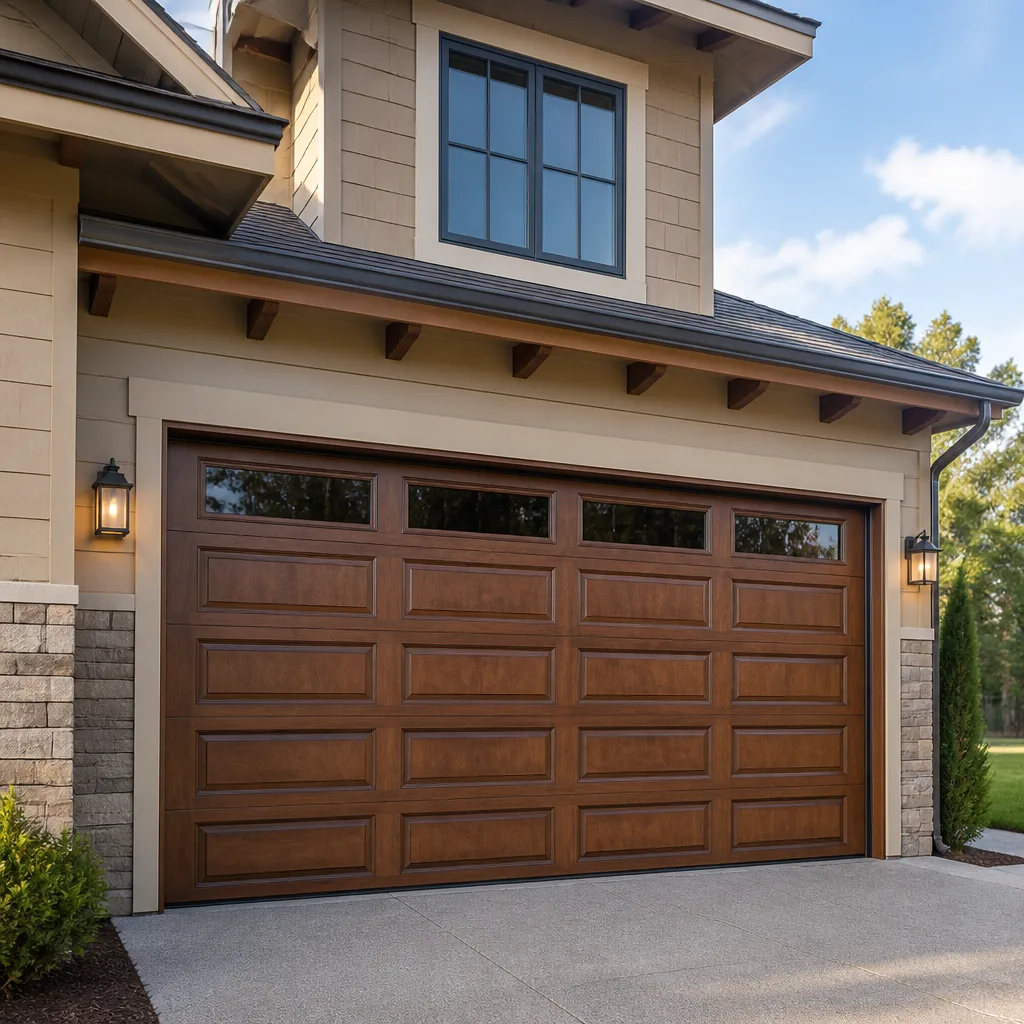
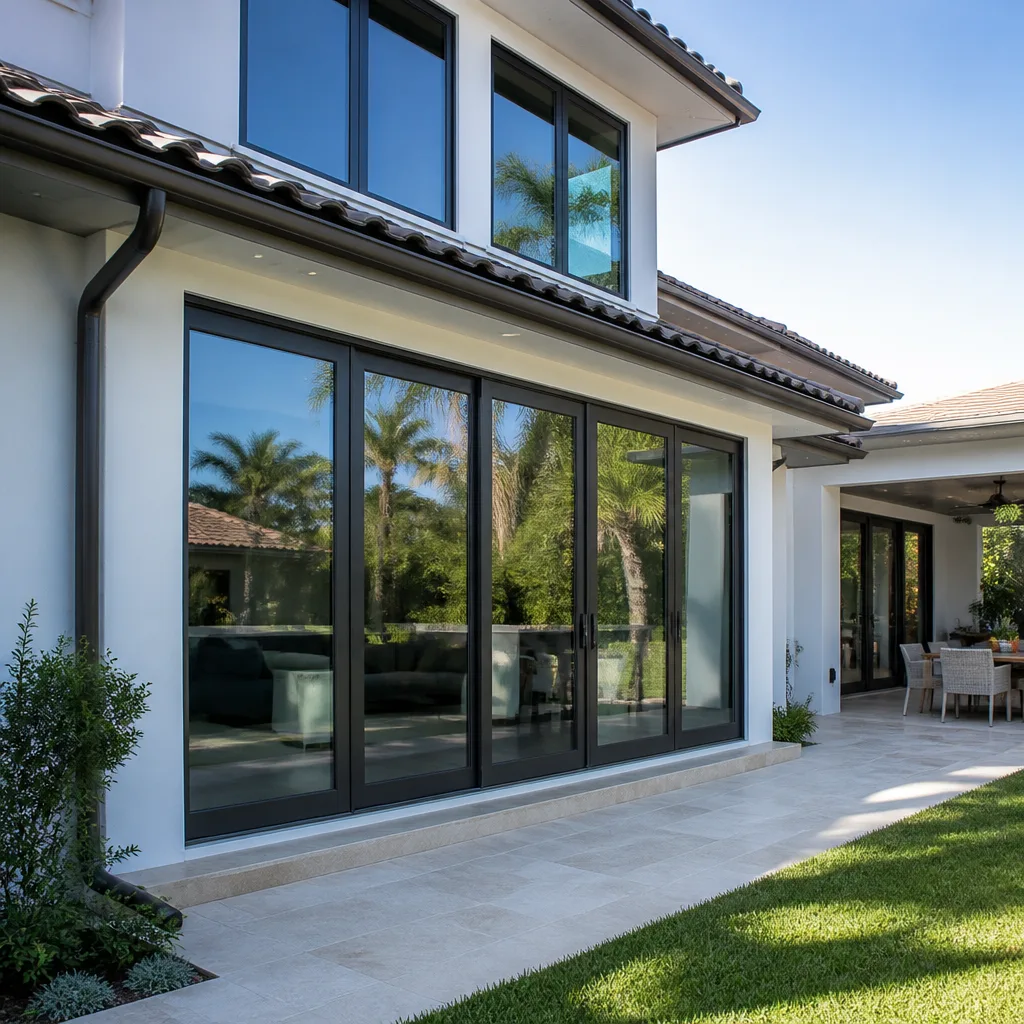
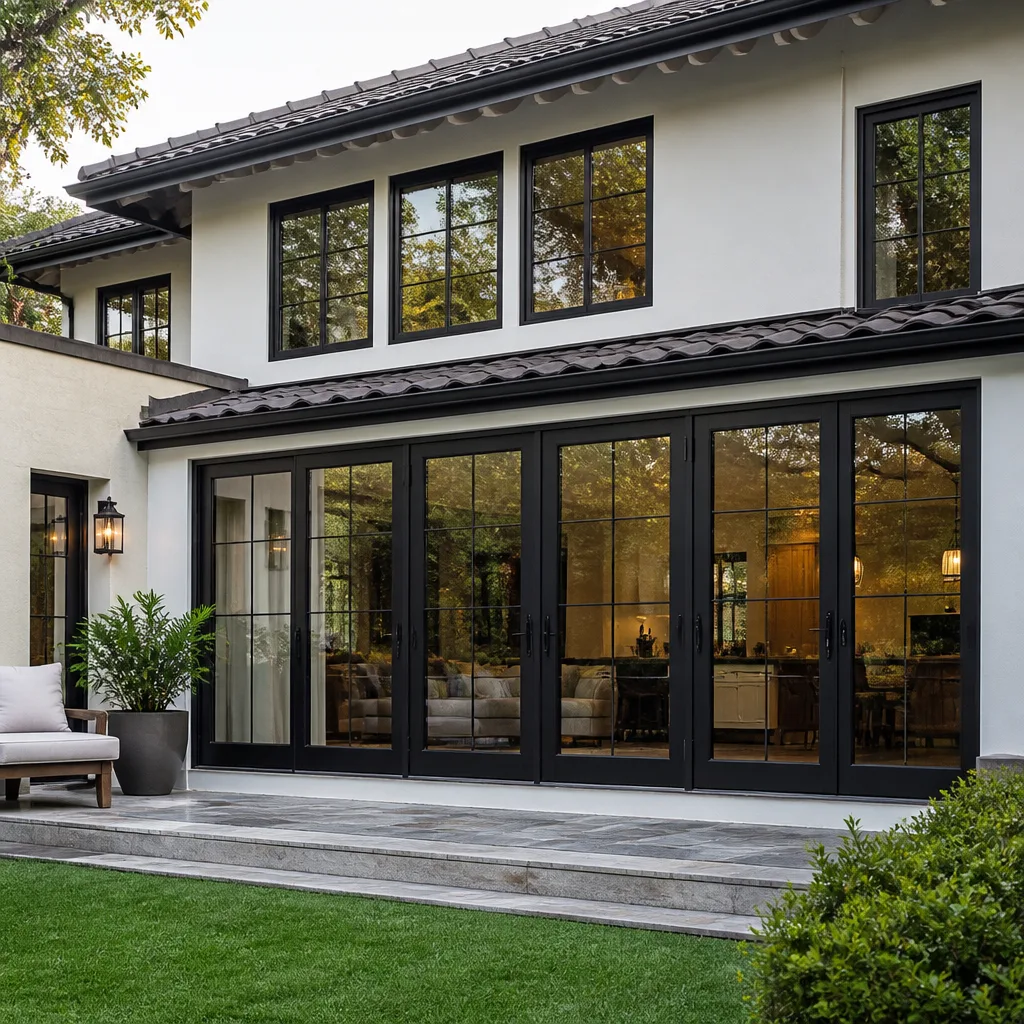
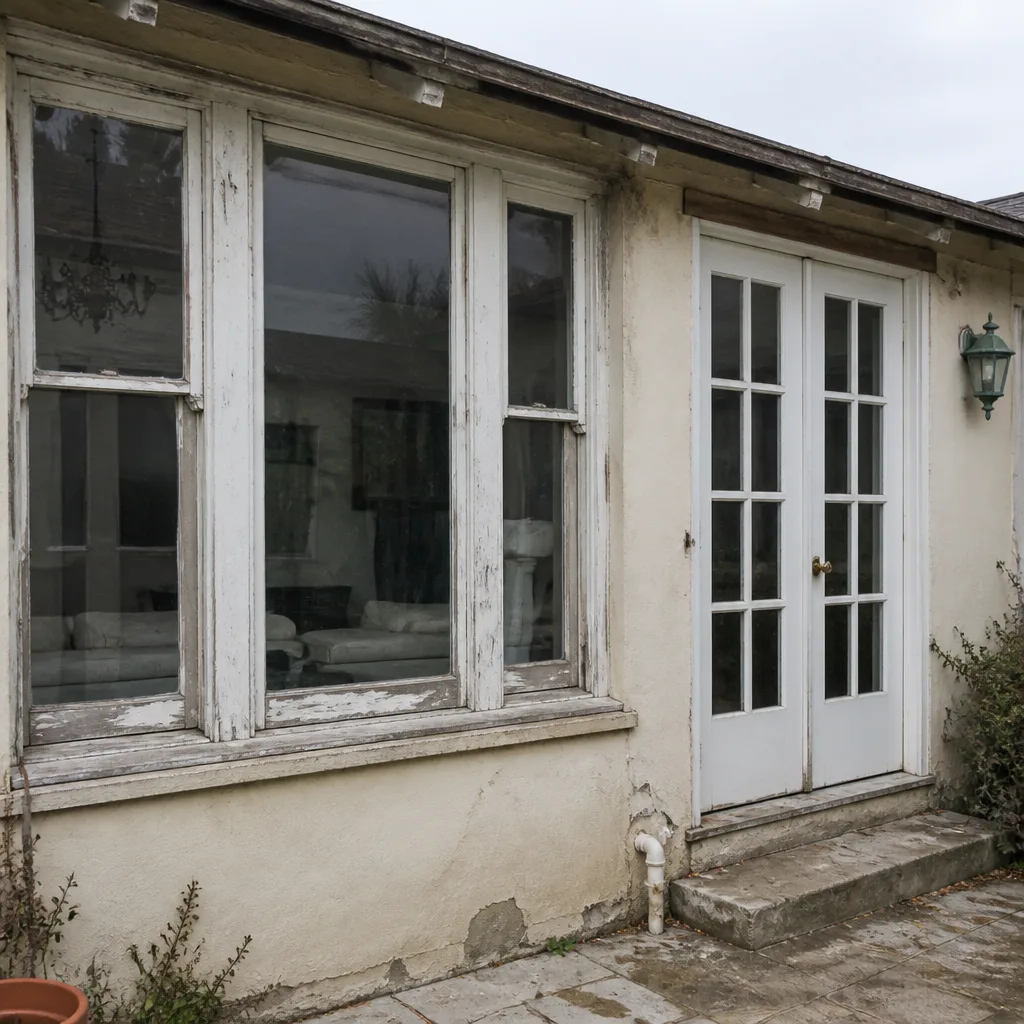 Before
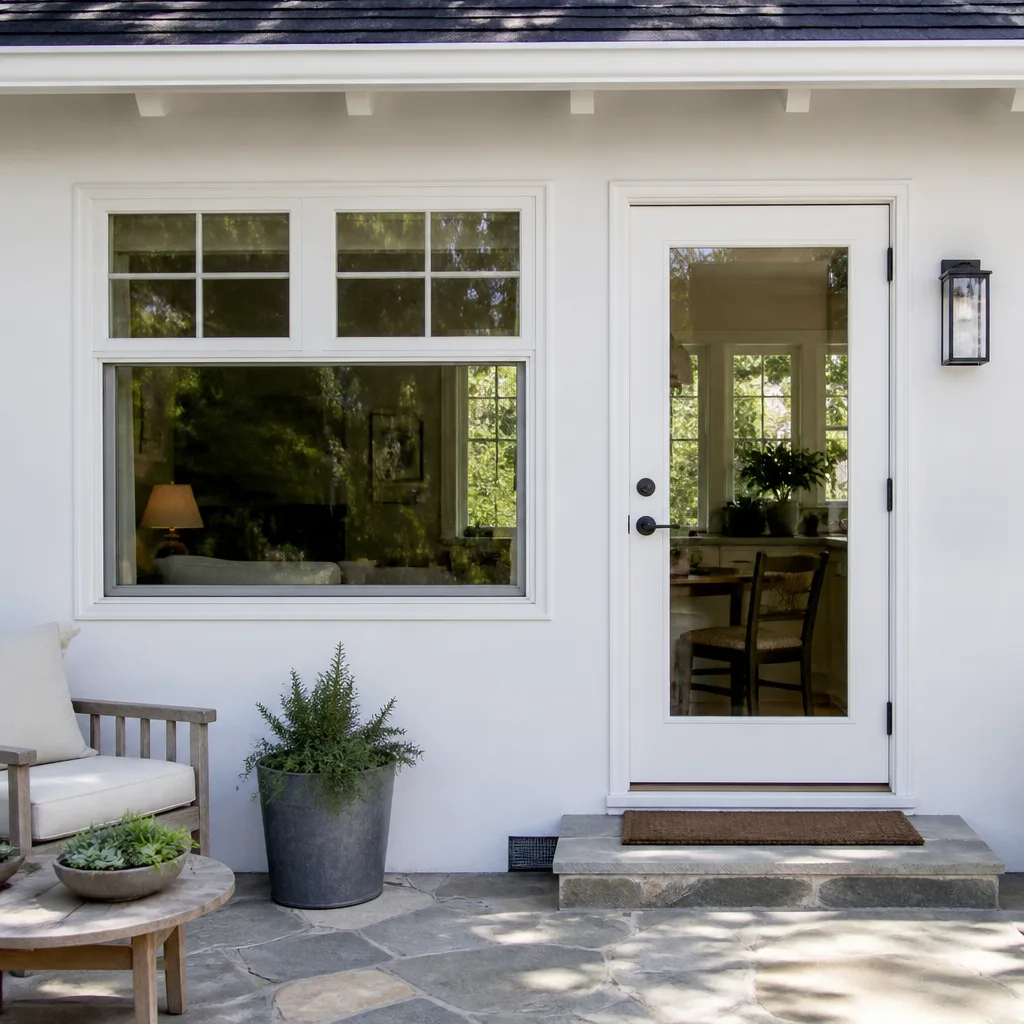 After
After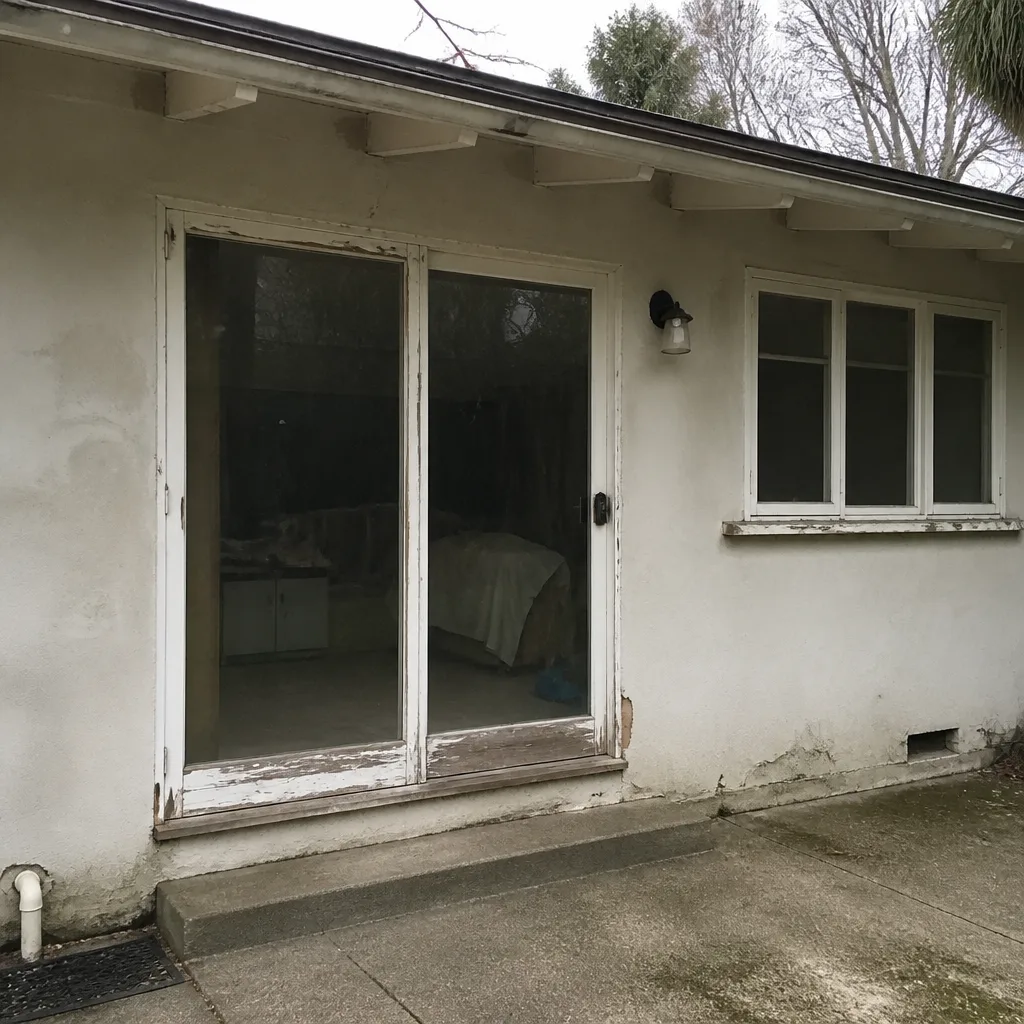 Before
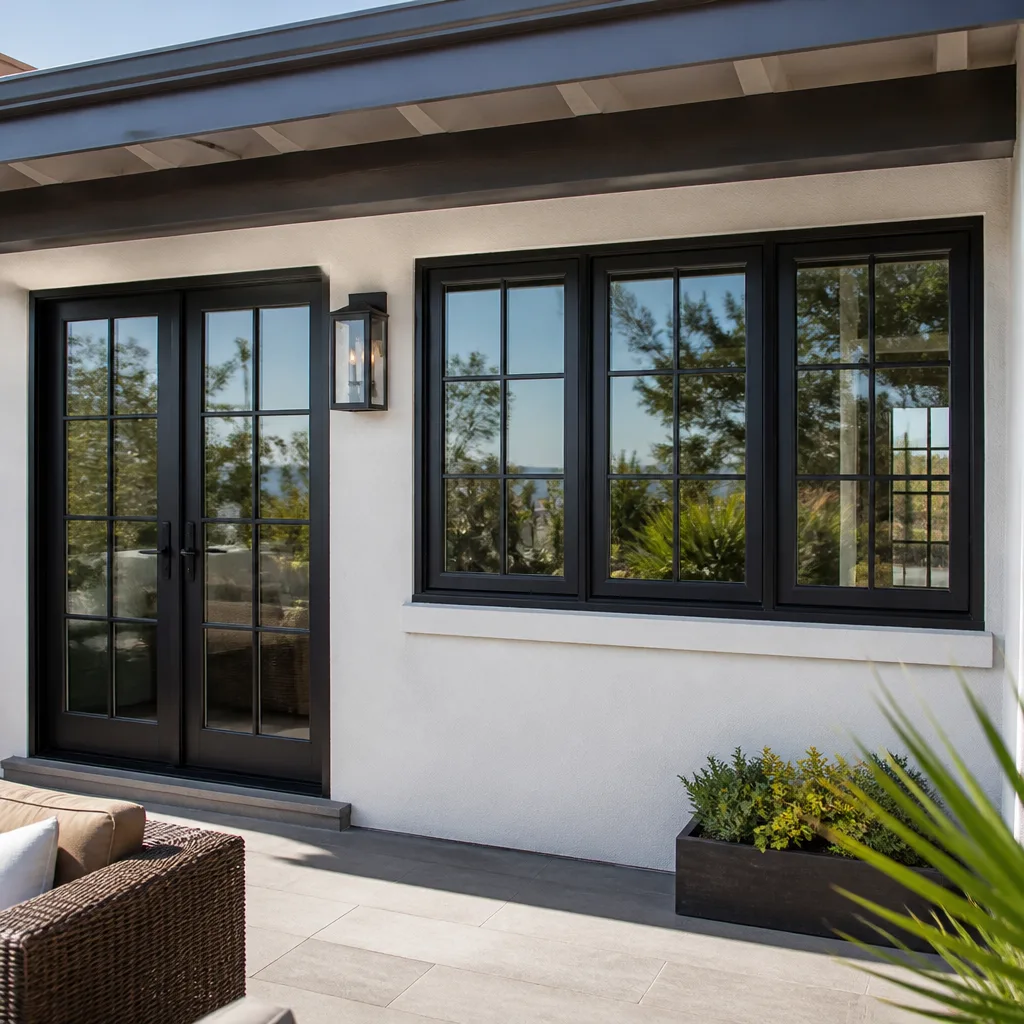 After
After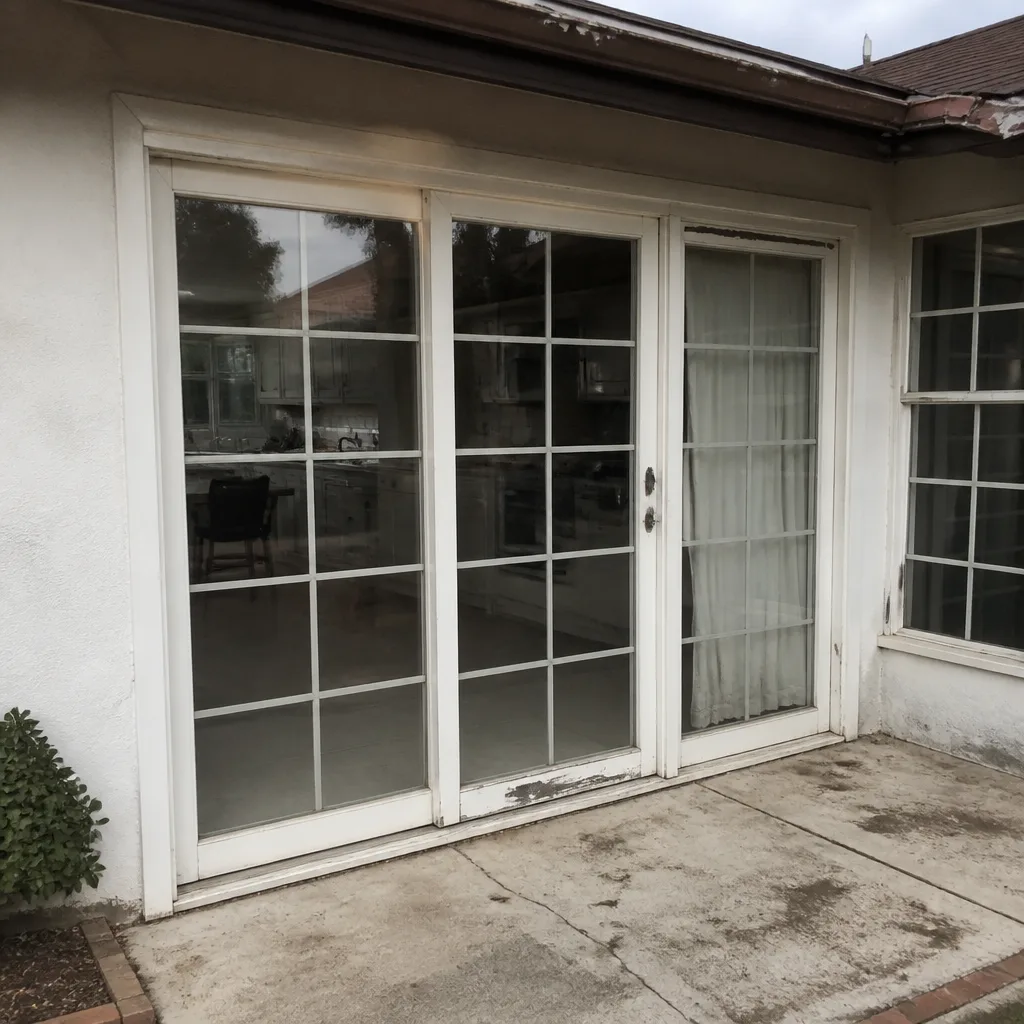 Before
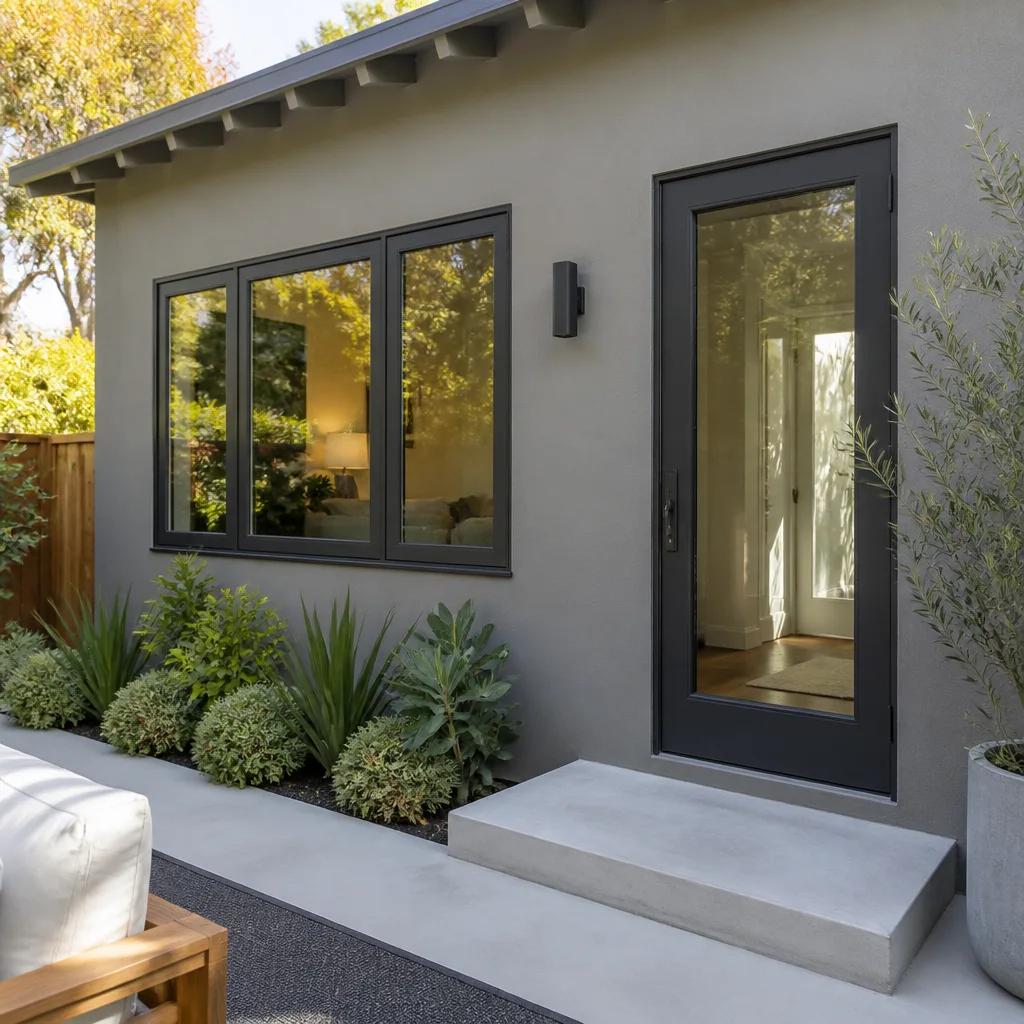 After
AfterThe Complete Window Installation Guide for Los Angeles Homeowners
In Los Angeles, the most common window installation failure isn’t the window itself – it’s the stucco flashing membrane behind it, a detail invisible once the job is finished and catastrophic once the first El Niño rain finds it. The window unit may be perfectly square, the glass may be flawless, and the room may look beautiful for two years. Then a winter storm rolls in off the Pacific, and water that should have been directed down and out instead tracks sideways into the wall cavity, into the framing, into the drywall. By the time you see the stain, the repair is a full stucco removal, not a window adjustment.
This guide walks you through what actually happens during a proper window installation in Los Angeles – not a generic overview, but the specific sequence that matters for our wood-frame-and-stucco housing stock, our building codes, and our climate. You’ll learn how new openings differ from replacement swaps, what the LADBS wants you to know before you cut into a wall, and how to verify the flashing work before it disappears behind a scratch coat. We’ll also show you where the real cost lives, and why the lowest bid on an installation is often the most expensive one two years later.
Quick Answer
Window installation in Los Angeles means creating a new opening or substantially modifying an existing one – cutting framing, installing a structural header, integrating the weather-resistant barrier (WRB), and flashing the rough opening before the window unit ever gets set. Unlike a same-size replacement, this work requires a building permit through LADBS when the opening changes size or configuration. Done correctly, a new window opening in a stucco home sequences the window before the scratch coat, uses manufacturer-specified flashing materials, and leaves behind a photographed, pre-stucco record that any good installer should show you before the finish coat goes on.
Table of Contents
- The Structural Reality of LA’s Wood-Frame-and-Stucco Homes
- LADBS Permits: When a New Opening Requires One
- The WRB Integration Sequence, Material by Material
- Why Manufacturer Flange Specs Are Not Optional
- What a Completed Opening Should Look Like Before Stucco
- What Window Installation Costs in Los Angeles
- Installation vs. Replacement: The Sequence Difference That Changes Everything
- How We Match Brands to Homes – Not Homes to Brands
The Structural Reality of LA’s Wood-Frame-and-Stucco Homes
Most Los Angeles single-family homes built between 1920 and 1990 share a construction method: wood studs on 16-inch centers, plywood or OSB sheathing, a weather-resistant barrier (historically asphalt felt, now synthetic WRB), and a three-coat stucco system applied over metal lath. This assembly works beautifully in a dry climate. It also hides problems exceptionally well – which is why installation errors in Los Angeles can go undetected for years, until a rainy season exposes them.
When you’re adding a window to a stucco wall, the sequence matters more than the product. The window unit goes into the rough opening before the scratch coat of stucco is applied, not after. Here’s why: the window’s nailing flange – the thin plastic or metal strip around the perimeter – is designed to be lapped by building paper and lath. The stucco wire extends over the flange, and the finish coat floats over it. If a contractor sets the window and then stuccos over the flange without integrating the lath and WRB correctly, you get a condition called reverse lapping: water running down the wall face gets behind the flange instead of over it. In LA’s occasional but intense rain events, that reverse lap becomes a slow leak into the wall that no caulking will fix.
Older stucco homes in Los Angeles – think Mid-City, Highland Park, parts of the Valley – often have multiple layers of stucco from successive patches. When we open a wall for a new window installation, we frequently find asphalt felt from three different decades, some of it brittle, some of it never lapped correctly in the first place. The installation has to account for what’s actually behind the face coat, not what a textbook assumes. That field verification is what separates a thoughtful installation from a fast one.
LADBS Permits: When a New Opening Requires One
The Los Angeles Department of Building and Safety (LADBS) treats window work differently depending on what’s changing. If you are swapping a window for a new unit of the same size in the same opening – no structural change – you typically do not need a building permit (though the work still must comply with current energy and egress codes). But the moment the rough opening changes size, the opening moves, or a new opening is created, the work enters structural territory. That triggers a permit.
Here’s what we know from working with LADBS across the city:
- New opening in an exterior wall: Permit required. This means a new window where none existed, or an opening enlarged enough that the studs have to be cut.
- Enlarged or relocated existing opening: Permit required. Changing the height or width of the rough opening usually means disturbing the wall framing.
- Header calculation: Any opening wider than roughly 3 feet in a load-bearing wall requires an engineered or prescriptively designed header. LADBS reviews the header size, bearing length, and connections. In Los Angeles, many homes have two-story load paths, so a header over a new first-floor picture window is carrying floor loads, roof loads, or both.
- Egress requirements: Any bedroom window below the minimum clear opening size (typically 20 inches wide by 24 inches high, with a minimum net clear opening of 5.7 square feet) triggers the need to either enlarge the opening or install a compliant upgrade. Your permit plans should address this clearly.
We tell every Los Angeles homeowner the same thing: if someone says you can skip the permit on a new or enlarged opening to save time, you’re not saving time – you’re deferring a disclosure problem, an insurance problem, and a resale problem into one convenient package. The permit isn’t just bureaucracy. It’s the paper trail that verifies the header above your family’s heads was designed and inspected to hold.
For same-size replacements – the kind of work our Window Replacement in Los Angeles page covers in detail – the process is simpler and faster. But when the opening changes, the conversation changes entirely.
The WRB Integration Sequence, Material by Material
The weather-resistant barrier – WRB for short – is the waterproofing membrane that sits behind the stucco and keeps the wood framing dry. In Los Angeles, it’s the least visible and most consequential layer of any window installation. Here is the sequence we follow on every new or enlarged opening, in order, named material by material, so you understand what should be happening behind your walls.
- Cut the opening and reframe the rough opening. Studs are doubled where required, the header is sized per LADBS-approved plans, and king and jack studs are installed. The opening is square, with a tolerance no more than 1/8 inch across the diagonal.
- Apply the sill pan flashing. Before the window ever goes in, the bottom of the rough opening receives a formed, adhesive-backed flashing membrane that directs any incidental water out and onto the WRB face. In our installs, we use a commercial-grade sill pan product compatible with the window manufacturer’s specification. This step alone stops the most common LA leak pattern: water pooling at the sill and wicking into the subfloor.
- Integrate the WRB around the opening. If the existing WRB is intact synthetic house wrap, we slit it in a reverse-Y pattern, fold it inward, and lap new WRB over the head flashing. If the home has older asphalt felt that’s drying out, we replace the entire wall-plane layer in the immediate area with a compatible tape-sealed synthetic. The key sequence: bottom first, then sides, then head, each layer lapped so water always flows down and out, never down and in.
- Set the window and fasten the flange. The unit is shimmed, leveled, and centered. Fasteners go through the nail fin into the framing at the manufacturer’s spacing – usually every 6 to 8 inches on the flange. No fasteners into the shim points, ever.
- Flange tape over the side and head flanges. The tape extends over the top edge of the flange and onto the WRB, creating a shingled path. The bottom flange is left untaped over its lower edge in most manufacturer sequences, so any trapped water has a drainage route.
- Apply the lath and scratch coat – the rough first coat of stucco that embeds the metal wire. The scratch coat locks the system together and provides the base for the brown coat and final color coat.
If you’re in Los Angeles and want to verify this work, ask the installer one question: “Show me the reverse-Y fold.” If they don’t know what that means, they’re not doing window-integrated WRB – they’re doing window-shaped holes.
Why Manufacturer Flange Specs Are Not Optional
Window and door manufacturers publish installation instructions for a reason: their warranties depend on them. The flashing sequence for a PGT impact-rated window is not identical to the one for a Therma-Tru door frame, and the pan flashing for an ECO Window Systems unit has specific overhang and sealant requirements. When a contractor treats every product the same – generic tape, generic sealant, generic spacing – they’re voiding the warranty on your brand-new equipment before the stucco dries.
This is one of the reasons we carry eight manufacturer brands, including ECO Window Systems and Mr-Glass units we’ve installed in homes across Los Angeles. The recommendation fits the home, not the installer’s preferred vendor. A 1929 Spanish Revival in West Adams with original steel casements has different needs than a 1970s ranch in Sherman Oaks with wide gable-end wall planes. Different wind exposure, different solar gain, different frame depth, different flashing behavior.
We’ve also opened walls where a previous installer used silicone caulking over lapped WRB, thinking it was extra security. The problem: silicone degrades under UV and never fully bonds to the membrane. The vinyl tape system specified by ViewLux or ECO is designed with compatible adhesives that chemically bond to the WRB. Mixing one manufacturer’s flashing with another’s sealant, or substituting hardware-store butyl for the recommended acrylic tape, isn’t overkill reduction – it’s the fastest way to an unpaid warranty claim.
When we perform our Window Installation services in Los Angeles, the flashing and sealant are matched to the brand and the wall assembly. Our written price includes that exact specification, item by item, so you can compare what you’re being promised. No change orders at the end, no surprise line items.
What a Completed Opening Should Look Like Before Stucco
The window installation is done – but it’s not done-done until the stucco scratches over it. That’s the moment a homeowner should see and photograph the work, because it’s the last time it will ever be visible. Here’s what a correctly installed, pre-stucco window opening looks like from the exterior:
- The sill pan is visible at the bottom of the rough opening, extending 1 – 2 inches beyond the wall face, with the window unit sitting on it.
- The side and head flanges are overlaid with continuous, wrinkle-free flashing tape, no gaps, no exposed fastener heads.
- The bottom edge of the side flashing tape is left open at the drainage path – not sealed shut.
- The WRB above the head is lapped over the top flange, so any water shed from the wall can’t get behind it.
- The rough opening is clearly framed with doubled studs and a visible header above the window – you should see lumber, not just an old wall.
- Every manufacturer label is still on the glass or frame, so the brand, model, and NFRC rating are documented.
Ask your installer to send you these photos before the lath goes on. If we’re on your job, that’s standard practice, not a special request. It’s what the Cedarwell Care Promise means on every Lightwell installation: a record you can keep, a visual confirmation that the hidden layers are right.
What Window Installation Costs in Los Angeles
Window installation in Los Angeles runs higher than the national average, and the reasons are structural, not stylistic. Here’s what drives the cost per opening:
- Permit fees and plan review: LADBS charges for the permit itself plus structural plan check when headers are involved. That’s a fixed cost that doesn’t change if you choose a less expensive window.
- Structural header work: Any new or enlarged opening that spans more than a few feet needs a properly sized, engineered header. Lumber, hardware, and inspection time all factor in.
- Stucco restoration: After the window is in and the WRB integrated, the stucco has to be patched in layers – scratch, brown, color. Matching the texture and color of an existing stucco wall is an art, and in Los Angeles with our aging stucco stock, it’s usually impossible to make a patch disappear completely. You’re paying for the patch to look like it belongs.
- Tilt-in sash removal and disposal: The old window comes out, the frame gets cut, and demolition debris has to be hauled. If the home was built before 1978, lead paint containment may also apply.
For a typical new opening in a single-story stucco home in Los Angeles, most installations we price run between $900 and $2,400 per opening, including the window unit, permit, flashing, structural work, and stucco patch. A same-size replacement is often less – our Window Installation in Los Angeles page breaks down those numbers in detail. The price difference reflects what’s behind the wall, not just what’s in the wall.
Every written price from Lightwell includes the permit, the flashing, the crew’s shoe covers and drop cloths, the stucco patch plan, and a photo record of the pre-stucco condition. You’ll know the number before we start, and it won’t change when the job’s done.
Installation vs. Replacement: The Sequence Difference That Changes Everything
Here’s a fact national window guides routinely miss: window installation and window replacement share tools but not processes. A replacement fits a new unit into an existing framed opening, often using a flush fin or retrofit frame that attaches to the old stucco edge. It’s faster, less invasive, and doesn’t touch the structural wall. A true installation involves opening the wall, modifying or creating the rough opening, and rebuilding the WRB and stucco assembly around the new unit.
For Los Angeles homeowners in wood-frame-and-stucco construction, that distinction matters more than in cities where exterior walls are brick or siding. Brick buildings in Chicago or Philadelphia have different flashing challenges. Here, stucco is a continuous, monolithic face – one crack in the finish coat is a path for water, and one wrong lap is a future mold problem. When we evaluate a home for new window openings in places like Los Feliz or Encino, we’re looking at the entire wall assembly, not just where the window will sit.
The good news: a correctly executed installation outperforms a replacement for decades. It includes a complete, documented WRB integration, a properly sized header, and a sill pan that will outlast the stucco around it. If you’re comparing quotes and one contractor prices “installation” and another prices “replacement” for the same opening, ask what each one includes. The difference between a $900 retrofit and a $1,600 full WRB-integrated installation is invisible until the rain comes – and then it’s very visible.
How We Match Brands to Homes – Not Homes to Brands
Carrying eight manufacturer lines – including ECO Window Systems, Mr-Glass, Therma-Tru, and ViewLux – means we have no financial reason to push you toward one brand over another. The recommendation starts with your wall, your exposure, your sun load, and your noise profile, not with a sales target. That’s unusual in Los Angeles, where many window companies are dealer-direct for one or two labels and fit every home into the same frame.
Some examples from real Los Angeles house conditions:
- A west-facing wall in a two-story home near the coast gets strong afternoon sun and salt air. We might spec a Mr-Glass or ECO window with a reinforced frame and UV-stable finish rather than a more delicate wood window.
- A 1960s ViewLux or Therma-Tru door opening in a renovated ranch home often responds better to a door system with its own integrated flashing strategy than to a window unit adapted to fill the hole.
- For sound attenuation near busy streets – the 405 corridor, Glendale Boulevard, Highland Avenue – the frame material and glass package matter more than the brand name on the sash. We can show you the NFRC and STC data side by side instead of asking you to trust a logo.
This is the approach that underpins every page on this site, including the Lightwell Windows & Doors home page and our Door Installation in Los Angeles guide. The same philosophy applies there: match the product to the home, and put the price in writing before any work starts.
Common Mistakes to Avoid
- Hiring by price alone. A low quote that skips the WRB integration or the permit review looks like a bargain until the first rain exposes the lap flaw. By then the contractor is gone.
- Allowing a same-size swap when the opening is the problem. Some window companies will tell you a new window can be retrofitted into a too-small opening. It can – but the opening will still be too small for code egress, and you’ll still need the permit work eventually.
- Skipping the reverse-Y fold inspection. If the WRB isn’t folded and lapped at the opening, water has a direct path into the wall. One photo before the scratch coat goes on is worth more than any verbal promise.
- Mixing drain-plane flashing with silicone caulk. The sealant and the flashing tape are a system. Mixing brands or substituting hardware-store products voids the manufacturer’s warranty and often adds the exact path water needs.
- Not photographing the pre-stucco opening. Once the scratch coat covers the flange, you’ll never see the flashing again. Any installer who won’t send you photos before closing up the wall is hiding something.
- Believing a “permit not needed” claim without verification. Same-size replacement is one thing. A new or enlarged opening is structural work in Los Angeles. LADBS’s website is public; you can check the threshold in two minutes.
- Accepting a verbal price. In a city as varied as Los Angeles, a written price before any work starts is the only way to compare a true installation to a retrofit. If it’s not in writing, it’s not a price.
When to Call a Professional
Window installation into a new or modified opening is structural work. You need a professional when the rough opening changes size, when the header above the window must be recalculated, when the WRB has to be integrated into existing stucco, or when the manufacturer’s warranty depends on a specific flashing sequence being followed. In Los Angeles, that means almost every true installation project. The exceptions – replacing a pane, adjusting hardware, re-caulking an old window – are service tasks, not openings.
Lightwell Windows & Doors offers free estimates in Los Angeles – call (562) 478-8017 to schedule one. We’ll walk the wall with you, point out what the existing flashing looks like, and put the installation plan and the price in writing before anything starts.
Frequently Asked Questions
Yes, you need a permit when the rough opening changes size, the window moves, or a new opening is created. Same-size replacements in the same opening typically don’t require one. LADBS reviews structural headers and egress compliance on permitted work, and the inspection record protects your resale and insurance.
If you’re not sure whether your project crosses the threshold, call (562) 478-8017 and we’ll help you determine it – estimates are free, and we’ll tell you honestly if a permit is required.
Most true installations – new or enlarged openings in stucco homes – run between $900 and $2,400 per opening, including the unit, permit, structural header, WRB integration, and stucco patch. Same-size replacements are usually less. Your specific number depends on wall condition, window size, and brand.
Call (562) 478-8017 for a written quote on your exact openings – before any work starts, every time.
A typical single-opening installation takes one to three days from cutting the opening to finish stucco, depending on the header size, permit inspection scheduling, and stucco matching. Larger projects with multiple openings may take a week or more, including inspection time.
We’ll give you a clear timeline in the written estimate before work begins.
Installation involves creating or changing a rough opening, structural header work, and full WRB integration. Replacement fits a new unit into an existing opening of the same size without structural changes. Installation is more complex and more expensive, but it’s the only option when the opening size changes or a window is added.
In most Los Angeles homes, stucco has aged and weathered over decades, so a new patch won’t be invisible. It will be close – we texture and color-match as carefully as possible – but the patch will look like a patch for the first year while it weathers. We explain this honestly in every estimate, so you’re not surprised later.
Photograph the sill pan, the flashing tape over the side and head flanges, the WRB lap above the window, the header above the opening, and the manufacturer labels on the glass. These photos document the hidden waterproofing work and are the record you’ll rely on if any issue appears years later.
Call (562) 478-8017 for an estimate, and we’ll walk you through exactly what to look for on your own project.
The Bottom Line
Window installation in Los Angeles is a structural, permitting, and waterproofing project, not a product swap. For more guides & resources on keeping your home dry and code-compliant, explore our blog. The sequence – framing, header, sill pan, WRB integration, flange flashing, lath and scratch coat – has to be done in that order, with materials matched to the manufacturer’s spec. The hidden layers are the ones that fail. But when the work is done correctly, and the pre-stucco photos are on your phone, you get the thing a light well promises: daylight brought deep into the house, on a wall that stays dry for decades.
Written by Keith Yamada, Owner at Lightwell Windows & Doors, serving Los Angeles since 2010.
Ready to talk through your project? Call (562) 478-8017 for a free estimate, or visit us at Lightwell Windows & Doors home to learn more.